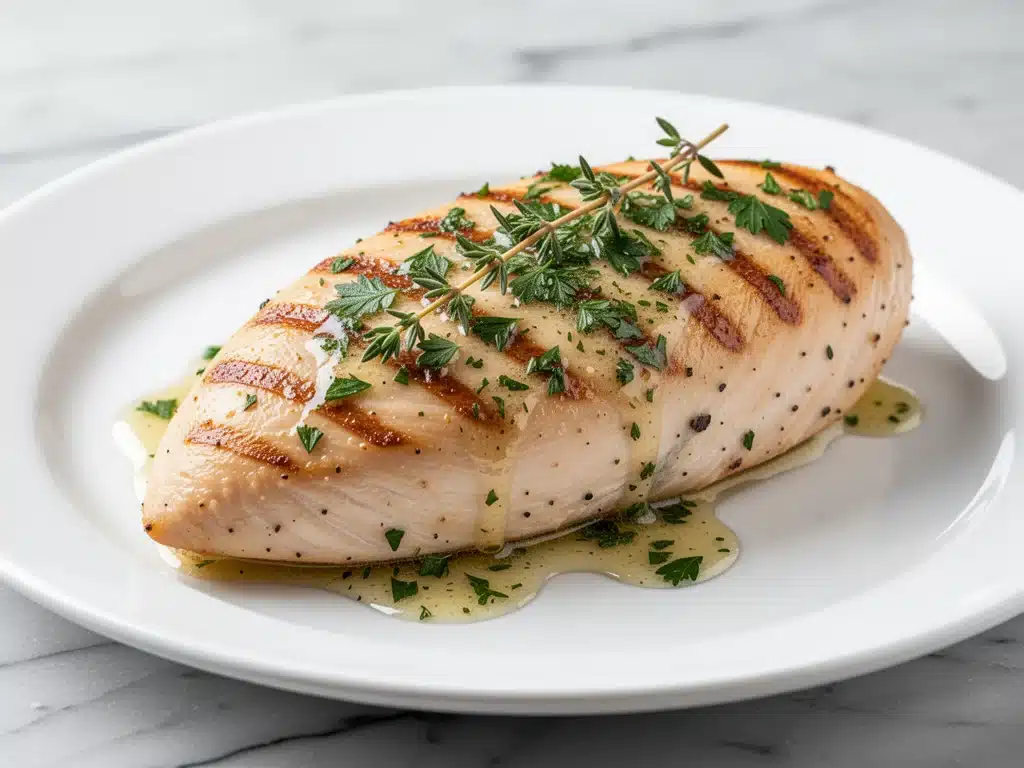
I have a confession to make. For years, I treated chicken breasts like the difficult in-laws of the protein world. You know the type. They’re necessary, they’re lean, and if you look at them the wrong way, they turn into dry, cardboard-like hockey pucks. I used to buy them on sale, pile them high in the cart, and then feel guilty every time I pulled a rubbery, flavorless piece out of the oven. It was embarrassing, really. I was spending money on good meat and turning it into a meal nobody wanted.
Then, about two years ago, I was hosting a casual Sunday dinner for some friends who were visiting from out of town. I decided to make a simple roasted chicken dinner because it felt “safe.” I followed the standard instructions: high heat, no cover, maybe some lemon slices on top. Ten minutes before it was supposed to be done, I checked it. The outside was golden, but the inside? Pale, tough, and utterly dry. I watched my friend take a bite and politely chew while I internally cringed. That was the breaking point.
I went home and threw my hands up, wondering if I just lacked the skill to cook poultry. But then I remembered a technique I’d seen a chef use years ago—something about butter and patience. I decided to try a new method: baking the chicken low and slow, but finishing it with a generous slathering of herb butter to lock in the juices. I made it that night, terrified it would fail again. Instead, when I sliced into it, the meat yielded like butter. It was juicy, tender, and packed with flavor. My friends didn’t even notice the switch until I told them. That night, I stopped fearing chicken breasts. I started loving them.
This is the Never-Dry Oven-Baked Chicken Breast with Herb Butter that saved my weeknight dinners. It’s not magic; it’s just science and a little bit of patience. Once you master this method, you’ll never go back to the old, dry way. It’s the kind of recipe that makes you feel like a pro chef, even if you’re just standing in your kitchen at 6 PM on a Tuesday.
Why You’ll Love This Recipe
There are a lot of chicken recipes out there, but this one has earned a permanent spot in my rotation for reasons that go beyond just being tasty. Here’s why this specific method works so well, and why your family will ask for it again and again.
It’s Actually Juicy (I Promise) — The low-and-slow baking method keeps the proteins from seizing up. Most people bake chicken at 400°F or higher, which squeezes the moisture out before the inside is cooked. This recipe bakes at a gentler temperature, ensuring the center stays tender and moist. I’ve tested this against high-heat methods, and the difference is night and day.
Herb Butter Does the Heavy Lifting — Chicken breast is lean, which means it needs fat to carry flavor. The herb butter isn’t just a garnish; it’s a marinade of sorts. As the butter melts during the bake, it infuses the meat with garlic, thyme, and parsley from the inside out. It’s the secret to that restaurant-quality taste.
Stupid Simple Technique — You don’t need to brine it for 12 hours or pound it into thin sheets. You just season it, bake it, and rest it. If you can put a chicken breast on a baking sheet and put it in the oven, you can make this. I’ve made this recipe while balancing a toddler on my hip, and it still turned out perfect.
Perfect for Meal Prep — Because this method is so forgiving, the leftovers don’t dry out in the fridge like boiled chicken does. I pack this for lunch all week, and by day three, it’s still moist enough to shred over a salad or slice into a sandwich. It’s my go-to for meal prep lunches because it pairs perfectly with grains and veggies.
Versatile Flavor Profile — While the herb butter version is my favorite, the base technique works for almost any flavor profile. Swap the herbs for lemon-pepper, or add chili flakes for a kick. It’s a blank canvas that lets you experiment without risking a dry dinner.
This recipe takes the stress out of weeknight cooking. No more worrying if the chicken is overcooked. No more dry mouthfuls. Just reliable, juicy, flavorful chicken that makes everyone at the table happy.
Ingredients You’ll Need
One of the best things about this oven-baked chicken breast recipe is how simple the ingredient list is. You likely have most of this in your pantry right now. I’m not asking for anything exotic or hard to find. Just good, honest food.
Chicken Breasts (4 large breasts, about 1.5 lbs each) — Look for breasts that are relatively uniform in size. If one is tiny and another is huge, they’ll cook at different rates. I usually buy boneless, skinless breasts because they’re convenient, but if you can find organic ones, the flavor difference is noticeable. Don’t buy the ones that are injected with a saline solution—check the label for “no added solution.” It makes a difference in how they brown.
Unsalted Butter (4 tablespoons) — This is the star of the show. Use real butter, not margarine. Salted butter can work, but since we’re controlling the salt elsewhere, unsalted gives you better control over the final flavor. Let it soften slightly so it’s easy to mix with the herbs.
Fresh Herbs (2 tablespoons total) — I use a mix of fresh thyme and parsley. Fresh thyme has a subtle, earthy flavor that pairs beautifully with chicken. Fresh parsley adds a bright, grassy note. If you don’t have fresh herbs, you can use dried, but reduce the amount by half. Dried thyme is potent! I always keep a small pot of fresh parsley on my counter because I use it in everything.
Garlic (3 cloves, minced) — Fresh garlic is non-negotiable here. Jarred garlic has a metallic aftertaste that really shows up in butter sauces. Mince it finely so it distributes evenly. If you’re really lazy, you can use a garlic press, but mincing by hand gives you better texture control.
Olive Oil (2 tablespoons) — Just a splash to help the herbs stick and prevent the butter from burning. Use extra virgin olive oil for the best flavor, but a neutral oil works too if you’re watching the budget.
Salt and Black Pepper — Kosher salt is my preference because the flakes are easier to pinch and distribute evenly. Use about 1 teaspoon of kosher salt, or ¾ teaspoon of table salt. Freshly cracked black pepper adds a nice heat. Don’t skimp on the seasoning; chicken breast needs salt to taste like chicken.
Optional: Lemon (1 lemon, sliced) — I like to add a few lemon slices to the pan. They don’t go on the chicken, but they roast in the juices and add a subtle citrus aroma to the kitchen. It’s a nice touch if you’re serving this for company.
Common Substitutions:
- Butter: If you’re dairy-free, use olive oil or a plant-based butter stick. It won’t be exactly the same, but it will still be moist.
- Herbs: Use Italian seasoning if you’re short on fresh herbs. It’s a blend that works well here.
- Chicken: This method works for chicken thighs too, but they’ll need a slightly longer cook time. Thighs are harder to dry out, so you have more margin for error.
Equipment Needed
You don’t need fancy gadgets to make this chicken. Here’s what I actually use in my kitchen.
Rimmed Baking Sheet — I use a standard half-sheet pan. Make sure it has a rim to catch any juices. I prefer dark metal pans because they conduct heat well, but light-colored pans work fine too. Just keep an eye on the browning.
Wire Rack (Optional but Recommended) — Placing the chicken on a wire rack over the baking sheet allows air to circulate underneath. This helps the bottom cook evenly and prevents it from steaming in its own juices. I love this setup for roasted chicken too. If you don’t have a rack, just bake it directly on the sheet, but you might need to flip halfway through.
Instant-Read Thermometer — This is the most important tool in your kitchen. If you’re serious about never-dry chicken, you need a thermometer. Guessing with a knife is unreliable. I use a Thermapen, but any cheap digital thermometer from the dollar store works perfectly. It’s worth the $10 investment.
Small Bowl — For mixing the herb butter. Any small mixing bowl will do.
Measuring Spoons — Standard stuff. I keep a set in my top drawer.
How to Make It: Step-by-Step
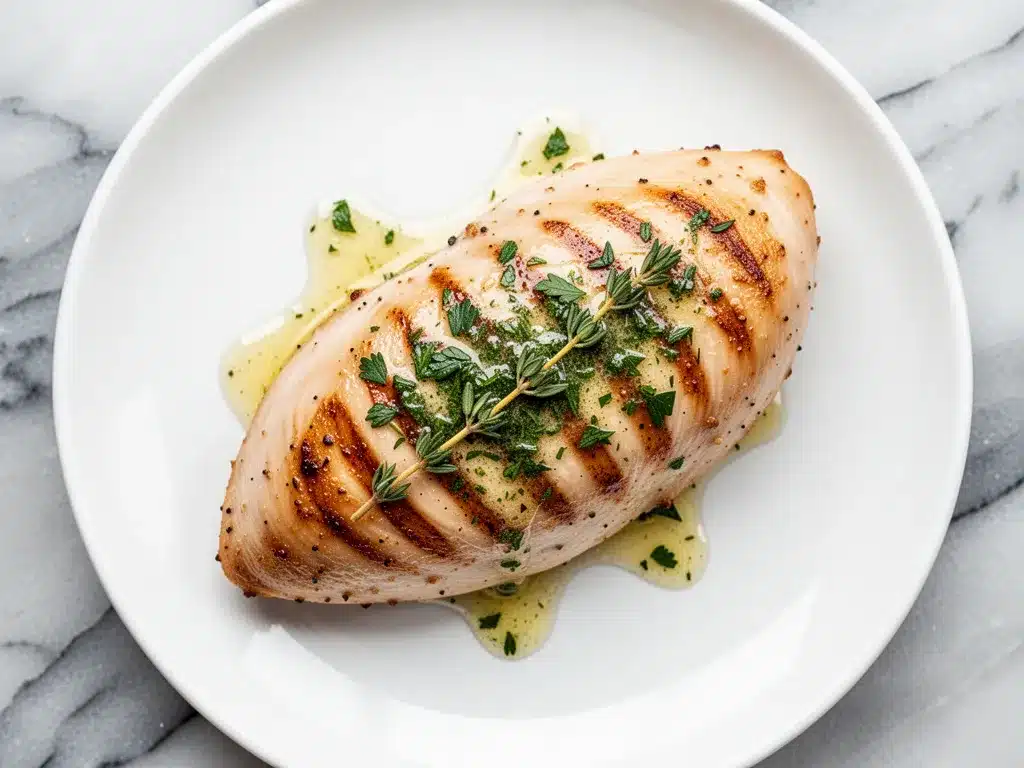
Alright, let’s get cooking. This process is straightforward, but the order matters. I’m walking you through exactly how I do it, including the little tricks I’ve picked up over the years.
Step 1: Prep the Chicken (5 minutes)
Take your chicken breasts out of the fridge. This is crucial. Cold chicken hits the hot oven and cooks unevenly. Let it sit on the counter for 15-20 minutes while you preheat the oven. Pat the chicken dry with paper towels. Moisture is the enemy of browning and can lead to steaming. You want the surface dry so the herb butter can adhere properly.
Step 2: Make the Herb Butter (2 minutes)
In a small bowl, combine the softened butter, minced garlic, chopped fresh thyme, chopped parsley, and a pinch of salt and pepper. Mix it thoroughly with a fork until it’s a smooth paste. This is your flavor bomb. Taste it—it should smell amazing. If it needs more salt, add a tiny bit now.
Step 3: Season the Chicken (2 minutes)
Place the chicken breasts on your baking sheet. Drizzle lightly with olive oil and rub it in. Then, season both sides generously with salt and pepper. Don’t be shy. The chicken needs to be seasoned on the surface so it tastes good even before you add the butter.
Step 4: Add the Herb Butter (1 minute)
Take a generous dollop of the herb butter (about 1 tablespoon per breast) and spread it over the top of each chicken breast. Use your fingers to push it into any crevices. You want as much of that butter to touch the meat as possible. This will melt into the chicken during baking.
Step 5: Bake (20-25 minutes)
Place the baking sheet in the preheated oven. Bake at 350°F (175°C). Do not open the oven door for the first 15 minutes. Opening the door lets heat escape and can cause the chicken to cook unevenly. After 15 minutes, you can check it, but don’t disturb it too much.
Step 6: Check the Temperature (1 minute)
This is the most important step. Insert your instant-read thermometer into the thickest part of the chicken. You want to pull it out when it reaches 155°F (68°C). It might seem low, but that’s intentional. The residual heat will continue to cook the chicken as it rests, bringing it up to the safe 165°F (74°C) without drying it out. If you wait until it hits 165°F in the oven, it will likely be overcooked by the time you eat it.
Step 7: Rest the Chicken (5-10 minutes)
Remove the chicken from the oven and transfer it to a plate or cutting board. Tent it loosely with foil. Do not skip this step! Resting allows the juices to redistribute throughout the meat. If you cut into it immediately, all the juices will run out, and you’ll be left with dry chicken. Let it rest for at least 5 minutes, preferably 10. While it rests, you can make a quick pan sauce with the drippings if you want.
Total Time: About 35-40 minutes (including prep and resting).
Expert Tips & Tricks
Here’s everything I’ve learned from making this dozens of times. These tips will save you from my mistakes.
The 155°F Rule
I cannot stress this enough. Pull the chicken at 155°F. It’s the single biggest factor in keeping it juicy. The carryover cooking will finish the job. If you’re paranoid, you can pull it at 150°F, but 155°F is the sweet spot for most breasts.
Don’t Overcrowd the Pan
Give the chicken space. If you pile them on top of each other, they’ll steam instead of bake. If you’re making more than four breasts, use two baking sheets. Air circulation is key.
Butter Temperature Matters
Make sure your butter is softened, not melted. Melted butter will run off the chicken too quickly. Softened butter stays put and creates a flavorful crust as it bakes.
Pan Sauce Shortcut
After you remove the chicken, don’t throw away the pan drippings. Add a splash of chicken broth or white wine to the hot pan and scrape up the browned bits. Simmer for 2 minutes. Pour this over the sliced chicken. It’s a restaurant-quality touch that takes zero effort.
Common Mistakes (and how to avoid them)
- Mistake: Chicken is dry. Fix: You cooked it too long. Next time, pull it at 155°F and rest it longer.
- Mistake: Chicken is pale. Fix: Your oven might be running cool. Check your oven temperature with an independent thermometer. Also, make sure the butter is on top, not underneath.
- Mistake: Garlic burns. Fix: If your oven runs hot, the garlic in the butter might brown too much. Keep an eye on it after 15 minutes. If it’s browning too fast, cover loosely with foil.
Variations & Substitutions
Once you’ve nailed the basic version, here’s how you can mix it up. I’ve tried all of these, and they all work.
Lemon Pepper Chicken
Skip the fresh herbs and mix the butter with lemon zest, black pepper, and a pinch of cayenne. It’s bright, zesty, and slightly spicy. Great with pasta or rice.
Garlic Parmesan Chicken
Add ¼ cup grated Parmesan cheese to the herb butter mixture. The cheese melts into a savory crust. This is a huge hit with kids who are picky about herbs.
Honey Garlic Chicken
Whisk 1 tablespoon of honey into the butter mixture. It caramelizes beautifully in the oven. Pair this with sweet sides like roasted carrots or sweet potatoes.
Spicy Cajun Chicken
Add 1 teaspoon Cajun seasoning and a pinch of smoked paprika to the butter. It gives the chicken a smoky, spicy kick. Serve with pickled red onions for a tangy contrast.
Dairy-Free Version
Use olive oil instead of butter. Add the herbs and garlic to the oil and rub it over the chicken. It won’t have the same richness, but it will still be moist if you follow the temperature guidelines.
Serving & Storage
How to Serve:
I usually serve this chicken with roasted vegetables, mashed potatoes, or a simple green salad. It’s versatile enough to go with almost anything. For a more elaborate meal, I like to pair it with wild rice and mushroom casserole for a hearty, comforting dinner.
Leftovers:
Store leftover chicken in an airtight container in the fridge for up to 4 days. The herb butter actually helps preserve the moisture, so it stays good longer than plain baked chicken.
Reheating:
To reheat, add a splash of chicken broth to the chicken in a skillet over low heat. Cover and warm gently for 5-7 minutes. This brings back the juiciness. Avoid the microwave, which tends to dry out the edges. If you must use the microwave, cover it with a damp paper towel and heat in 30-second intervals.
Freezing:
You can freeze cooked chicken, but the texture might change slightly. Slice the chicken and freeze it in a single layer on a baking sheet, then transfer to a freezer bag. It’s best used in soups, stews, or salads rather than served whole.
Nutrition Information
I’m not a nutritionist, but here’s the breakdown if you’re tracking. Keep in mind that this is an estimate based on standard ingredients.
Per Serving (1 chicken breast with herb butter):
- Calories: 320
- Protein: 40g
- Carbs: 1g
- Fat: 16g
- Saturated Fat: 8g
- Cholesterol: 130mg
- Sodium: 350mg
This is a high-protein, low-carb option. The fat comes primarily from the butter, which adds flavor and moisture. If you’re watching your saturated fat intake, you can reduce the butter to 2 tablespoons total or use a lighter olive oil spread.
Final Thoughts
So that’s my go-to never-dry oven-baked chicken breast with herb butter! I’ve probably talked your ear off at this point, but when you make a recipe this often, you have a lot to say about it. This method has saved me from countless dry dinners and made me feel confident in the kitchen. It’s simple, reliable, and delicious.
Make it yours! Try different herbs, add some spice, or serve it with your favorite sides. The best recipes are the ones you adapt to your family’s tastes. If you make this, drop a comment and let me know how it turned out. I love hearing how recipes work in your kitchen. And if something doesn’t work, tell me that too—I’m here to help troubleshoot.
Happy cooking! I hope your kitchen smells as good as mine does right now.
Frequently Asked Questions
Q: Can I use frozen chicken breasts?
A: It’s not recommended. Frozen chicken cooks unevenly and can end up dry or undercooked in the middle. It’s best to thaw them completely in the fridge overnight before cooking. If you’re in a rush, you can thaw them in cold water, but never cook them frozen.
Q: Why did my chicken turn out dry?
A: Most likely, you cooked it too long. Remember to pull it at 155°F and let it rest. Also, check your oven temperature. If your oven runs hot, you might be overcooking it. Use a thermometer to be sure.
Q: Can I make this in an air fryer?
A: Yes! Cook at 375°F for 12-15 minutes, flipping halfway through. Check the temperature at 10 minutes. The herb butter might drip off, so you can brush some on at the end if you want.
Q: What’s the best side dish for this chicken?
A: I love it with roasted asparagus, garlic mashed potatoes, or a simple Caesar salad. It pairs well with almost any vegetable or grain.
Q: Can I prep the herb butter ahead of time?
A: Absolutely. Mix the butter and herbs up to 3 days in advance and store it in the fridge. It will harden, but just let it soften slightly before using. It actually helps the flavors meld.
Q: Is this recipe good for meal prep?
A: Yes, it’s one of the best for meal prep because the herb butter keeps it moist. Slice it up and store it with your grains or veggies. It tastes great cold or reheated.
Pin This Recipe!
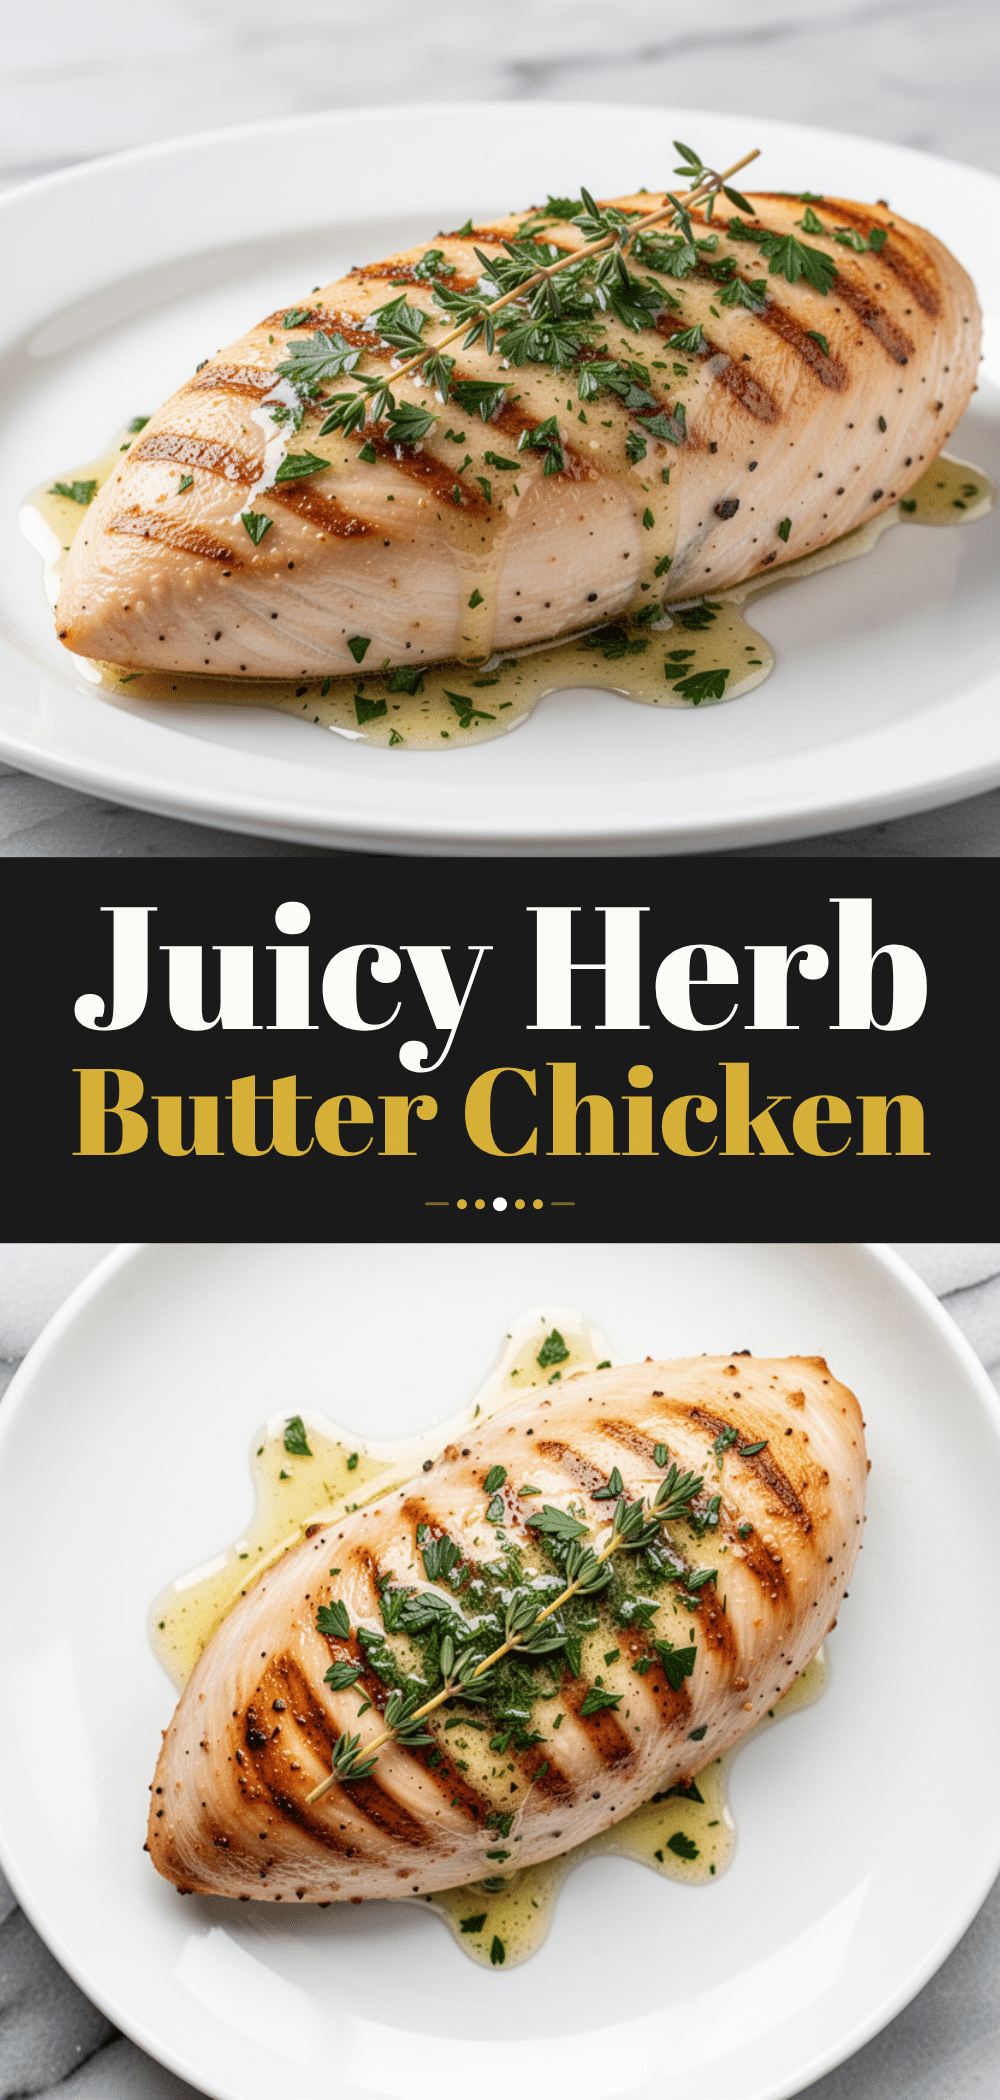
Never-Dry Oven-Baked Chicken Breast with Herb Butter
- Total Time: 35-40 minutes
- Yield: 4 servings 1x
Description
A simple, reliable recipe for juicy and tender oven-baked chicken breasts using a low-and-slow baking method topped with a flavorful herb butter.
Ingredients
- 4 large boneless, skinless chicken breasts (about 1.5 lbs each)
- 4 tablespoons unsalted butter, softened
- 2 tablespoons fresh herbs (mix of thyme and parsley), chopped
- 3 cloves garlic, minced
- 2 tablespoons olive oil
- 1 teaspoon kosher salt (or 3/4 teaspoon table salt)
- Freshly cracked black pepper
- 1 lemon, sliced (optional)
Instructions
- Preheat oven to 350°F (175°C). Take chicken breasts out of the fridge and let them sit on the counter for 15-20 minutes to reach room temperature. Pat dry with paper towels.
- In a small bowl, mix the softened butter, minced garlic, chopped herbs, and a pinch of salt and pepper to create a smooth herb butter paste.
- Place chicken breasts on a rimmed baking sheet. Drizzle with olive oil and rub in. Season both sides generously with salt and pepper.
- Spread about 1 tablespoon of the herb butter over the top of each chicken breast, pushing it into crevices.
- Bake in the preheated oven for 20-25 minutes. Do not open the oven door for the first 15 minutes.
- Check the internal temperature with an instant-read thermometer. Remove chicken when it reaches 155°F (68°C).
- Transfer chicken to a plate or cutting board and tent loosely with foil. Let rest for 5-10 minutes before serving to allow juices to redistribute.
Notes
Pull chicken at 155°F as residual heat will bring it to 165°F during resting. Do not overcrowd the pan. Ensure butter is softened, not melted. For a pan sauce, deglaze the pan with broth or wine after removing chicken.
- Prep Time: 10 minutes
- Cook Time: 25 minutes
- Category: Main Course
- Cuisine: American
Nutrition
- Serving Size: 1 chicken breast wit
- Calories: 320
- Sodium: 350
- Fat: 16
- Saturated Fat: 8
- Carbohydrates: 1
- Protein: 40
Keywords: chicken breast, oven-baked chicken, juicy chicken, herb butter, meal prep, easy dinner, low carb, high protein


