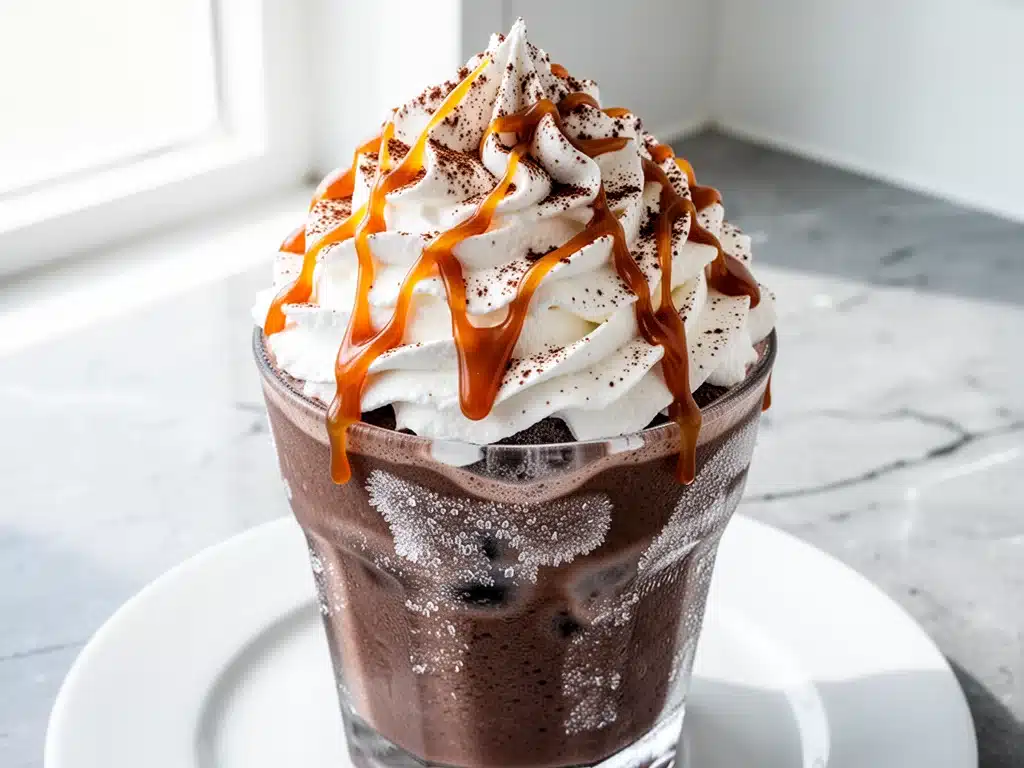
Last January, I woke up at 5:30 AM on a Saturday because my house was freezing. The heater had kicked out somewhere around midnight, and I was shivering under three blankets. Instead of making the sensible choice and drinking a mug of hot water, I stumbled into the kitchen, threw a handful of chocolate chips into the blender, and hit the ice button. I didn’t expect much. I expected a slushy disappointment.
But then I took the first sip. It was thick, cold, rich, and tasted exactly like a liquid chocolate bar melted into cream. It was the kind of drink that makes you forget you’re freezing cold because you’re too busy enjoying the sugar rush. I finished it in two minutes and immediately felt warmer. That was the day I discovered that Ultra-Rich Frozen Hot Chocolate with Whipped Cream isn’t just a treat; it’s a survival tool for cold mornings.
I’ve made this drink dozens of times since then. I’ve tried it with dark chocolate, milk chocolate, and even cocoa powder mixes. I’ve experimented with different milks and different ice ratios. Through all the trial and error, one thing became clear: the best version is the one that tastes like dessert but takes less time than brewing coffee. This isn’t that fancy, complicated frozen hot chocolate you see at trendy cafes with the fancy foam art. This is the real deal. It’s the kind of drink that feels like a hug in a glass.
If you’ve ever craved something sweet but heavy on a winter night, or if you just want a weekend brunch drink that feels indulgent without the oven heat, this is it. I’ve refined the method so you can make it in under five minutes. No fancy machinery required. Just a blender, some ice, and your favorite chocolate.
Why You’ll Love This Recipe
There are a hundred reasons to make this, but let’s be real—you’re here because you want chocolate. Here’s why this perfect frozen hot chocolate beats the rest:
- One-Step Simplicity — Seriously, it’s one step. You dump everything in the blender and hit go. I’ve made this while wearing pajamas, holding a toddler, and trying to answer the phone. It works even when you’re distracted.
- Restaurant Quality at Home — You know those frozen drinks at coffee shops that cost $8 and taste like syrup and ice water? This tastes like actual chocolate. It’s thick, creamy, and rich. My kids think it’s magic.
- Customizable Sweetness — Everyone’s sugar tolerance is different. This recipe lets you control exactly how sweet it is. Want it dark and intense? Use dark chocolate. Want it like a candy bar? Use milk chocolate and a little extra sugar.
- Quick Breakfast or Dessert — It’s versatile. I make this for Saturday morning brunch when I don’t want to cook eggs. I also make it for Sunday night dessert when I need something fast. It fits anywhere.
- Whipped Cream is Non-Negotiable — I know, I know, it’s “extra.” But the cold, sweet cream on top of the icy chocolate is the perfect contrast. It’s the difference between a snack and an experience. Don’t skip it.
This is my go-to when I need a quick mood lift. It’s reliable, it’s delicious, and it makes everyone in the house happy. Plus, cleanup is just the blender jar. That’s it.
Ingredients You’ll Need
Here’s the thing about this recipe: the quality of your chocolate matters. If you use low-quality chips, the drink will taste waxy. If you use good chocolate, it tastes like velvet. I’m particular about this part.
For the Chocolate Base
Milk Chocolate Bars or Chips (2 cups / 340g) — I prefer using actual chocolate bars chopped up, but chips work fine if you’re in a rush. Look for a brand with at least 50% cocoa solids. Too much sugar in the chocolate will make the drink cloying. I like Ghirardelli or Lindt for this.
Heavy Cream (½ cup / 120ml) — This is what gives it that ultra-rich texture. You can’t use skim milk here. It’ll be watery. Whole milk is okay, but heavy cream makes it taste like a milkshake. If you want a lighter version, use half-and-half, but don’t skip the fat.
Milk (1 cup / 240ml) — Whole milk is best for flavor, but almond or oat milk works if you’re dairy-free. Just know the texture will be thinner. I stick to whole milk because I like the richness.
Sugar (2-3 tablespoons) — This depends on your chocolate. If your chocolate is already sweet, start with 2 tablespoons. Taste the chocolate first. If you’re using dark chocolate, you’ll need the full 3 tablespoons.
Vanilla Extract (1 teaspoon) — This sounds small, but it rounds out the chocolate flavor. Don’t skip it. It makes the chocolate taste more like chocolate, not just sweet milk.
Ice Cubes (2 cups / 150g) — You need a lot of ice to get that slushy consistency. Use large cubes if you can—small ice cubes melt too fast and water down the drink. I keep a dedicated bag of ice just for this.
For the Topping
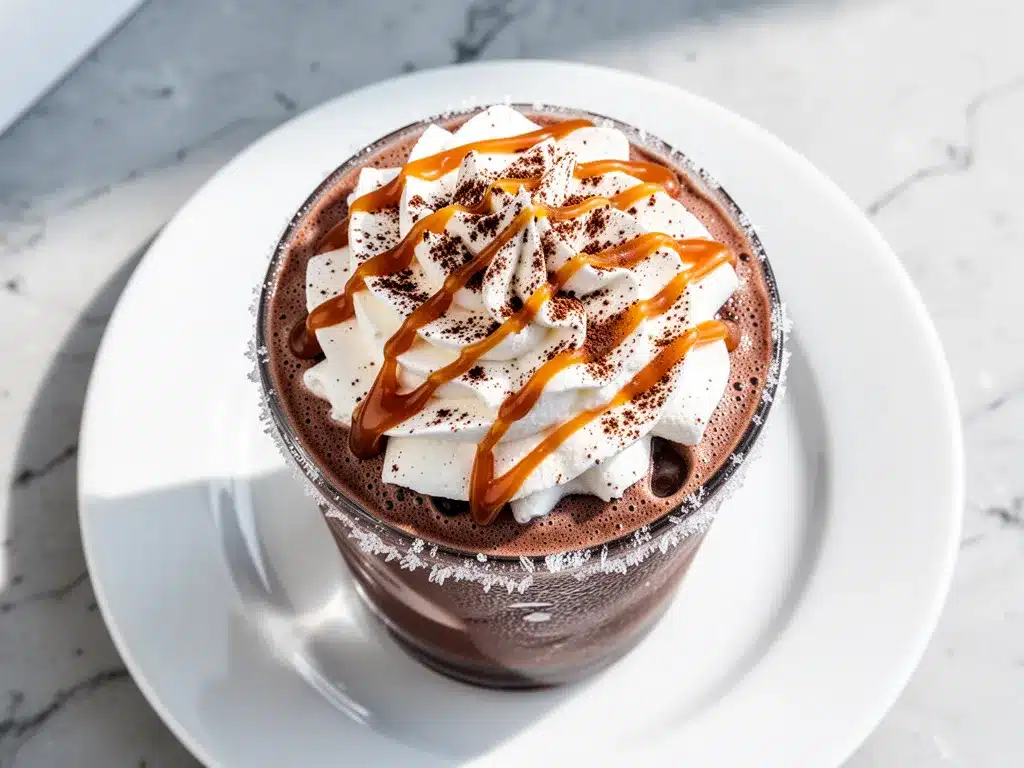
Heavy Whipping Cream (½ cup / 120ml) — Chilled. This is crucial. Cold cream whips up faster and holds its shape better.
Confectioners’ Sugar (1 tablespoon) — Just enough to sweeten the cream slightly. It balances the bitterness of the chocolate.
Cocoa Powder (1 teaspoon) — For dusting on top. It makes it look fancy. Also helps with the “chocolate overload” factor.
Chocolate Shavings — Optional, but it makes it look like you tried. I just shave a chunk of chocolate with a peeler.
Equipment Needed
You don’t need a fancy machine for this. Here’s what I actually use:
High-Speed Blender — I use a Vitamix, but a standard Ninja or Hamilton Beach works fine. You just need enough power to crush the ice and melt the chocolate. If your blender struggles, chop the chocolate smaller first.
Measuring Cups and Spoons — Standard stuff. I have a set from the dollar store that’s been fine for years.
Electric Hand Mixer or Stand Mixer — For the whipped cream. If you don’t have one, you can buy pre-whipped cream at the store. I don’t judge. But homemade is better.
Microplane or Peeler — For shaving chocolate. If you don’t have one, just chop it finely with a knife.
Straws — Wide straws are best for this. You want to get some of that ice and chocolate in every sip.
How to Make It: Step-by-Step
Alright, let’s make this! It’s actually one step for the drink, plus a few minutes for the topping. I’m walking you through exactly how I do it.
Step 1: Prep the Chocolate
If you’re using chocolate bars, chop them into small pieces. This helps them melt faster in the blender. If you’re using chips, you can skip this. I usually chop mine because I like seeing chunks of chocolate in the final drink.
Step 2: Blend the Base
Add the chocolate, heavy cream, milk, sugar, and vanilla to your blender. Pulse it a few times to break up the chocolate. Then, add the ice cubes. Secure the lid tightly.
Pulse again a few times, then blend on high. Blend for 30-45 seconds. You want the mixture to be thick, slushy, and smooth. If it’s too thick to blend, add a splash more milk. If it’s too thin, add more ice. The consistency should be like a thick milkshake.
Pro Tip: Taste it while it’s blending. If it’s not sweet enough, add a little more sugar and pulse again. If it’s too sweet, add a tiny bit of cocoa powder.
Step 3: Make the Whipped Cream
While the drink blends, whip your cream. Pour the cold heavy cream into a bowl. Add the confectioners’ sugar. Beat with an electric mixer on medium-high speed for 2-3 minutes until stiff peaks form. Don’t overbeat it, or it’ll turn into butter. Stop when it holds its shape.
Step 4: Assemble
Pour the frozen hot chocolate into tall glasses. Top with a generous dollop of whipped cream. Dust with cocoa powder and add chocolate shavings if you’re feeling fancy. Serve immediately with a straw.
Expert Tips & Tricks
Here’s everything I’ve learned from making this dozens of times. These tips will save you from my mistakes.
Use Cold Ingredients — The colder your cream and milk are, the thicker the drink will be. If your ingredients are warm, the ice melts faster and you end up with a watery chocolate drink. I keep my cream in the back of the fridge, where it’s coldest.
Don’t Skimp on Ice — It’s called *frozen* hot chocolate for a reason. You need enough ice to make it slushy. If you use too little ice, it’s just a chocolate milkshake. If you use too much, it’s slushie water. Aim for a thick, frosty texture.
Chop Your Chocolate — Even if you’re using chips, chopping them helps them distribute evenly. Whole chips can sometimes get stuck in the blender blades. Small pieces blend smoother.
Whip the Cream Properly — Make sure your bowl and beaters are cold. If you’re in a hurry, put them in the freezer for 10 minutes. Cold cream whips faster and holds its shape better.
Serve Immediately — This drink melts fast. If you let it sit for more than 10 minutes, it’ll turn into a thin liquid. Make it right before you want to drink it.
Variations & Substitutions
Once you’ve nailed the basic version, here’s how you can mix it up. I’ve tried all of these.
Mocha Version — Add a shot of espresso or a tablespoon of instant coffee to the blender. It adds a nice depth of flavor. This is my favorite for winter mornings.
Peppermint Hot Chocolate — Add ½ teaspoon of peppermint extract to the blender. Top with crushed candy canes. Perfect for December.
Caramel Drizzle — Drizzle caramel sauce inside the glass before pouring the drink. It looks beautiful and tastes amazing. I use store-bought caramel, but homemade is better.
Dairy-Free — Use coconut cream instead of heavy cream and oat milk instead of dairy milk. It’s rich and creamy, though it has a slight coconut flavor.
Lighter Version — Use almond milk and skip the whipped cream. It’s still good, but it won’t be as rich. I make this when I’m trying to be “healthy.”
Serving & Storage
How to Serve: I usually serve this straight in tall glasses with wide straws. It looks rustic and stays cold. You can also serve it in mugs if you prefer.
Side Dishes: This pairs well with anything breakfast or brunch-related. I like it with fall apple cider donut muffins or bakery-style raspberry white chocolate scones. It’s also great with pumpkin spice cinnamon rolls if you’re doing a big weekend brunch.
Storage: You can’t really store this. It’s best made fresh. If you have leftovers, drink them within an hour. They’ll melt and lose their texture.
Nutrition Information
I’m not a nutritionist, but here’s the breakdown if you’re tracking. This is a treat, so don’t eat it every day.
Per Serving (based on 2 servings):
- Calories: 450
- Protein: 6g
- Carbs: 52g
- Fiber: 2g
- Sugar: 48g
- Fat: 24g
- Saturated Fat: 14g
- Cholesterol: 60mg
- Sodium: 80mg
What’s Good: It has some calcium from the dairy. It’s also a quick source of energy.
What to Know: It’s high in sugar and saturated fat. This is comfort food. Enjoy it in moderation.
Final Thoughts
So that’s my go-to ultra-rich frozen hot chocolate with whipped cream! I’ve probably talked your ear off at this point, but when you make a recipe this often, you have a lot to say about it.
This has saved winter mornings more times than I can count. It’s my answer to “what do I want for breakfast?” when I’m tired, don’t want to cook, and still want something that tastes really good. My kids are happy, my husband’s happy, and I’m happy because I’m not stressed about cooking.
Make it yours! Try different chocolates, add different extracts, swap in your favorite milk. The best recipes are the ones you adapt to your family’s tastes.
If you make this, drop a comment and let me know what you think! I love hearing how recipes turn out in your kitchen. And if something doesn’t work, tell me that too—I’m here to help troubleshoot.
Happy blending! And I hope your kitchen smells half as good as mine does right now.
Frequently Asked Questions
Can I use cocoa powder instead of chocolate?
You can, but the texture will be different. Cocoa powder won’t give you the same rich, creamy mouthfeel as actual chocolate. If you use cocoa powder, add ¼ cup of cocoa powder, ½ cup of sugar, and ¼ cup of cocoa butter or coconut oil to the blender. It works, but it’s not as good as the real thing.
Why is my frozen hot chocolate too watery?
Usually, this means you didn’t use enough ice, or your ingredients were too warm. Make sure you use cold milk and cream. Also, don’t be afraid to add more ice. Blend it longer if needed.
Can I make this ahead of time?
Not really. The ice will melt, and the texture will change. It’s best made fresh. If you’re hosting a party, make it in batches. It only takes 5 minutes per batch.
Can I use non-dairy milk?
Yes! Almond, oat, or soy milk work fine. Just know that the drink will be thinner. You might need to add a little more ice to compensate.
What kind of chocolate is best?
I like milk chocolate for its sweetness, but dark chocolate (60-70%) adds a nice depth. You can also mix them. Avoid chocolate chips with too much sugar or wax.
Can I add alcohol?
Absolutely! Add a shot of Baileys or Kahlúa to each glass before pouring the drink. It’s a great adult version for holidays.
How do I make the whipped cream?
Beat cold heavy cream with a tablespoon of sugar until stiff peaks form. Don’t overbeat it. If you don’t have a mixer, you can buy pre-whipped cream at the store.
Pin This Recipe!
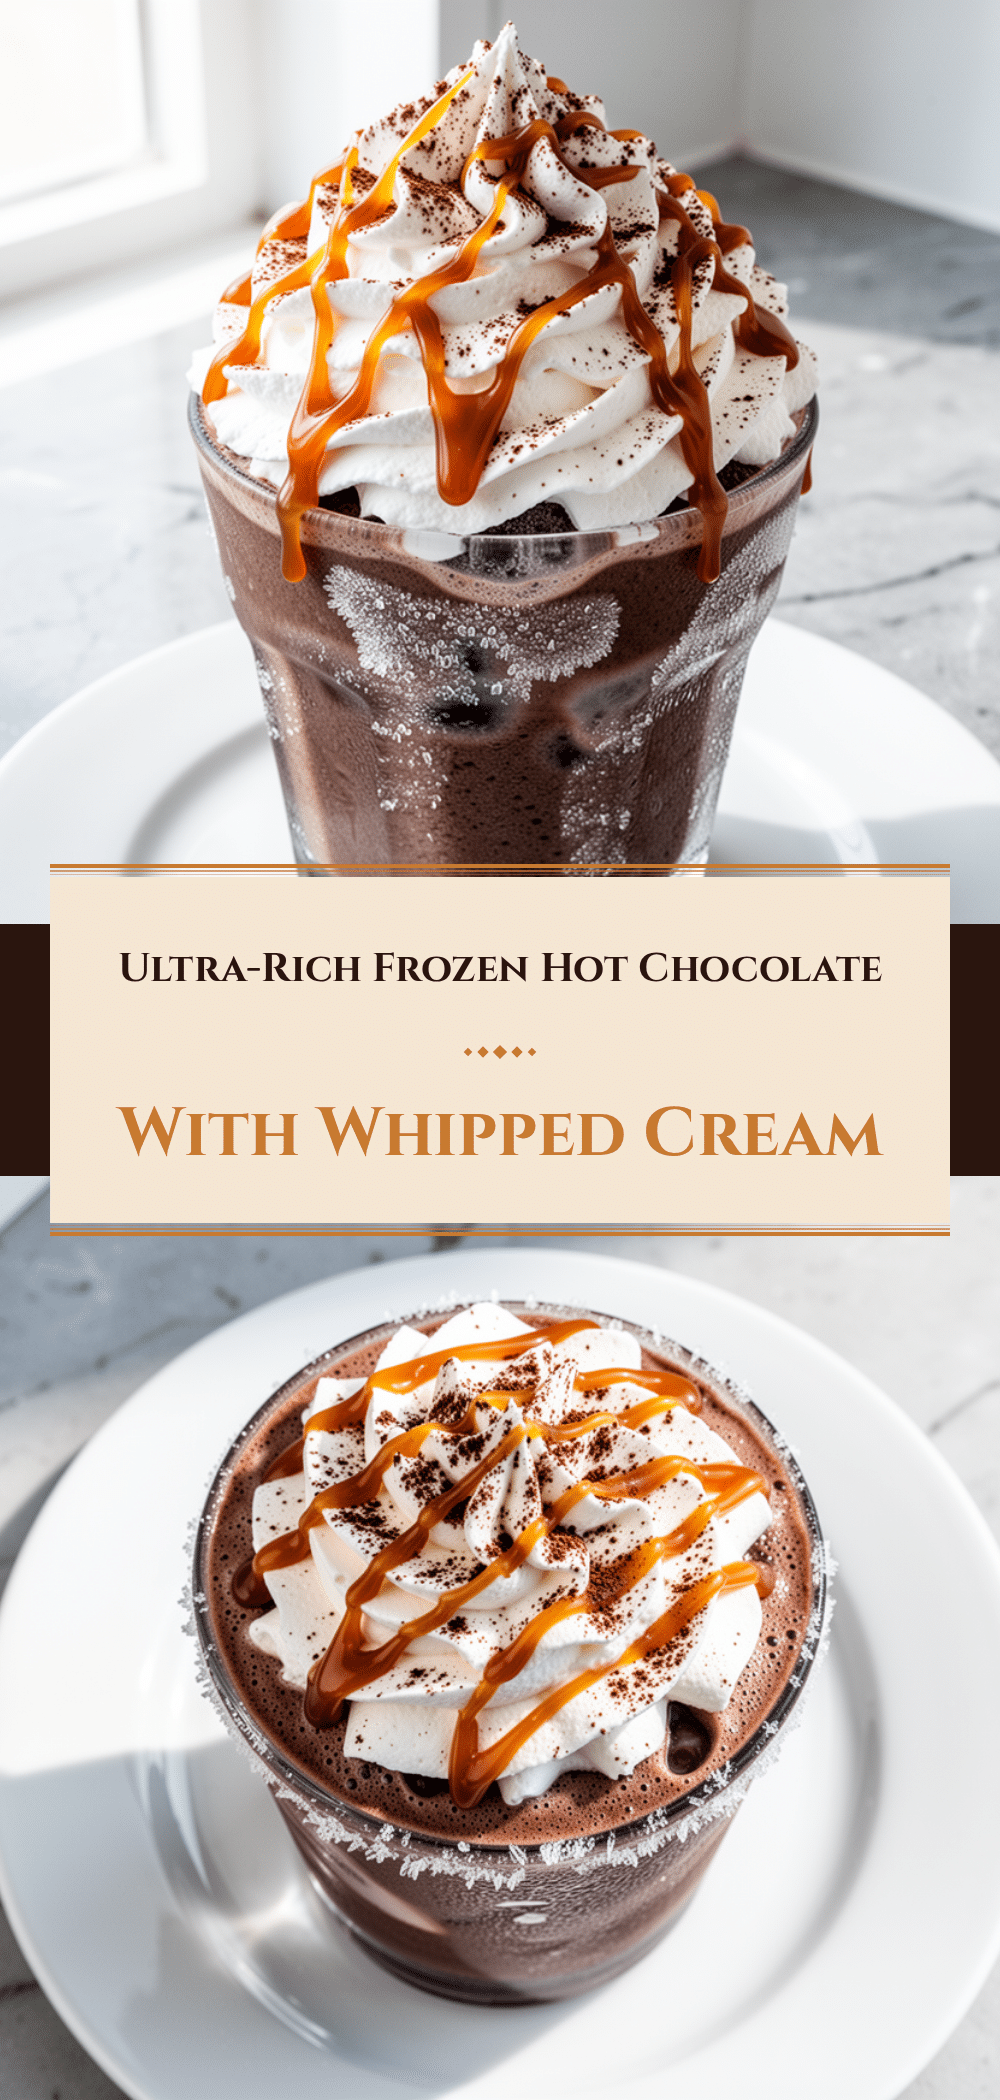
Perfect Frozen Hot Chocolate: 1-Step Easy Recipe
- Total Time: 5 minutes
- Yield: 2 servings 1x
Description
An ultra-rich, thick, and creamy frozen hot chocolate that tastes like a liquid chocolate bar. This one-step blender recipe is perfect for cold mornings or winter desserts, requiring only a few simple ingredients and minimal effort.
Ingredients
- 2 cups (340g) Milk Chocolate Bars or Chips
- 1/2 cup (120ml) Heavy Cream
- 1 cup (240ml) Whole Milk
- 2–3 tablespoons Sugar
- 1 teaspoon Vanilla Extract
- 2 cups (150g) Ice Cubes
- 1/2 cup (120ml) Heavy Whipping Cream (for topping)
- 1 tablespoon Confectioners’ Sugar (for topping)
- 1 teaspoon Cocoa Powder (for dusting)
- Chocolate Shavings (optional, for garnish)
Instructions
- If using chocolate bars, chop them into small pieces to help them melt faster.
- Add the chopped chocolate, heavy cream, milk, sugar, and vanilla extract to a high-speed blender.
- Pulse the blender a few times to break up the chocolate.
- Add the ice cubes to the blender.
- Secure the lid and blend on high for 30-45 seconds until the mixture is thick, slushy, and smooth. Adjust consistency with more milk or ice if needed.
- While the drink blends, prepare the whipped cream: Pour cold heavy cream into a bowl, add confectioners’ sugar, and beat with an electric mixer on medium-high speed for 2-3 minutes until stiff peaks form.
- Pour the frozen hot chocolate into tall glasses.
- Top generously with the whipped cream.
- Dust with cocoa powder and add chocolate shavings if desired.
- Serve immediately with wide straws.
Notes
Use cold ingredients for a thicker consistency. Do not skip the ice, as it provides the slushy texture. Serve immediately as the drink melts quickly. For a mocha version, add a shot of espresso. For a dairy-free version, use coconut cream and oat milk.
- Prep Time: 5 minutes
- Cook Time: 0 minutes
- Category: Dessert
- Cuisine: American
Nutrition
- Serving Size: 1 glass
- Calories: 450
- Sugar: 48
- Sodium: 80
- Fat: 24
- Saturated Fat: 14
- Carbohydrates: 52
- Fiber: 2
- Protein: 6
Keywords: frozen hot chocolate, blender recipe, winter drink, chocolate dessert, easy recipe, one-step recipe, whipped cream


