Last November, I was having one of those weeks where everything felt like too much. Work was crazy, the house was a mess, and I had promised my in-laws I’d bring dessert to their Thanksgiving gathering. The problem? I’m not a baker. I’m the person who burns toast. I’m the person who thinks “folding in the egg whites” is a suggestion, not a technique. So when I looked at my clock and realized I had maybe forty-five minutes to find a dessert that wouldn’t embarrass me in front of my father-in-law (who judges desserts with terrifying intensity), I panicked.
I considered ordering a pie from the grocery store. But we all know those are just sad, rubbery things that taste like regret and preservatives. I needed something that looked like I’d spent hours in the kitchen, but actually required zero oven time. That’s when I stumbled on the idea of combining two of my absolute favorite things: rich, tangy cheesecake and that addictive, crunchy caramelized sugar top of classic creme brulee.
I’ve made this creme brulee cheesecake at least a dozen times since that night. It’s become my secret weapon for dinner parties, holiday gatherings, and even just because I wanted chocolate-free sweetness on a Tuesday. The best part? It’s a no-bake dessert. That means no cracking eggs, no water baths, no worrying if your center is jiggly enough or too jiggly. It just works. And that torched sugar crust? It’s not just for show. It’s the moment everyone leans in, holds their breath, and then cheers when you crack that glass-like surface.
If you’re worried about torching sugar, don’t be. I’ll walk you through exactly how to do it without setting off the smoke alarm. This recipe is foolproof, impressive, and honestly, better than most bakery versions I’ve tried. Let’s get into it.
Why You’ll Love This No-Bake Cheesecake
There are about ten reasons I keep making this, but here are the big ones that keep me coming back to this creme brulee cheesecake recipe:
- Zero Oven Required — Seriously. If you have a refrigerator and a hand mixer, you can make this. I’ve made it in July when the AC was broken and the oven was too hot to stand near. No baking means no risk of cracks, no dry edges, and no waiting for the oven to preheat.
- The Texture is Unreal — Most no-bake cheesecakes are dense, like eating a block of sweetened cream cheese. This one is light, airy, and silky. The whipped cream folded in gives it that clouds-like consistency, while the cream cheese base keeps it rich. It melts in your mouth.
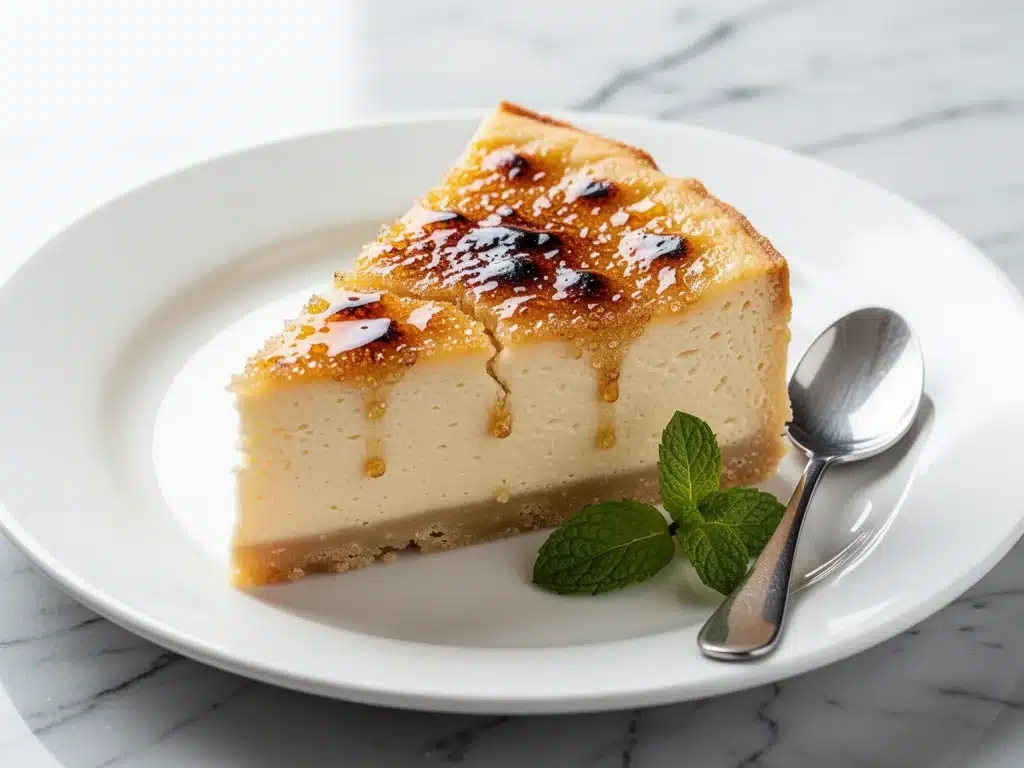
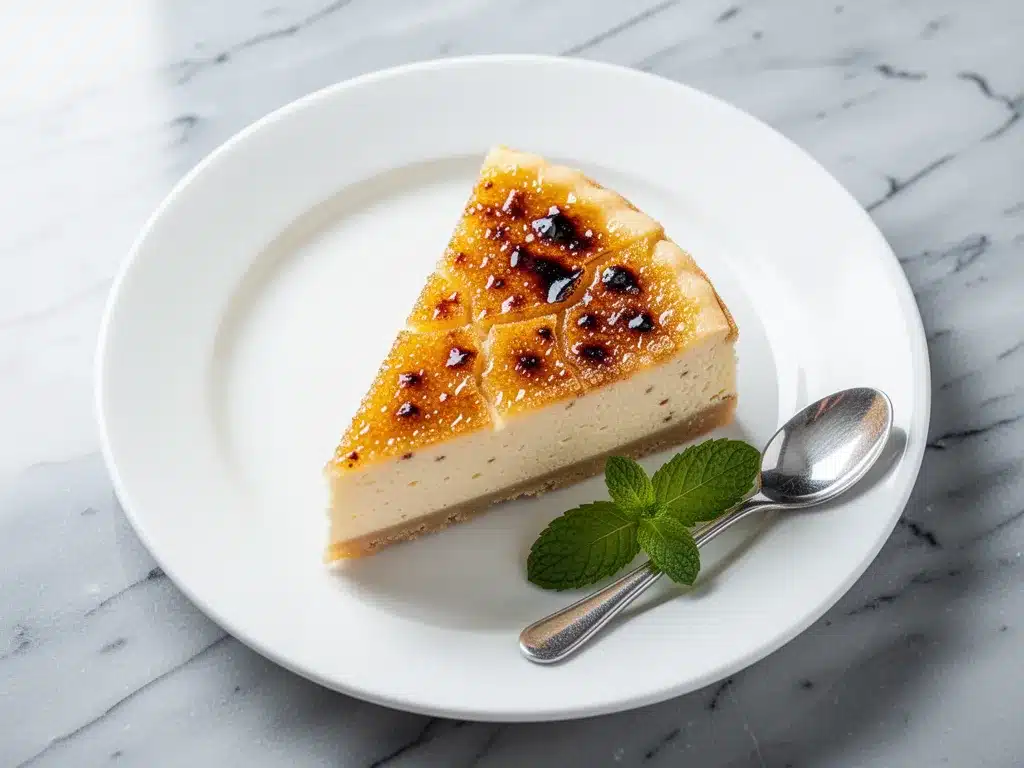
- The Sugar Crust Factor — This is the game-changer. That sharp, crunchy, caramelized sugar layer contrasts perfectly with the soft, cool filling. It’s the same satisfaction you get from real creme brulee, but in a sliceable format. It’s not just a topping; it’s an experience.
- Make-Ahead Friendly — This dessert actually needs time to set. I usually make it the night before. This means when guests arrive, the dessert is already done. I can focus on the main meal, wine, and actually talking to people instead of sweating over a hot oven.
- Gluten-Free Friendly — By using almond flour in the crust (or even just skipping it if you’re strict), this is naturally gluten-free. My gluten-free sister-in-law was skeptical, took one bite, and asked for the recipe. That’s high praise.
This is my go-to when I need to impress people without stressing out. It’s elegant, it’s delicious, and it tastes like you hired a pastry chef. Spoiler alert: you didn’t. You just followed my instructions.
Ingredients You’ll Need
Here’s the best part: you probably have most of this already in your fridge or pantry. I’m particular about three ingredients here, and I’ll tell you exactly why.
For the Crust
Almond flour (1 cup / 110g) — This gives the crust a nutty, tender texture that holds together better than graham crackers. If you don’t have almond flour, you can use crushed vanilla wafers or gluten-free oat flour, but almond flour is my favorite for that subtle sweetness.
Unsalted butter (6 tablespoons / 85g), melted — You want good quality butter here. It binds the crust and adds richness. I use European-style butter if I can find it, but regular salted butter works fine if you reduce the pinch of salt in the mix.
Granulated sugar (2 tablespoons / 25g) — Just enough to sweeten the crust slightly and help it crisp up. Don’t skip this; it helps the crust hold its shape when you slice it.
Pinch of salt — Enhances the almond flavor. Don’t be shy with it.
For the Cheesecake Filling
Full-fat cream cheese (16 ounces / 450g), softened — This is non-negotiable. I use Philadelphia bricks. Do not use the tub stuff or low-fat version. It will be grainy and won’t whip properly. Let it sit on the counter for 30 minutes before you start. Cold cream cheese is the enemy of smooth cheesecake.
Heavy whipping cream (2 cups / 480ml), cold — This is what makes it light. I use 35% fat content. If you use light cream, it won’t hold peaks. Keep this in the fridge until the last second.
Confectioners’ sugar (1 cup / 120g) — I sift this because lumps in powdered sugar are annoying and visible in light-colored desserts. If you’re in a rush, just whisk it extra well.
Vanilla bean paste (2 teaspoons) — Or 1 tablespoon of high-quality vanilla extract. Vanilla bean paste has those little black specks that look fancy and smell incredible. If you can’t find it, good extract works, just skip the specks.
Lemon juice (1 teaspoon) — Just a splash. It cuts the richness of the cream cheese and makes the vanilla flavor pop. You won’t taste lemon, I promise.
For the Torched Sugar Crust
Granulated sugar (½ cup / 100g) — This goes on top right before serving. You want regular white sugar. Brown sugar won’t caramelize the same way; it gets chewy. You need that glass-like snap.
Butane torch — Kitchen torches are cheap ($15-$20) and last forever. I’ve had mine for five years. If you don’t have one, see my tips below.
Optional Garnishes
Fresh berries — Raspberries or strawberries add a nice tart contrast. Mint leaves — For color. Edible gold dust — Because sometimes you want to feel fancy.
Equipment Needed
You don’t need fancy equipment for this. Here’s what I actually use.
9-inch Springform Pan — This is essential for easy removal. Make sure the bottom is tight; if it leaks, your crust will get soggy. I sometimes wrap the bottom in foil just to be safe.
Hand Mixer or Stand Mixer — A hand mixer is fine for this recipe. I use it because it’s easier to scrape the bowl. A stand mixer works too, but you’ll need to stop and scrape down the sides.
Large Mixing Bowl — I use a 5-quart bowl. Make sure it’s clean and dry.
Piping Bag or Spoon — For spreading the filling evenly. I just use a spatula; it’s not rocket science.
Kitchen Torch — For the sugar crust. I use a butane torch with a needle tip for precision.
Sieve or Sifter — For the powdered sugar. Trust me, sift it.
How to Make It: Step-by-Step
Alright, let’s make this! I’m walking you through exactly how I do it, including the little tricks I’ve picked up.
Step 1: Prep the Crust (5 minutes)
In a medium bowl, mix the almond flour, melted butter, sugar, and salt. It should look like wet sand. Press this mixture firmly into the bottom of your springform pan. Use the bottom of a measuring cup to pack it down tight. You want it even and compact. If it’s loose, it’ll crumble when you slice. Chill this in the freezer for 10 minutes while you make the filling.
Step 2: Whip the Cream Cheese (3 minutes)
In your large bowl, beat the softened cream cheese on medium-high speed until it is completely smooth and creamy. No lumps. This takes about 2 minutes. Scrape down the sides of the bowl. If there are lumps, your cheesecake will be grainy. Add the sifted powdered sugar, vanilla, and lemon juice. Beat until combined. It should be thick and glossy.
Step 3: Whip the Cream (2 minutes)
In a separate cold bowl, whip the heavy cream until stiff peaks form. This means when you lift the beaters, the cream stands up straight. Don’t over-whip it into butter, just stiff peaks.
Step 4: Fold It Together (3 minutes)
This is the most important step. Add one-third of the whipped cream to the cream cheese mixture and fold gently with a spatula to lighten it. Then add the rest and fold until just combined. You want to keep as much air in there as possible. Over-mixing here will deflate the cheesecake and make it dense. Stop when you see no white streaks.
Step 5: Fill and Chill (4+ hours)
Pour the filling over the chilled crust. Smooth the top with an offset spatula. Tap the pan gently on the counter to remove air bubbles. Cover with plastic wrap and refrigerate for at least 4 hours, preferably overnight. This gives it time to set firmly. If you rush this, it will be soup.
Step 6: Torch the Sugar (2 minutes)
Right before serving, remove the cheesecake from the fridge. Sprinkle the granulated sugar evenly over the top. Use a kitchen torch to melt the sugar. Move the flame in a circular motion, keeping it about 6 inches from the surface. The sugar will melt, bubble, and turn amber. Let it sit for 1 minute to harden into a glass-like crust. Slice and serve.
Expert Tips & Tricks
Here’s everything I’ve learned from making this dozens of times. These tips will save you from my mistakes.
Room Temperature Cream Cheese — I can’t stress this enough. If your cream cheese is cold, you will get lumps. Take it out 30 minutes before. If you forgot, microwave it in 10-second bursts until it’s soft to the touch. It should yield to slight pressure.
Cold Cream for Whipping — Keep your heavy cream and bowl in the fridge until the moment you’re ready to whip. If the cream is warm, it won’t whip. If you live in a hot climate, put your bowl in the freezer for 10 minutes before whipping.
Don’t Over-Fold — When combining the cream cheese and whipped cream, be gentle. You’re trying to keep the air bubbles. Over-mixing = dense cheesecake. Under-mixing = lumpy cheesecake. Find the balance.
Torching Technique — Don’t hold the torch in one spot. Move it constantly. If you hold it still, you’ll burn the sugar and create bitter black spots. You want golden amber, not charcoal. If you’re scared, do it outside or near a strong exhaust fan.
Alternative to Torch — If you don’t have a torch, you can broil the cheesecake for 1-2 minutes, but watch it like a hawk. It goes from golden to burnt in seconds. Also, the texture won’t be as crisp. I recommend the torch.
Variations & Substitutions
Once you’ve nailed the basic version, here’s how you can mix it up. I’ve tried all of these.
Berry Swirl — Before adding the whipped cream, fold in ½ cup of raspberry or strawberry puree. Swirl it gently with a knife for a marbled effect. Beautiful and tart.
Chocolate Version — Add ¼ cup cocoa powder to the cream cheese mixture. It turns it into a chocolate cheesecake. Pair with chocolate shavings on top.
Gluten-Free Crust — Use gluten-free almond flour or crushed gluten-free graham crackers. Same ratio.
Dairy-Free — Use vegan cream cheese and coconut cream (chilled overnight, scoop the solid part). It’s heavier but still delicious.
Seasonal Twist — Add pumpkin spice to the filling and use a gingersnap crust for fall. Or use lemon zest and blueberry compote for summer.
Serving & Storage
How to Serve: Slice with a hot knife for clean cuts. Dip your knife in hot water and wipe dry between slices. It prevents sticking and gives you those perfect restaurant-style slices.
Side Dishes: This is rich, so pair it with something light. A simple green salad or fresh fruit platter works well. For drinks, try a crisp white wine or a light dessert wine.
Storage: Store leftovers in the fridge, covered, for up to 3 days. Do not freeze the whole cheesecake; the texture suffers. If you have leftover sugar crust, just scoop it off and store it separately. Re-torch new sugar before serving.
Pro Tip: If you’re making this for a party, torch the sugar crust just before bringing it to the table. The visual effect of the torch is part of the experience. Your guests will love it.
Nutrition Information
I’m not a nutritionist, but here’s the breakdown if you’re tracking. This is a rich dessert, so moderation is key.
Per Serving (based on 12 slices):
- Calories: 380
- Protein: 6g
- Carbs: 28g
- Fiber: 1g
- Sugar: 25g
- Fat: 28g
- Saturated Fat: 16g
- Cholesterol: 75mg
- Sodium: 120mg
This is a high-fat, high-sugar dessert, but it’s also very satisfying. A small slice goes a long way. If you want to lighten it up, use less sugar on top or add more berries.
Final Thoughts
So that’s my creme brulee cheesecake! I’ve probably talked your ear off at this point, but when you make a recipe this often, you have a lot to say about it. This has saved my social life more times than I can count. It’s my answer to “what dessert should I bring?” when I’m tired, don’t want to bake, and still want something that tastes incredible. My friends are happy, my family’s happy, and I’m happy because I’m not stressed about cooking.
Make it yours! Try different extracts, swap the berries, or adjust the sugar. The best recipes are the ones you adapt to your tastes. If you make this, drop a comment and let me know what you think! I love hearing how recipes turn out in your kitchen. And if something doesn’t work, tell me that too—I’m here to help troubleshoot.
Happy cooking! And I hope your kitchen smells half as good as mine does right now.
Frequently Asked Questions
Can I use a different type of sugar for the crust?
You can try brown sugar, but it won’t create that same glass-like crack. Brown sugar contains molasses, which makes it chewy when heated. You want white granulated sugar for that crisp, brittle texture. If you’re worried about burning, you can use a mix of white and brown, but stick mostly to white.
Why is my cheesecake runny?
Usually, this means it didn’t chill long enough. Cheesecake needs time to set. If you cut it after only 1 hour, it will be soft. Aim for at least 4 hours, but overnight is best. Also, make sure you didn’t over-whip the cream cheese, which can incorporate too much air and make it unstable.
Can I make this without a torch?
Yes, but the texture won’t be as good. You can broil the top for 1-2 minutes, watching it closely. Or, you can make a caramel sauce and pour it over the top, but that’s a different dessert. I highly recommend getting a torch; they’re cheap and last forever.
How do I store leftovers?
Store in an airtight container in the fridge for up to 3 days. The sugar crust will soften over time, so if you have leftovers, you might want to re-torch them the next day. Or, just enjoy the soft, sweet top.
Can I use whipped cream cheese from a tub?
No. Tubbed whipped cream cheese has stabilizers and air in it. It won’t whip properly and will result in a grainy, unstable cheesecake. Always use block cream cheese, full-fat, and soften it yourself.
Can I double this recipe?
Yes, just use a larger springform pan or two smaller ones. The chilling time stays the same. Be careful not to over-mix when doubling, as it’s easier to deflate the cream.
Is this recipe gluten-free?
If you use almond flour for the crust, yes. Just make sure your other ingredients are certified gluten-free if you have celiac disease. The filling is naturally gluten-free.
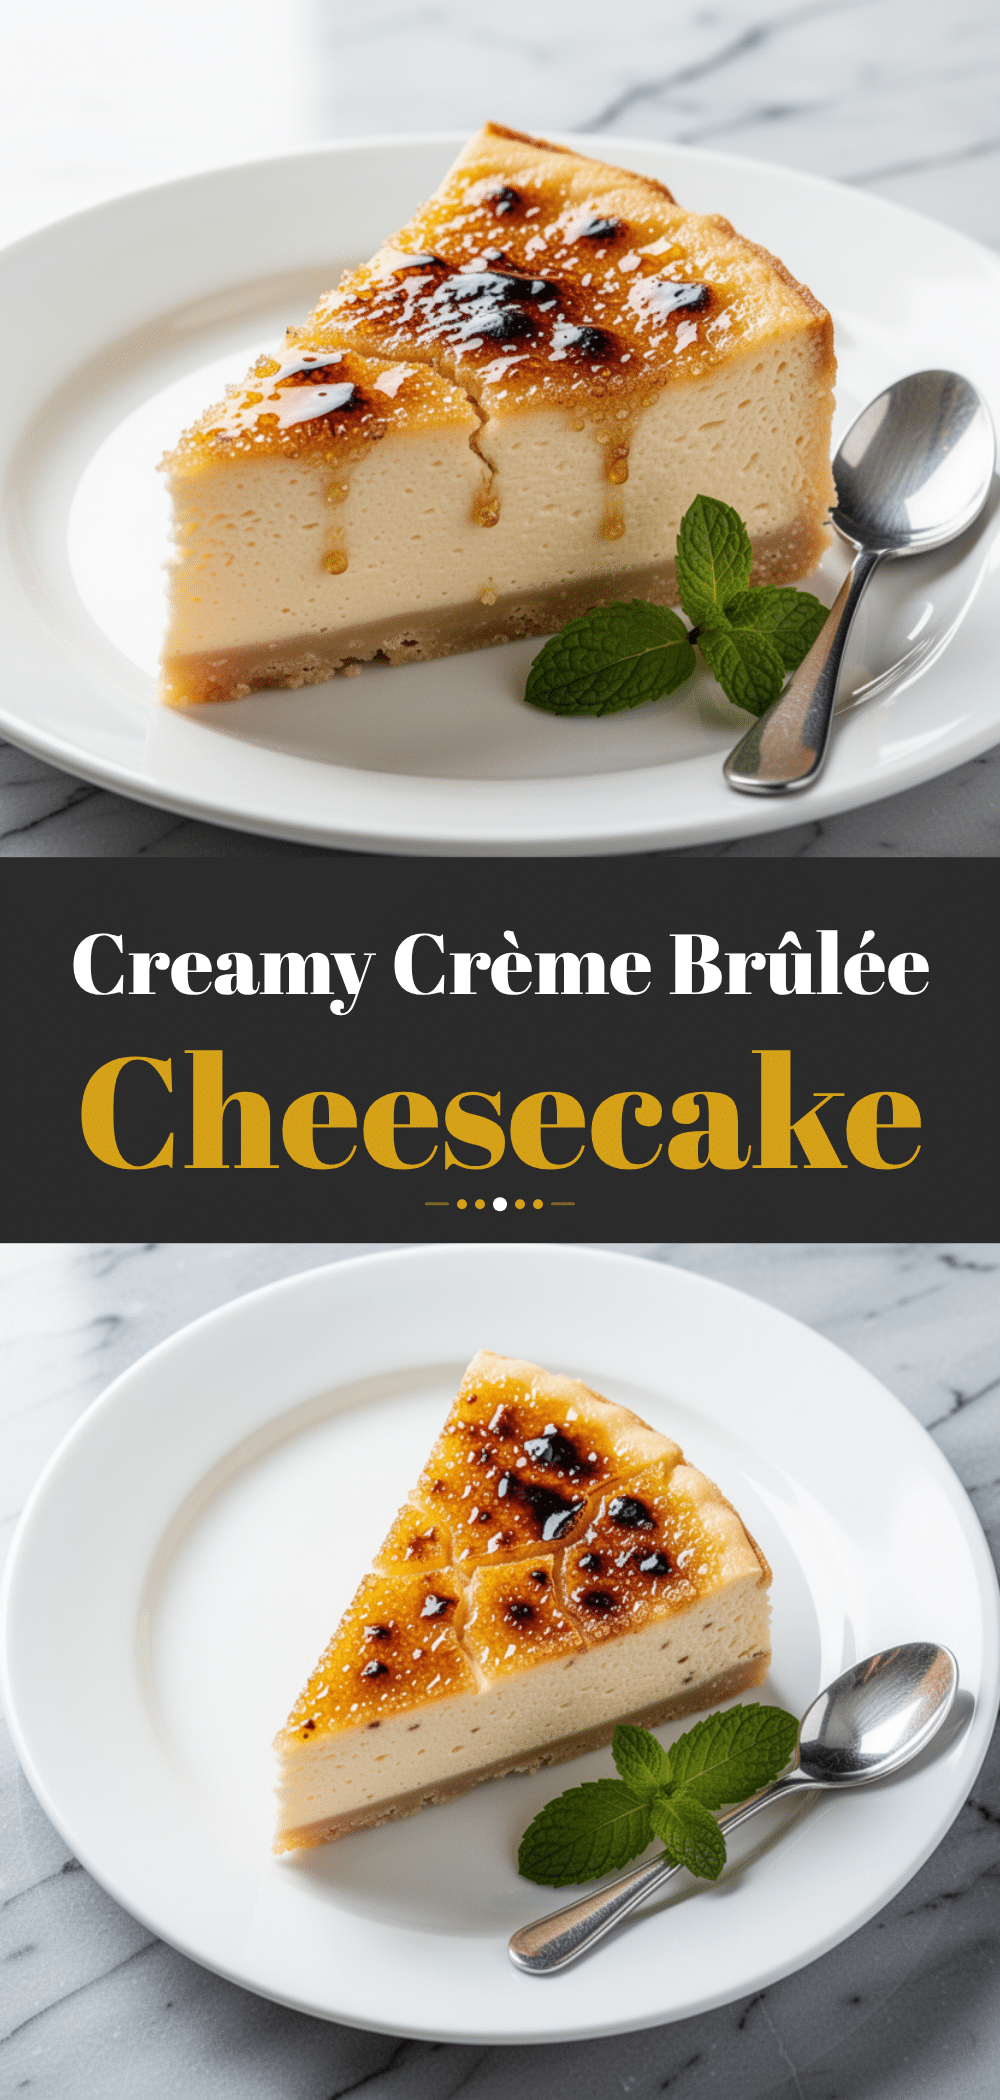
Pin This Recipe!
Creme Brulee Cheesecake: Easy No-Bake Dessert
- Total Time: 4 hours 15 minutes
- Yield: 12 servings 1x
Description
A rich, no-bake cheesecake featuring a creamy vanilla bean filling and a crunchy, torched sugar crust. This impressive dessert requires zero oven time and is perfect for holiday gatherings or dinner parties.
Ingredients
- 1 cup almond flour
- 6 tablespoons unsalted butter, melted
- 2 tablespoons granulated sugar
- Pinch of salt
- 16 ounces full-fat cream cheese, softened
- 2 cups heavy whipping cream, cold
- 1 cup confectioners’ sugar, sifted
- 2 teaspoons vanilla bean paste
- 1 teaspoon lemon juice
- 1/2 cup granulated sugar (for topping)
Instructions
- In a medium bowl, mix almond flour, melted butter, sugar, and salt until it resembles wet sand.
- Press the mixture firmly into the bottom of a 9-inch springform pan. Chill in the freezer for 10 minutes.
- In a large bowl, beat the softened cream cheese on medium-high speed until smooth. Scrape down the sides.
- Add sifted powdered sugar, vanilla bean paste, and lemon juice to the cream cheese. Beat until combined and glossy.
- In a separate cold bowl, whip the heavy cream until stiff peaks form.
- Fold one-third of the whipped cream into the cream cheese mixture to lighten it. Add the remaining cream and fold gently until just combined.
- Pour the filling over the chilled crust and smooth the top. Tap the pan to remove air bubbles.
- Cover with plastic wrap and refrigerate for at least 4 hours, preferably overnight.
- Right before serving, sprinkle granulated sugar evenly over the chilled cheesecake.
- Use a kitchen torch to melt the sugar in a circular motion, keeping the flame about 6 inches away, until it turns amber.
- Let the sugar harden for 1 minute before slicing and serving.
Notes
Ensure cream cheese is at room temperature to avoid lumps. Keep heavy cream and bowl cold for proper whipping. Do not over-fold the mixture to maintain airiness. If you don’t have a torch, you can broil the top for 1-2 minutes, but watch closely to prevent burning.
- Prep Time: 15 minutes
- Cook Time: 0 minutes
- Category: Dessert
- Cuisine: American
Nutrition
- Serving Size: 1 slice
- Calories: 380
- Sugar: 25
- Sodium: 120
- Fat: 28
- Saturated Fat: 16
- Carbohydrates: 28
- Fiber: 1
- Protein: 6
Keywords: no-bake cheesecake, creme brulee, dessert, holiday recipe, gluten-free dessert, easy dessert, torched sugar


