It was 11:30 PM on a Tuesday, and I was standing in my kitchen, staring into the dark fridge like it held the secrets of the universe. I wanted chocolate. Not a fancy, artisanal, single-origin dark chocolate experience. I just wanted something dense, fudgy, and dangerously easy to make without waking up the house. I opened a bag of cake mix, poured it into a bowl, and added the oil and eggs. It was fast. It was convenient. And it was absolutely terrible.
The brownies came out dry. They tasted like cardboard soaked in vegetable oil. I threw them out and decided right then that I was done with shortcuts. If I wanted a brownie that actually tasted like a brownie, I was going to have to make one from scratch. But I still didn’t want to wash a dozen bowls. So, I decided to hack the system.
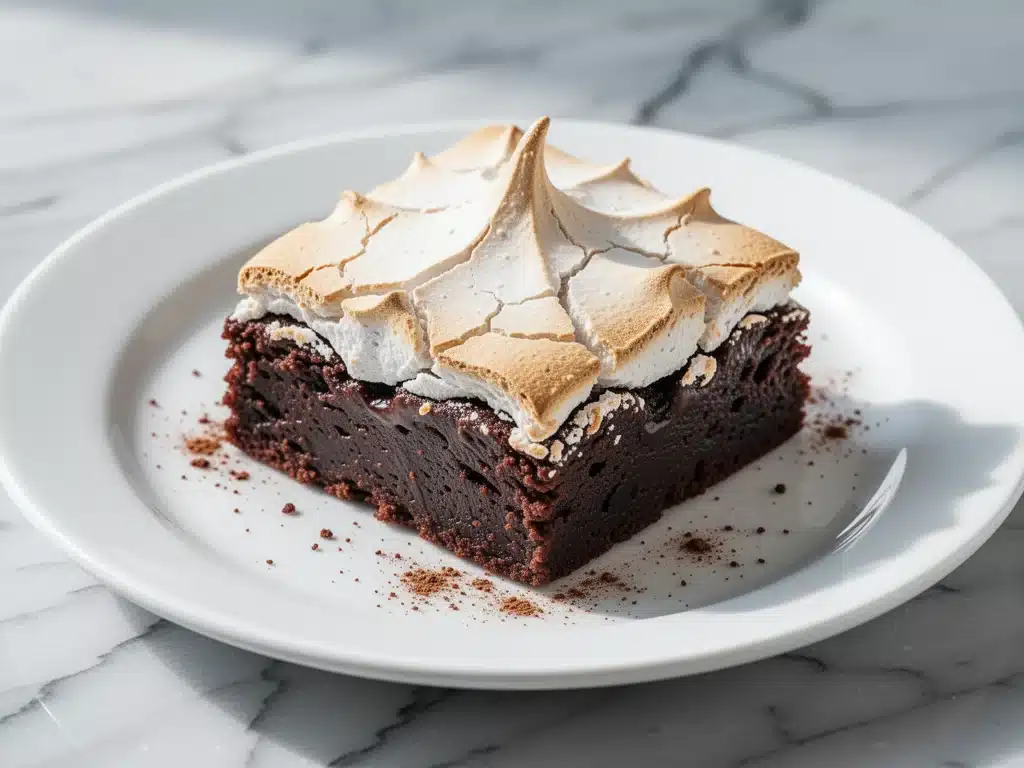
I wanted that bakery-style crackly top—the kind you see in those glossy photos that makes your mouth water instantly—but I also wanted the interior to be so fudgy it should probably be illegal in some states. I experimented for weeks. I burned batches. I over-mixed batters until they were tough. I under-baked them until they were raw mud. But then, I figured it out. It’s all about the eggs, the sugar, and the one specific trick with the meringue.
These ultra-fudgy one-bowl brownies with crackly meringue top are the answer. They require zero fancy equipment. You literally mix everything in one bowl. The result? A brownie with a thin, crisp, lace-like crust on top that shatters when you cut it, hiding a center that is moist, dense, and intensely chocolatey. I’ve made these for book clubs, late-night study sessions, and random Tuesday cravings. They are hands-down the best homemade brownie recipe I’ve ever created.
Why You’ll Love This One-Bowl Brownie Recipe
Look, I know there are a million brownie recipes out there. Why add another one to the pile? Because this one solves the three biggest problems people have with homemade brownies: complexity, dryness, and lack of that perfect texture contrast.
- Zero Cleanup Stress — Seriously, just one bowl. One whisk. One pan. If you can whisk eggs, you can make this. I’ve made these while juggling a toddler on my hip. It’s that simple.
- The Crackly Top Magic — Most homemade brownies have a matte, dusty top. These get a glossy, crinkly, almost candy-like crust. It’s not magic; it’s chemistry. And it’s the best part.
- Actually Fudgy, Not Cakey — I hate cakey brownies. They’re just chocolate cake in disguise. This recipe is dense. It’s rich. It’s the kind of brownie you eat with your fingers because you’re afraid to drop crumbs.
- Pantry Staples Only — You don’t need expensive chocolate bars or weird flours. Just cocoa powder, sugar, butter, eggs, and a little flour. If you have these, you’re good to go.
- Perfect for Gifting — Because they have that bakery look, they feel special. I wrap these in parchment and give them to neighbors, and people always ask for the recipe. They look way more complicated than they are.
This is my go-to when I need to impress someone quickly or just need a chocolate fix that doesn’t involve driving to a store. It’s reliable, delicious, and makes your whole house smell like a high-end chocolate shop.
Ingredients You’ll Need
Here’s the best part: you probably have most of this already. I’m particular about three ingredients here, and I’ll tell you exactly why. Don’t cut corners on the butter and the cocoa.
For the Brownie Batter
Unsalted butter (1/2 cup / 113g) — Melted. I use unsalted so I can control the saltiness. If you only have salted, reduce the added salt by half. Don’t use margarine; it changes the texture entirely.
Granulated sugar (1 cup / 200g) — This is crucial for the crackly top. The sugar dissolves into the melted butter and eggs to create that shiny crust. Do not swap for brown sugar if you want that specific crackly texture; brown sugar makes them chewier and softer on top.
Eggs (2 large) — Room temperature is best, but cold works if you’re in a rush. These provide structure and richness. Don’t skimp on eggs; they’re the engine of the fudgy texture.
Vanilla extract (1 teaspoon) — Pure vanilla, please. The artificial stuff tastes harsh with chocolate. It adds that warm, bakery aroma.
Bittersweet chocolate (4 ounces / 113g) — Chopped. I use a 60% cocoa bar. This adds depth and intensity that cocoa powder alone can’t achieve. If you don’t have chocolate bars, you can use 1/3 cup extra cocoa powder, but the bars make it richer.
Cocoa powder (1/2 cup / 45g) — Unsweetened Dutch-process cocoa is my preference because it’s darker and less acidic. Regular natural cocoa works too, but the flavor will be slightly brighter. Sift it if it’s clumpy.
All-purpose flour (1/2 cup / 65g) — Just enough to hold it together. Over-measuring flour is the #1 reason homemade brownies turn out dry. Spoon it into the cup and level it off. Don’t scoop straight from the bag.
Salt (1/2 teaspoon) — Essential. Salt makes chocolate taste more like chocolate. Don’t skip it.
For the Crackly Meringue Topping
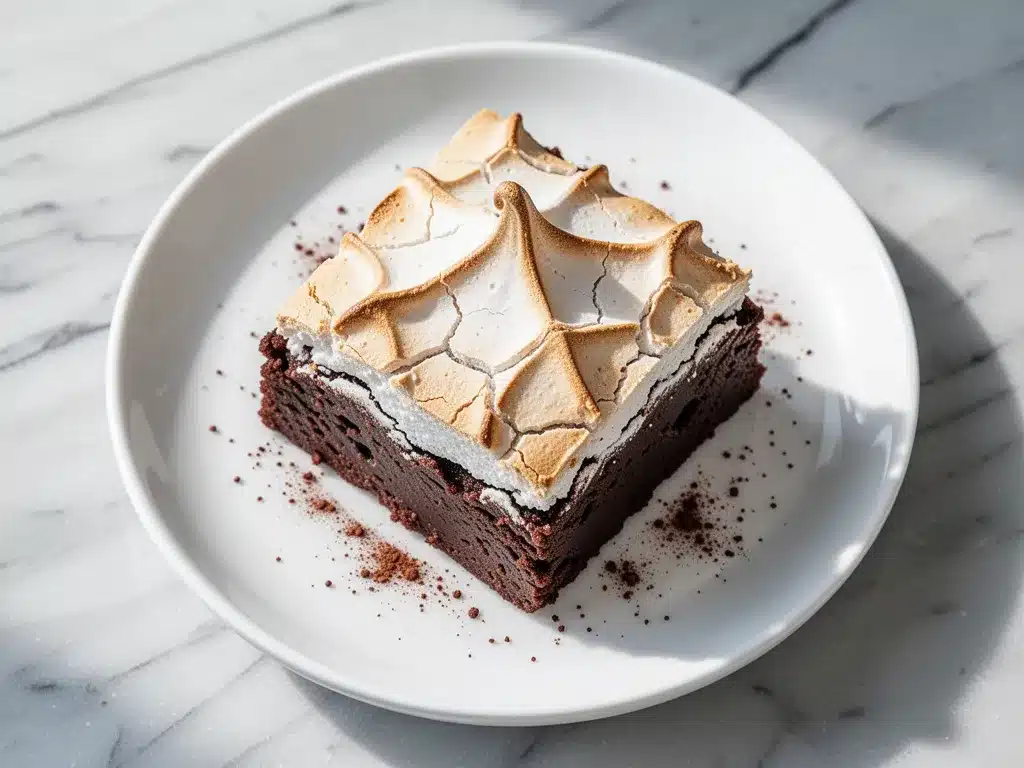
1 large egg white — Saved from the two eggs you used above. Don’t throw it out! This is the secret weapon.
1 tablespoon granulated sugar — For the top layer.
1/8 teaspoon cream of tartar — Optional, but it helps stabilize the meringue. If you don’t have it, a tiny squeeze of lemon juice works.
Equipment Needed
You don’t need fancy equipment for this. Here’s what I actually use.
One large mixing bowl — I use a 4-quart glass or ceramic bowl. It needs to be big enough to whisk the eggs and sugar vigorously without splattering.
Whisk — A standard balloon whisk works perfectly. You need this to aerate the egg whites for the top.
8×8 inch baking pan — Line it with parchment paper. This is non-negotiable. These brownies are sticky. Parchment paper makes lifting them out and cleaning the pan effortless.
Microplane or fine grater — If you’re using chocolate bars, grate them finely. It helps them melt evenly into the butter.
Spatula — A silicone spatula is best for folding the batter. You want to be gentle to keep the texture fudgy.
How to Make It: Step-by-Step
Alright, let’s make this! I’m walking you through exactly how I do it, including the little tricks I’ve picked up. This process takes about 45 minutes, including cooling time.
Step 1: Prep the Pan and Oven (5 minutes)
Preheat your oven to 350°F (175°C). Line an 8×8 inch baking pan with parchment paper, leaving an overhang on the sides. This overhang acts as handles to lift the brownies out once they’re done. It makes slicing so much easier.
Step 2: Melt the Butter and Chocolate (3 minutes)
Melt the butter in a microwave-safe bowl or small saucepan over low heat. Once melted, stir in the chopped chocolate (or extra cocoa powder if you’re skipping bars) until smooth. Let this mixture cool for about 5 minutes. It should be warm but not hot. If it’s boiling hot, it’ll cook the eggs when you add them later, and nobody wants scrambled eggs in their brownies.
Step 3: The Sugar and Egg Base (3 minutes)
In your large mixing bowl, whisk together the 2 whole eggs and the 1 cup of sugar. Whisk vigorously for about 1-2 minutes. You want the mixture to look pale and slightly thickened. This step is critical for the crackly top. It dissolves the sugar into the eggs.
Step 4: Combine Wet Ingredients
Pour the cooled butter-chocolate mixture into the egg-sugar bowl. Add the vanilla extract. Whisk until everything is well combined and glossy. It should look like melted fudge.
Step 5: Add Dry Ingredients
Sift the cocoa powder and flour over the wet mixture. Add the salt. Using your spatula, gently fold the dry ingredients into the wet. Stop as soon as you no longer see streaks of flour. Over-mixing develops gluten, which makes brownies tough. We want tender and fudgy, not chewy like bread.
Step 6: Pour and Prep the Meringue
Pour the batter into your prepared pan and spread it evenly. Now, here’s the fun part. In a small separate bowl (or just rinse your main bowl if you’re lazy), whip the 1 egg white with the cream of tartar (or lemon juice) until foamy. Gradually add the 1 tablespoon of sugar while beating. Continue beating until you have soft peaks. It should look like fluffy clouds.
Step 7: The Meringue Top
Spoon the meringue over the brownie batter. Don’t worry about spreading it perfectly. Use a knife or skewer to swirl the meringue into the batter. You don’t want it fully incorporated; you want swirls. This creates the marbled, crackly effect.
Step 8: Bake
Bake for 25-30 minutes. The top should be set and crackly. A toothpick inserted into the center should come out with moist crumbs attached, not wet batter. If it comes out clean, you’ve overbaked it. If it comes out with raw batter, add 2-3 more minutes. The key to fudgy brownies is under-baking them slightly.
Step 9: Cool Completely
This is the hardest part. Let the brownies cool in the pan for at least 30 minutes. If you cut them hot, they will fall apart and be messy. Cooling allows the structure to set. Once cooled, lift them out using the parchment handles and slice into squares.
Expert Tips & Tricks
Here’s everything I’ve learned from making this dozens of times. These tips will save you from my mistakes.
Don’t Skip the Whisking
I know it seems like extra work, but whisking the eggs and sugar for that full minute is what creates the shiny, crinkly top. If you just stir it, you’ll get a matte, flat top. It’s worth the 60 seconds.
Room Temperature Eggs Matter
While cold eggs work, room temperature eggs emulsify better with the melted butter. If you forgot to take them out, just drop the eggs in a bowl of warm water for 5 minutes before cracking them.
The Toothpick Test is a Guide, Not a Law
For cakey brownies, you want a clean toothpick. For fudgy brownies, you want moist crumbs. If you want super fudgy, take them out when the center still looks slightly underdone. They will continue to cook in the hot pan as they cool.
Chop Your Chocolate Finely
If you use chocolate bars, chop them into tiny pieces. Large chunks won’t melt evenly and you’ll get pockets of hard chocolate in a sea of soft brownie. Tiny pieces distribute the chocolate flavor evenly.
Cooling is Non-Negotiable
I know you want to eat them now. Resist the urge. Cutting warm brownies is a recipe for disaster. They will be gummy and fall apart. Let them cool. Trust me.
Variations & Substitutions
Once you’ve nailed the basic version, here’s how you can mix it up. I’ve tried all of these.
Chocolate Chip Explosion
Add 1/2 cup of semi-sweet chocolate chips to the batter before pouring it into the pan. The chips melt into pockets of gooeyness. This is my favorite variation for kids.
Peanut Butter Swirl
After pouring the batter, drop spoonfuls of peanut butter on top. Then, use a knife to swirl it in. It’s like having a Reese’s cup in brownie form. My husband loves this version.
Espresso Boost
Add 1 teaspoon of instant espresso powder to the dry ingredients. It doesn’t make the brownies taste like coffee; it just makes the chocolate flavor taste more intense. It’s a game-changer.
Gluten-Free
Swap the all-purpose flour for a 1:1 gluten-free flour blend. The texture might be slightly more delicate, but it still works. I’ve used Bob’s Red Mill 1:1 blend with great results.
Dairy-Free
Use vegan butter instead of regular butter. For the meringue, you can skip the egg white topping or use aquafaba (the liquid from a can of chickpeas) whipped with sugar. It won’t be as crackly, but it’s still delicious.
Nutty Variation
Stir in 1/2 cup of chopped walnuts or pecans. Toast the nuts first for extra flavor. This adds a nice crunch to contrast the fudgy center.
Serving & Storage
How to Serve:
I usually serve these warm, right out of the oven. A scoop of vanilla ice cream on top is classic, but honestly, these are good on their own. They’re rich enough that you don’t need much else. I often serve them with a glass of cold milk or a cup of coffee.
Side Dishes:
Since these are dense, they pair well with light, fresh things. A simple green salad with a lemon vinaigrette cuts through the richness. Or, serve them as part of a dessert board alongside some fresh berries and whipped cream.
Storage Instructions:
Room Temperature: Store in an airtight container for up to 3 days. They actually stay fudgy longer at room temperature than in the fridge.
Refrigerator: If you live in a hot climate, you might need to refrigerate them. They will firm up in the fridge, so let them sit at room temperature for 10 minutes before eating.
Freezing: Yes, you can freeze brownies! Wrap individual squares in plastic wrap and then put them in a freezer bag. They last for up to 3 months. Thaw at room temperature. The texture holds up surprisingly well.
Pro Tip: If the brownies seem a bit dry after a few days, microwave a square for 10 seconds. It brings back that fresh-baked moisture.
Nutrition Information
I’m not a nutritionist, but here’s the breakdown if you’re tracking. Keep in mind that these are rich, dense brownies, so portion control is key.
Per Serving (based on 16 brownies):
- Calories: 180
- Protein: 3g
- Carbs: 24g
- Fiber: 1g
- Sugar: 18g
- Fat: 10g
- Saturated Fat: 6g
Look, this is comfort food. It’s not a diet recipe. But it’s way better than store-bought, costs less, and you know exactly what’s in it. When I want to make it lighter, I reduce the sugar by 2 tablespoons, but it affects the crackly top. Usually? I just eat one square and enjoy it.
Final Thoughts
So that’s my go-to ultra-fudgy one-bowl brownie recipe! I’ve probably talked your ear off at this point, but when you make a recipe this often, you have a lot to say about it.
This has saved me from countless dessert emergencies. It’s my answer to “what’s for dessert” when I’m tired, don’t want to order takeout, and still want something that tastes really good. My kids are happy, my husband’s happy, and I’m happy because I’m not stressed about cooking.
Make it yours! Try different add-ins, swap in your favorite chocolate, or just enjoy them plain. The best recipes are the ones you adapt to your family’s tastes. If you make this, drop a comment and let me know what you think! I love hearing how recipes turn out in your kitchen. And if something doesn’t work, tell me that too—I’m here to help troubleshoot.
Happy baking! And I hope your kitchen smells half as good as mine does right now.
Frequently Asked Questions
Why didn’t my brownies get a crackly top?
This is the most common issue. The crackly top comes from whisking the eggs and sugar vigorously before adding the butter. If you just stir them together, the sugar doesn’t dissolve enough. Also, make sure your eggs are at room temperature and that you don’t skip the meringue step. The meringue adds air that helps create the crust.
Can I use melted chocolate chips instead of bars?
You can, but it’s not ideal. Chocolate chips have stabilizers that prevent them from melting completely smooth. They might leave little waxy bits in your brownies. Chopped chocolate bars melt much better and give a smoother, more intense chocolate flavor. If you must use chips, melt them gently with the butter.
How do I know when the brownies are done?
Use the toothpick test, but adjust for fudgy. For cakey brownies, you want a clean toothpick. For these fudgy ones, you want moist crumbs. If the toothpick comes out with wet batter, they need more time. If it comes out with just crumbs, they’re perfect. Remember, they continue to cook in the pan as they cool.
Can I double this recipe?
Yes, but you’ll need a 9×13 inch pan. Double all the ingredients. The baking time might increase by 5-10 minutes because the layer is thinner. Keep an eye on them so they don’t dry out.
Why are my brownies dry?
Over-baking is the #1 cause. Pull them out when the center still looks slightly underdone. Also, check your flour measurement. If you scoop flour directly from the bag, you’re using way more than you think. Spoon it into the cup and level it off.
Can I make these gluten-free?
Absolutely. Swap the all-purpose flour for a high-quality 1:1 gluten-free flour blend. The texture might be slightly more delicate, but they will still be fudgy and delicious. I’ve tested this with several brands and they all work well.
Can I freeze the brownie batter?
It’s not recommended. The meringue topping won’t hold up well if frozen and thawed. It’s best to bake them fresh. However, you can freeze the baked brownies for up to 3 months.
What kind of chocolate should I use?
I prefer bittersweet chocolate (60-70% cocoa) for the best balance of sweetness and intensity. Semi-sweet works too if you like it sweeter. Avoid milk chocolate, as it’s too sweet and doesn’t provide enough chocolate flavor depth for this recipe.
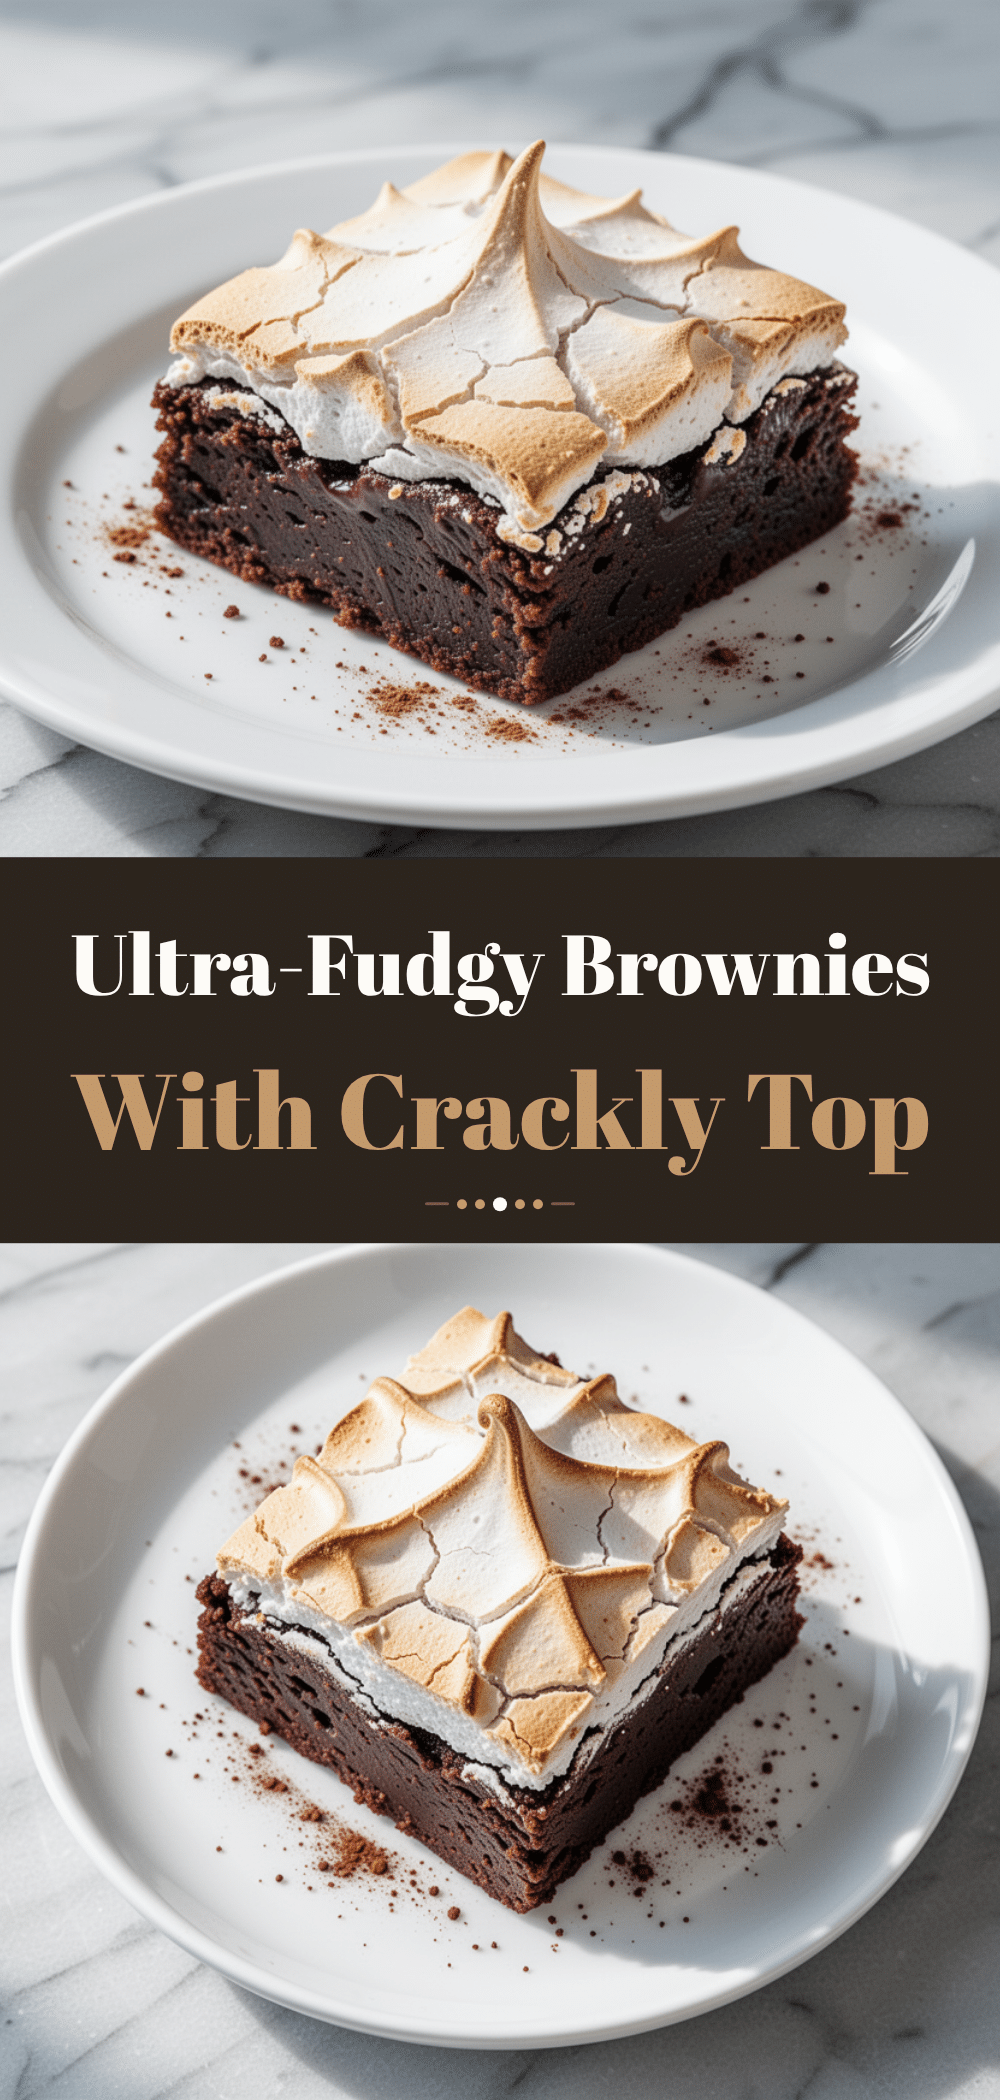
Pin This Recipe!
Ultra-Fudgy One-Bowl Brownies: The Best Easy Homemade Recipe
- Total Time: 45 minutes
- Yield: 16 servings 1x
Description
These ultra-fudgy one-bowl brownies feature a crackly meringue top and a dense, moist interior. Made with pantry staples, this recipe requires zero fancy equipment and delivers bakery-style results with minimal cleanup.
Ingredients
- 1/2 cup (113g) unsalted butter, melted
- 1 cup (200g) granulated sugar
- 2 large eggs, room temperature
- 1 teaspoon vanilla extract
- 4 ounces (113g) bittersweet chocolate, chopped
- 1/2 cup (45g) unsweetened cocoa powder
- 1/2 cup (65g) all-purpose flour
- 1/2 teaspoon salt
- 1 large egg white
- 1 tablespoon granulated sugar (for topping)
- 1/8 teaspoon cream of tartar (optional)
Instructions
- Preheat oven to 350°F (175°C). Line an 8×8 inch baking pan with parchment paper, leaving an overhang on the sides.
- Melt the butter in a microwave-safe bowl or saucepan. Stir in the chopped chocolate until smooth. Let cool for 5 minutes until warm but not hot.
- In a large mixing bowl, whisk the 2 whole eggs and 1 cup of sugar vigorously for 1-2 minutes until pale and thickened.
- Pour the cooled butter-chocolate mixture into the egg-sugar bowl. Add vanilla extract and whisk until glossy.
- Sift cocoa powder and flour over the wet mixture. Add salt. Gently fold with a spatula until just combined; do not over-mix.
- Pour batter into the prepared pan.
- In a separate small bowl, whip the egg white with cream of tartar until foamy. Gradually add 1 tablespoon sugar and beat until soft peaks form.
- Spoon meringue over the brownie batter. Use a knife to swirl the meringue into the batter for a marbled effect.
- Bake for 25-30 minutes. The top should be set and crackly. A toothpick inserted into the center should come out with moist crumbs.
- Cool completely in the pan for at least 30 minutes before lifting out and slicing.
Notes
Do not skip the vigorous whisking of eggs and sugar, as this creates the crackly top. Room temperature eggs emulsify better. For fudgy brownies, remove from oven when a toothpick has moist crumbs, not wet batter. Cool completely before cutting to prevent crumbling.
- Prep Time: 15 minutes
- Cook Time: 30 minutes
- Category: Dessert
- Cuisine: American
Nutrition
- Serving Size: 1 square
- Calories: 180
- Sugar: 18
- Fat: 10
- Saturated Fat: 6
- Carbohydrates: 24
- Fiber: 1
- Protein: 3
Keywords: brownies, fudgy brownies, one-bowl recipe, crackly top, easy dessert, homemade brownies, chocolate dessert


