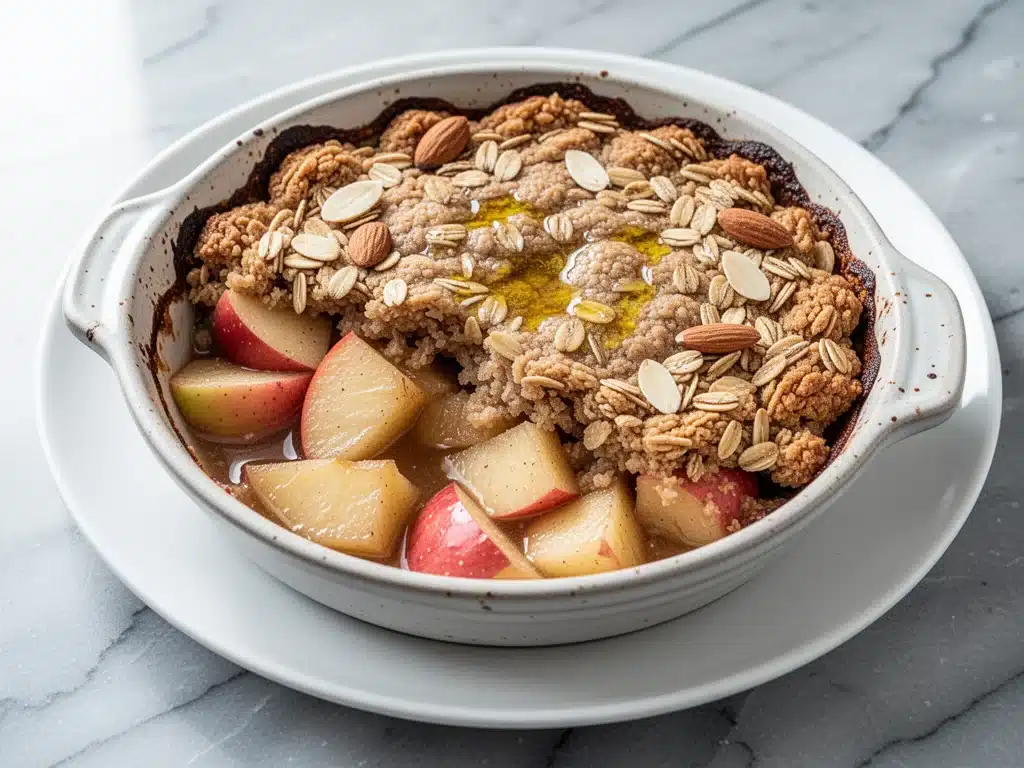
It was last Saturday, right in the thick of that weird, fleeting week where summer is officially dead but winter hasn’t quite shown up to work yet. The air had that crisp, bite-to-it quality that makes you want to wear long sleeves but still leave the windows open. I was standing in my kitchen, staring at a bag of Gala apples that had been sitting on the counter for three days, wondering if I was going to make another baked apple, a sauce, or just eat them raw like an apple a day. My husband walked in, sniffed the air, and asked if I was feeling festive. I laughed. We weren’t even in November yet.
Then I remembered I had a bag of gluten-free oat flour and some almonds sitting in the pantry, leftovers from a baking project that didn’t work out. I didn’t have any regular flour. I didn’t have butter to spare (we’d used it all on dinner). So I improvised. I threw together a no-bake crisp using almond butter, oats, and those slightly-too-soft apples, expecting a mediocre, soggy mess. I was wrong. It was incredible. Warm, cinnamon-spiced apples with a crunchy, nutty topping that didn’t require turning on the oven. It felt like fall in a bowl, minus the heat stress.
I’ve tested this Gluten-Free Fall Apple Crisp with Oat Almond Topping four times since that Saturday. Four. Because every time my kids ask for “that apple thing,” I make it again to see if I can tweak it. Maybe more cinnamon? Less sugar? More crunch? Each time, I’ve learned something new about how to get that topping to stay crispy without baking, and how to keep the apples tender but not mushy. This isn’t just a recipe; it’s my current obsession. It’s quick, it’s safe for my gluten-intolerant sister who’s coming to visit next week, and it tastes like autumn wrapped in a cozy blanket.
Most apple crisp recipes demand you preheat the oven, wait 20 minutes, and then deal with the sticky mess of a baking dish. This version skips all that. It’s the easy no-bake recipe I wish I’d found years ago. It’s perfect for those days when you want comfort food but don’t want to sweat over a hot stove. Plus, the smell of cinnamon and toasted almonds fills the house, and honestly? It smells better than actual baking. Let me show you how to make it.
Why You’ll Love This Gluten-Free Fall Apple Crisp
There are a dozen reasons this recipe has stolen my heart, but if you’re looking for practical reasons to add it to your weekly rotation, here they are:
Zero Oven Required — Seriously. If you have a microwave or a stovetop, you can make this. I make this on days when my kitchen is already 80 degrees because I’m roasting veggies for fall sheet pan sausage and root vegs. No extra heat, no humidity, no hassle.
Actually Crunchy Topping — I’ve tried other no-bake crisps, and they usually turn out gummy or sandy. The secret here is using almond butter and oats properly. The topping stays crunchy for hours, even if you store it. It’s not a gimmick; it’s texture done right.
Gluten-Free Without the Guilt — This uses certified gluten-free oats and almond flour. No weird, gritty substitutes. My gluten-free friends devour this without asking “is this safe?” first. It’s just delicious.
Ready in 15 Minutes — Chopping apples takes the longest part. The topping mixes in two minutes. You’re eating in under 15. This is my go-to when guests drop by unexpectedly or when I need a dessert that feels fancy but requires zero effort.
Perfectly Sweet — I use less sugar than traditional recipes because the apples bring their own sweetness. It’s not cloying. It’s balanced. You can taste the apple, not just the sugar syrup.
Makes Amazing Leftovers — It tastes even better the next day as the flavors meld. I pack this for lunch at work more often than I’d like to admit. It keeps well in the fridge and reheats beautifully in the microwave.
This is the recipe I make when I want to feel like a good host without spending hours in the kitchen. It’s reliable, it’s safe for dietary needs, and it just works.
Ingredients You’ll Need
Here’s the best part: you probably have most of this already. I’m particular about a few items here, especially the oats and the apples, so let’s break down what you need and why it matters.
Apples (4-5 medium) — I use a mix of Granny Smith and Honeycrisp. Granny Smith gives that tart punch that balances the sweetness, while Honeycrisp adds juiciness and structure. Avoid Red Delicious—they turn to mush. Peel them or leave the skins on for fiber; I usually leave them on for a rustic look. Chop them into ½-inch cubes. Uniform size matters so they cook evenly.
Gluten-Free Oats (1 cup) — Use certified gluten-free rolled oats. Quick oats get too soggy. Steel-cut oats are too hard for this no-bake method. Rolled oats give that chewy-crunchy texture we love. If you can’t have oats, you can substitute with crushed gluten-free granola, but the texture changes.
Almond Butter (½ cup) — This is the binder and the flavor powerhouse. Use smooth, natural almond butter. If it’s separated, stir it well. Don’t use almond *flavoring* syrup; it’s fake and sticky. Real nuts taste real. This replaces the butter in traditional crisps and adds a rich, nutty depth.
Coconut Oil (¼ cup, melted) — Helps bind the topping and adds a subtle sweetness. Use refined coconut oil if you don’t want a coconut taste. Unrefined adds a nice tropical note that actually pairs well with cinnamon. Melt it in the microwave for 20 seconds.
Maple Syrup (3 tablespoons) — Pure maple syrup, not pancake syrup. It adds a complex, woody sweetness that granulated sugar can’t match. It also helps the topping crisp up slightly in the microwave.
Cinnamon (2 teaspoons) — The star of the show. Use good quality ground cinnamon. If yours is old and dusty, replace it. Fresh cinnamon smells like fall. I add a pinch of nutmeg (¼ teaspoon) sometimes, but cinnamon is non-negotiable.
Vanilla Extract (1 teaspoon) — Pure vanilla, not imitation. It rounds out the flavors and makes it taste like a bakery dessert.
Salt (½ teaspoon) — Essential. It wakes up the cinnamon and balances the sweetness. Don’t skip it.
Chopped Almonds (¼ cup) — For extra crunch in the topping. Toasted almonds are even better. I usually toast them in a dry pan for 2 minutes before chopping, but raw works fine if you’re in a hurry.
Optional: Dark Chocolate Chips (¼ cup) — If you’re feeling indulgent, stir these in at the end. They melt slightly and create little pockets of chocolate. My kids love this version.
Pro Tip: I buy pre-chopped apples at the store when I’m being lazy, but fresh-chopped apples taste way better because they’re fresher. If you use pre-chopped, drain any excess liquid before mixing.
Equipment Needed
You don’t need fancy equipment for this. Here’s what I actually use:
Large Microwave-Safe Bowl — I use a 4-quart ceramic bowl. It needs to be big enough to hold the apples and topping without splattering. Glass works too, but ceramic heats more evenly.
Microwave — Standard issue. If you don’t have one, you can cook this on the stovetop in a heavy-bottomed pot, but it takes longer and requires more stirring.
Sharp Knife and Cutting Board — For chopping apples. A serrated knife works best for apples with tough skins. I learned this the hard way with a dull paring knife that slipped everywhere.
Measuring Cups and Spoons — Standard stuff. Dollar store versions work fine.
Wooden Spoon or Silicone Spatula — For stirring. Silicone is easier for scraping the bowl.
Small Mixing Bowl — For combining the topping ingredients. Any small bowl works.
Optional: Food Processor — If you want to chop the almonds super fine, a food processor saves time. But a knife works fine if you’re careful.
Tool Tip: Don’t have a large microwave-safe bowl? Use a large casserole dish covered with microwave-safe plastic wrap. Just leave a corner open for steam to escape.
How to Make It: Step-by-Step
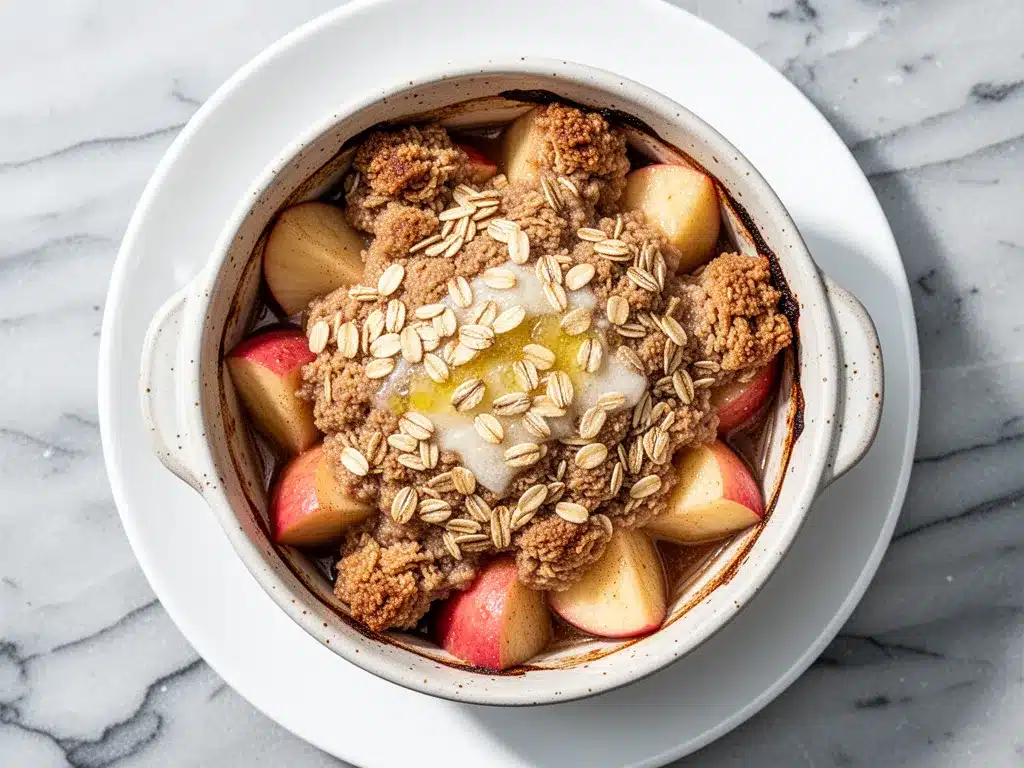
Alright, let’s make this! I’m walking you through exactly how I do it, including the little tricks I’ve picked up.
Step 1: Prep Your Apples (5 minutes)
Wash your apples thoroughly. Remove the cores and chop them into ½-inch cubes. If you’re peeling them, do it now. I usually leave the skins on for texture and color. Place the chopped apples in your large microwave-safe bowl. Sprinkle them with 1 tablespoon of the maple syrup and ½ teaspoon of cinnamon. Toss to coat. This step infuses the apples with flavor before they cook.
Step 2: Microwave the Apples (4-6 minutes)
Cover the bowl loosely with a microwave-safe lid or damp paper towel. Microwave on high for 4 minutes. Stop and stir the apples. They should be starting to soften. Microwave for another 2-4 minutes, checking every minute, until the apples are tender but not mushy. A knife should slide in easily. Be careful not to overcook them, or they’ll turn to applesauce. Total time is usually 4-6 minutes depending on your microwave’s power.
Step 3: Make the Topping (3 minutes)
While the apples cook, mix the topping. In a small bowl, combine the gluten-free oats, almond butter, melted coconut oil, remaining maple syrup, remaining cinnamon, vanilla, salt, and chopped almonds. Stir until it forms a crumbly, moist mixture. It should look like wet sand. If it’s too dry, add a teaspoon more coconut oil. If it’s too wet, add a tablespoon more oats.
Step 4: Combine and Finish (2 minutes)
Once the apples are tender, remove the bowl from the microwave. Carefully spread the topping mixture evenly over the hot apples. The heat from the apples will start to soften the topping. Microwave again for 1-2 minutes to warm the topping through and meld the flavors. Do not microwave longer than 2 minutes, or the topping will get tough.
Step 5: Serve
Let it cool for 5 minutes. The topping will crisp up slightly as it cools. Serve warm with a scoop of vanilla ice cream or a dollop of whipped cream. If you’re feeling fancy, sprinkle a little extra cinnamon on top. Enjoy immediately.
Total Time: About 15 minutes (5 minutes prep, 10 minutes cooking).
Expert Tips & Tricks
Here’s everything I’ve learned from making this dozens of times. These tips will save you from my mistakes.
Choose the Right Apples
This is the #1 mistake people make. Use firm apples that hold their shape. Granny Smith, Honeycrisp, Braeburn, or Pink Lady. Avoid Fuji or Gala if you want texture; they get soft too quickly. I’ve made this with Red Delicious and it was a sad, mushy disaster. Don’t do it.
Don’t Over-Microwave
Apples continue to cook after you remove them from the microwave. If they look slightly underdone, they’ll be perfect after resting. Overcooked apples release too much water, which makes the topping soggy. Trust your eyes.
Toast Your Almonds
If you have an extra 2 minutes, toast the chopped almonds in a dry pan over medium heat until fragrant. It adds a smoky, nutty depth that elevates the whole dish. I do this every time now.
Adjust Sweetness
Taste your apples before adding syrup. Some apples are sweeter than others. If you’re using very sweet Honeycrisps, reduce the maple syrup to 2 tablespoons. If you’re using tart Granny Smiths, keep it at 3 tablespoons.
Storage Hack
If you’re making this ahead, store the topping separately. Mix it with the apples right before serving. This guarantees a crunchy topping. I’ve tried storing them together overnight, and the topping gets chewy. Not ideal.
Common Mistakes (and how to avoid them):
- Mistake: Topping is soggy — Fix: You microwaved too long, or the apples were too wet. Pat the apples dry with a paper towel after microwaving if they released a lot of juice.
- Mistake: Apples are hard — Fix: Microwaved too short. Check at 4 minutes and add time in 1-minute increments.
- Mistake: Topping is too dry — Fix: Add more almond butter or coconut oil. It should be moist enough to clump together.
Variations & Substitutions
Once you’ve nailed the basic version, here’s how you can mix it up. I’ve tried all of these.
Pumpkin Spice Version
Add 1 teaspoon pumpkin pie spice instead of cinnamon. Stir in 2 tablespoons pumpkin puree with the apples. It’s like fall in a bowl.
Chocolate Lover’s
Stir in ¼ cup dark chocolate chips with the topping. Or drizzle melted chocolate over the top after serving. My kids love this version.
Nut-Free
Replace almond butter with sunflower seed butter (SunButter) and skip the almonds. Use gluten-free oats to keep it safe. It’s still delicious and crunchy.
Vegan
This recipe is already vegan if you use maple syrup and coconut oil. Just ensure your oats are certified gluten-free and vegan.
Dairy-Free
This recipe is naturally dairy-free. No butter, no milk. Just apples, oats, and nuts.
Other Fruits
You can use pears, peaches, or berries. Peaches work great, but reduce the cooking time slightly. Berries will release more water, so add a teaspoon of cornstarch to the topping to thicken.
Serving & Storage
How to Serve:
I usually serve this straight from the bowl at the dinner table. It looks rustic and stays warm. But here are other ways I’ve enjoyed it:
Side Dishes:
This is a dessert, so it pairs well with nothing but maybe a cup of tea or coffee. But if you’re serving it as part of a larger meal, it goes well with creamy wild rice and mushroom casserole for a cozy, comfort-food feast.
Toppings Bar:
When I have guests, I put out: vanilla ice cream, whipped cream, a drizzle of caramel sauce, and extra toasted almonds. Everyone customizes their bowl.
Storage Instructions:
Refrigerator:
Store in an airtight container for up to 3 days. The topping will soften slightly, but it’s still good. Reheat in the microwave for 30 seconds to restore warmth.
Freezing:
Honestly, this doesn’t freeze well because of the texture of the apples and topping. The oats get mushy when thawed. Make it fresh or store in the fridge for up to 3 days.
Pro Tip: If leftovers are drying out, add a splash of milk or water when reheating. It brings back the moisture.
Nutrition Information
I’m not a nutritionist, but here’s the breakdown if you’re tracking.
Per Serving (based on 4 servings):
- Calories: 320
- Protein: 8g
- Carbs: 45g
- Fiber: 6g
- Sugar: 22g
- Fat: 14g
- Saturated Fat: 6g
- Cholesterol: 0mg
- Sodium: 180mg
What’s Good:
– High in fiber from oats and apples
– Healthy fats from almonds and coconut oil
– No refined sugar
– Gluten-free and dairy-free
What to Know:
– Moderate in calories due to nuts and oats
– Contains tree nuts
– Naturally sweet, but watch portions if you’re diabetic
My Take:
Look, this is a dessert. It has sugar and carbs. But it’s whole-food based, packed with fiber, and way better than a box mix. I make it when I want something sweet but still feel good about what I’m eating. It’s a win-win.
Final Thoughts
So that’s my go-to Gluten-Free Fall Apple Crisp with Oat Almond Topping! I’ve probably talked your ear off at this point, but when you make a recipe this often, you have a lot to say about it. This has saved my dessert routine more times than I can count. It’s my answer to “what’s for dessert?” when I’m tired, don’t want to bake, and still want something that tastes really good. My kids are happy, my husband’s happy, and I’m happy because I’m not stressed about cooking.
Make it yours! Try different apples, swap in your favorite nuts, adjust the cinnamon. The best recipes are the ones you adapt to your family’s tastes. If you make this, drop a comment and let me know what you think! I love hearing how recipes turn out in your kitchen. And if something doesn’t work, tell me that too—I’m here to help troubleshoot.
Happy cooking! And I hope your kitchen smells half as good as mine does right now.
Frequently Asked Questions
Can I use regular oats?
If you don’t have gluten sensitivities, yes, regular rolled oats work fine. But if you need gluten-free, you must use certified gluten-free oats. Regular oats are often processed in facilities with wheat.
My topping came out soggy—what happened?
Usually means you microwaved too long, or the apples released too much water. Make sure you use firm apples, and don’t overcook them. Also, ensure your topping mixture is moist but not wet before adding it.
Can I make this in the oven?
Yes! Spread the apples in a baking dish, add the topping, and bake at 350°F for 20-25 minutes until bubbly and golden. But honestly, the no-bake version is faster and easier.
Can I use peanut butter instead of almond butter?
You can, but the flavor will be different. Peanut butter is stronger and sweeter. It works, but almond butter is milder and pairs better with cinnamon. I prefer almond.
How do I reheat leftovers without it getting dry?
Add a splash of milk or water to the bowl, cover, and microwave for 30-60 seconds. The steam rehydrates the oats and keeps it moist.
Can I double this recipe?
Absolutely! Double everything and use a larger microwave-safe bowl. The cooking times stay roughly the same, but you might need to stir in the middle to ensure even cooking.
Is this recipe kid-friendly?
Yes! My kids love it. It’s sweet, crunchy, and easy to eat. If your kids are picky, you can reduce the cinnamon to 1 teaspoon and add a little vanilla extract for extra flavor.
Pin This Recipe!
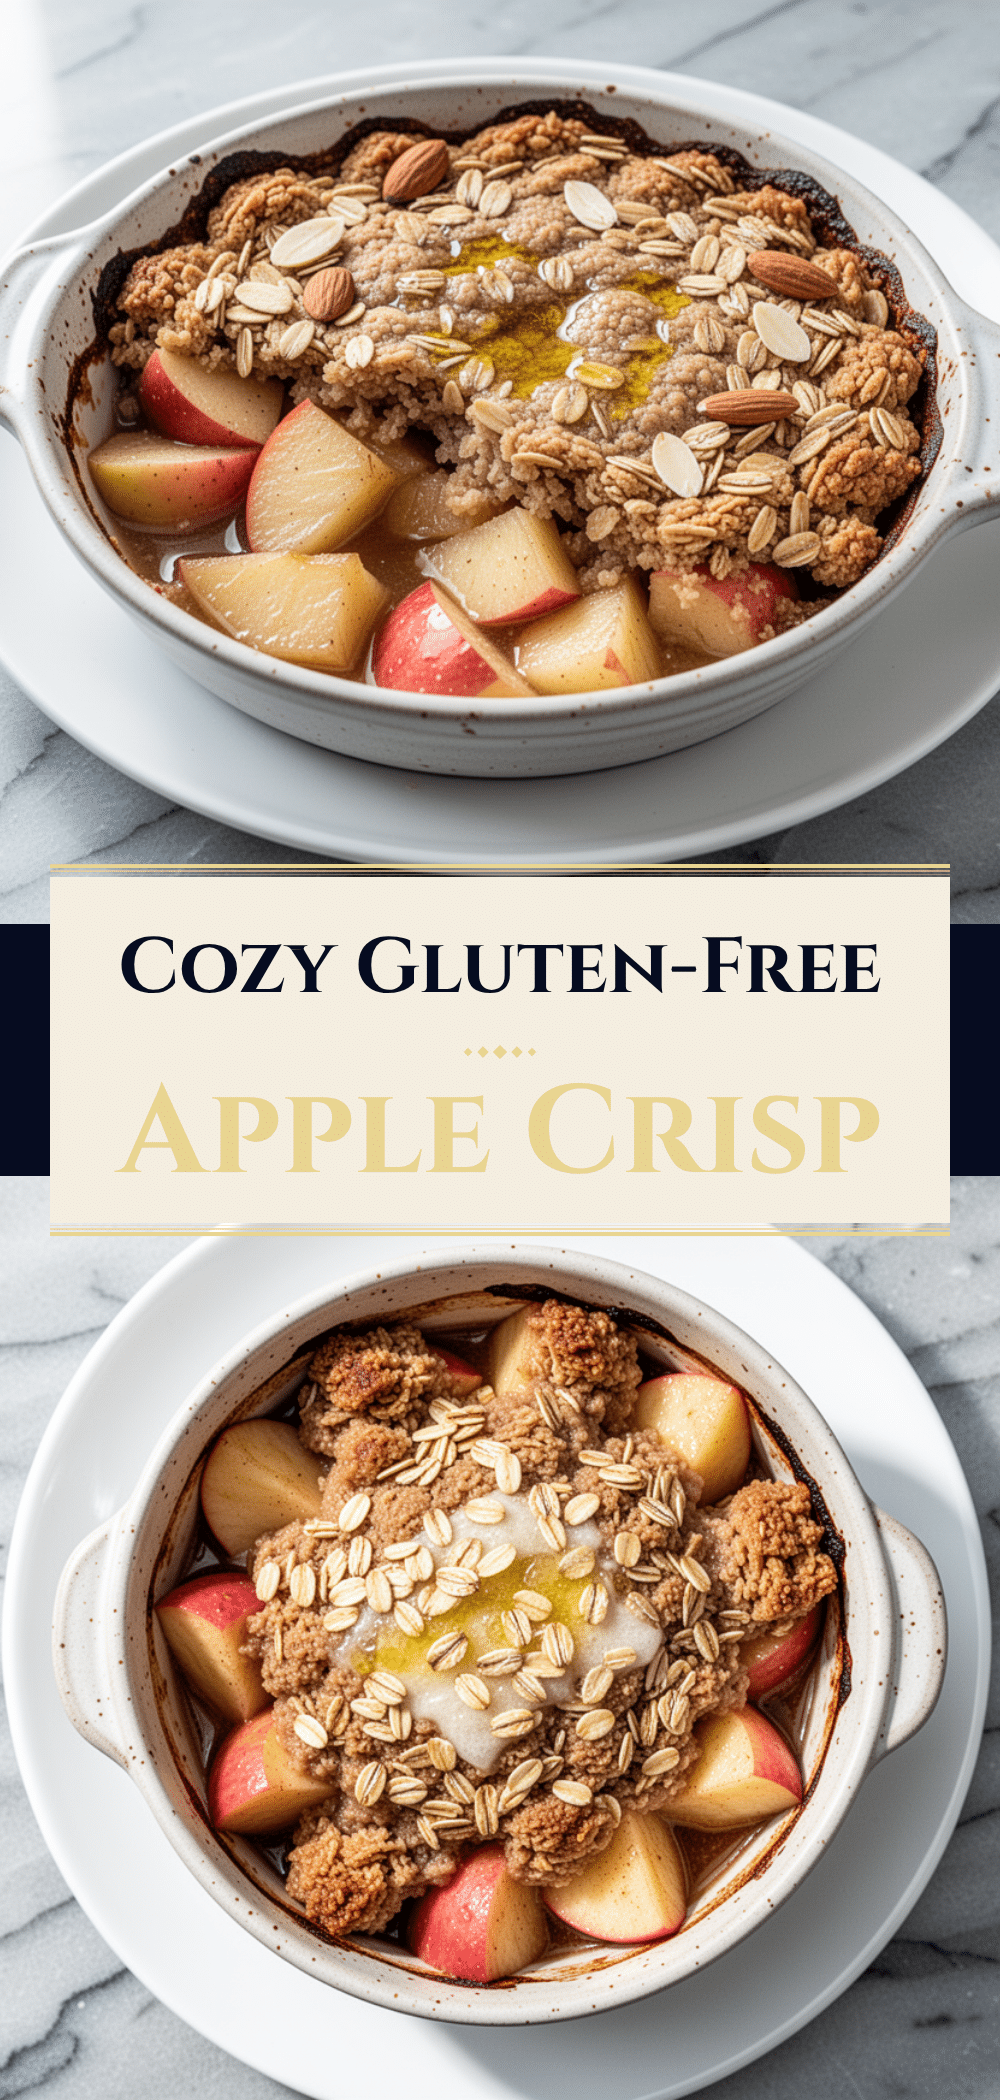
Gluten-Free Fall Apple Crisp with Oat Almond Topping
- Total Time: 15 minutes
- Yield: 4 servings 1x
Description
A quick, no-bake dessert featuring warm, cinnamon-spiced apples topped with a crunchy almond and oat mixture. This gluten-free and dairy-free recipe is ready in under 15 minutes.
Ingredients
- 4–5 medium apples (mix of Granny Smith and Honeycrisp), chopped into ½-inch cubes
- 1 cup certified gluten-free rolled oats
- ½ cup smooth, natural almond butter
- ¼ cup melted coconut oil
- 3 tablespoons pure maple syrup
- 2 teaspoons ground cinnamon
- 1 teaspoon pure vanilla extract
- ½ teaspoon salt
- ¼ cup chopped almonds (toasted optional)
- Optional: ¼ cup dark chocolate chips
Instructions
- Wash, core, and chop apples into ½-inch cubes. Place in a large microwave-safe bowl.
- Sprinkle apples with 1 tablespoon maple syrup and ½ teaspoon cinnamon. Toss to coat.
- Cover loosely and microwave on high for 4 minutes. Stir, then microwave for another 2-4 minutes until tender but not mushy.
- While apples cook, mix oats, almond butter, melted coconut oil, remaining maple syrup, remaining cinnamon, vanilla, salt, and chopped almonds in a small bowl until it resembles wet sand.
- Remove apples from microwave and spread topping evenly over the hot apples.
- Microwave again for 1-2 minutes to warm the topping.
- Let cool for 5 minutes to allow topping to crisp up. Serve warm.
Notes
Use firm apples like Granny Smith or Honeycrisp to prevent mushiness. Do not over-microwave apples as they continue to cook after removal. For best texture, store topping separately and mix before serving. Toasting almonds adds depth of flavor.
- Prep Time: 5 minutes
- Cook Time: 10 minutes
- Category: Dessert
- Cuisine: American
Nutrition
- Serving Size: 1 bowl
- Calories: 320
- Sugar: 22
- Sodium: 180
- Fat: 14
- Saturated Fat: 6
- Carbohydrates: 45
- Fiber: 6
- Protein: 8
Keywords: gluten-free, no-bake, apple crisp, fall dessert, healthy dessert, dairy-free, vegan, quick dessert, oat almond topping


