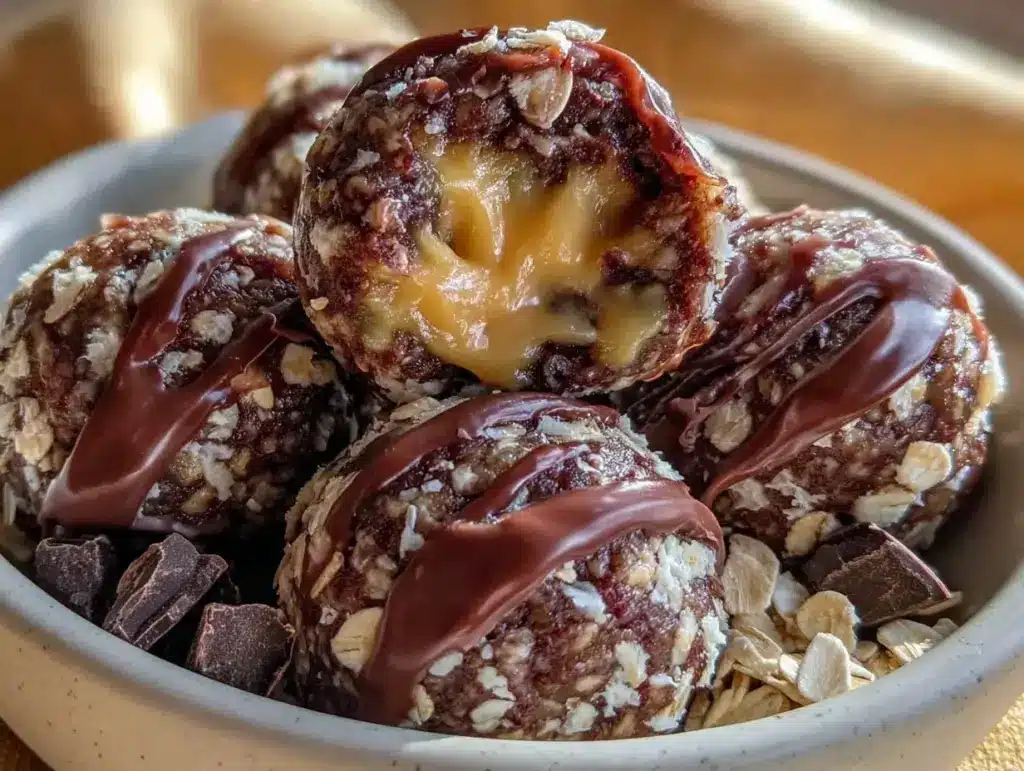
There was a Tuesday last week when I hit that specific kind of wall. You know the one. It’s 3:30 PM, the kids are restless, the house is quiet in that dangerous way that means trouble is brewing, and my energy levels are hovering around zero. I was staring into the pantry, hoping a snack would just magically appear, and instead, I found a bag of oats that was half-empty and a jar of peanut butter that had separated into two distinct layers (the good kind, but still).
I didn’t have the energy to bake. I didn’t have the patience for a complicated recipe. And honestly, I didn’t want to buy those store-bought protein balls that cost six dollars for three little nuggets and taste like cardboard and regret. So I threw together what I thought would be a mediocre emergency snack. I mixed rolled oats with peanut butter, chocolate chips, and a splash of honey. I rolled them into balls, popped them in the fridge, and waited.
Twenty minutes later, I pulled one out. It wasn’t just “okay.” It was incredible. Dense, chewy, salty-sweet, and packed with enough protein to actually keep me going. My daughter asked for three more. I gave her three more. Then I ate two myself before I even finished my coffee.
That was the moment I realized I had stumbled onto something special. These no-bake chocolate peanut butter protein balls with rolled oats have become my go-to solution for everything from mid-afternoon slumps to post-workout refueling. I’ve made them at least a dozen times in the last month, tweaking the ratios until they were perfect. They’re sticky enough to hold together, sweet enough to feel like a treat, and wholesome enough that I don’t feel guilty eating them straight from the container.
If you’re looking for a snack that’s quick, healthy, and actually tastes good, you need to make these. They’re the kind of recipe you’ll find yourself making on repeat because they solve so many problems at once. Plus, they’re perfect if you’re trying to eat more whole grains without sacrificing flavor. Unlike my vegan banana oat blender pancakes which require a bit of cooking, these are pure no-bake magic.
Why You’ll Love This Recipe
I’m not exaggerating when I say these balls have saved my weeknight sanity. Here’s why they’ve earned a permanent spot in my kitchen routine:
- Zero Baking Required — Seriously. No oven, no preheating, no waiting for cookies to cool. You mix, roll, chill, and eat. It’s that simple. I make these when I’m too tired to stand over a stove.
- Ready in 20 Minutes — The actual hands-on time is maybe 10 minutes. The rest is just chilling in the fridge. It’s the perfect speed for a snack you need now.
- High Protein, High Satisfaction — Unlike my high protein cookie dough bites which are more of a dessert, these are substantial. The rolled oats and peanut butter keep you full for hours. I’ve taken them to the gym, to the office, and on hikes.
- Wholesome Ingredients — No weird powders or mystery ingredients. Just oats, nut butter, chocolate, and natural sweeteners. It’s clean eating that doesn’t taste like punishment.
- Meal Prep Friendly — I make a big batch on Sunday and have snacks ready for the week. They stay fresh in the fridge for up to two weeks, or I freeze them for longer storage.
- Customizable — Hate chocolate chips? Use peanut butter chips. Want more crunch? Add seeds. This recipe is a blank canvas for your cravings.
These balls are my answer to “what’s for a snack?” when I don’t want chips or cookies. They’re nutritious, delicious, and require almost zero effort. My family loves them, and honestly, I think they’re better than most store-bought options.
Ingredients You’ll Need
The beauty of these no-bake chocolate peanut butter protein balls is how few ingredients they need. You probably have most of them already. Here’s what I use and why each one matters:
For the Base
Old-Fashioned Rolled Oats (2 cups / 160g) — Don’t use instant oats; they’ll turn into mush. Don’t use steel-cut; they’re too hard. Old-fashioned gives that perfect chewy texture. I buy the big canister because I use them for everything from cinnamon roll baked oatmeal to these balls.
Natural Peanut Butter (1 cup / 250g) — This is crucial. Use a natural peanut butter where the oil separates. Stir it well before measuring. Creamy works best for binding, but crunchy adds nice texture. Avoid the ones with added sugar and hydrogenated oils.
Honey (½ cup / 150ml) — It binds everything together and adds natural sweetness. Maple syrup works too if you want it vegan, but honey gives a richer flavor. Agave nectar is another option, though it’s thinner.
Chia Seeds (2 tablespoons / 20g) — They add omega-3s and help the balls hold together. If you don’t have chia, flax seeds work, or just skip them. I always keep chia seeds in my pantry because they’re so versatile.
For the Flavor
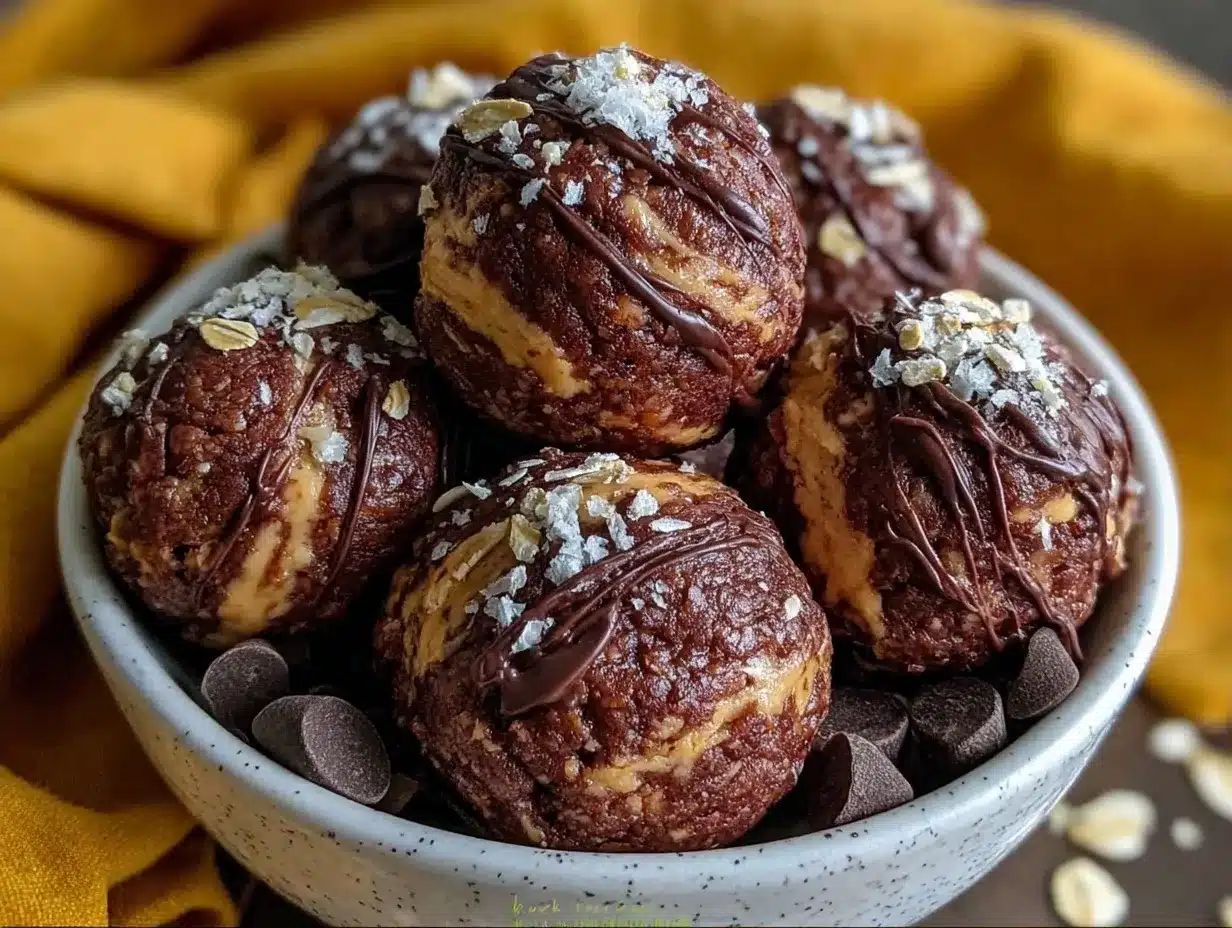
Dark Chocolate Chips (½ cup / 85g) — Semi-sweet or dark chocolate works best. If you’re really indulgent, use milk chocolate, but I prefer the slight bitterness of dark chocolate to balance the sweetness. Mini chips are easier to roll, but regular chips are fine too.
Vanilla Extract (1 teaspoon) — Just a splash. It rounds out the peanut butter flavor and makes it taste more like a dessert.
Salt (½ teaspoon) — Yes, salt. It’s non-negotiable. It makes the peanut butter taste like peanut butter and the chocolate taste like chocolate. Don’t skip it.
Optional Add-ins
Protein Powder (1 scoop) — I sometimes add a scoop of vanilla or chocolate protein powder to bump up the protein content. If you do this, you might need an extra tablespoon of peanut butter or honey because protein powder absorbs moisture.
Mini Peanut Butter Chips (¼ cup) — For double peanut butter flavor. I do this when I’m feeling extra indulgent.
Coconut Flakes (2 tablespoons) — Adds a nice tropical twist and some texture. Good for variety.
Whey Protein — If you’re adding protein powder, whey works well. Plant-based protein can make them drier, so you might need more liquid.
Equipment Needed
You don’t need much for this. Here’s what I actually use:
Large Mixing Bowl — I use a 4-quart bowl. It needs to be big enough to mix everything without spilling. A glass or ceramic bowl works best.
Measuring Cups and Spoons — Standard stuff. Accurate measurements matter here because you need the right balance of wet to dry.
Silicone Spatula — For mixing. It scrapes the bowl clean so you don’t waste any mixture.
Baking Sheet or Tray — To roll the balls on. Line it with parchment paper so nothing sticks.
Airtight Container — For storage. Glass containers work great, or plastic if that’s what you prefer.
Small Food Processor (Optional) — If you want finer oats, you can pulse them briefly. But I usually just leave them whole for texture.
How to Make It: Step-by-Step
Alright, let’s make these! It’s incredibly simple, but there are a few tricks to get the texture right.
Step 1: Prep Your Station
Line a baking sheet or tray with parchment paper. This is where you’ll roll the balls. Have your mixing bowl, measuring cups, and all ingredients ready. Once you start mixing, you want to move quickly before the mixture gets too sticky.
Step 2: Mix the Dry Ingredients
In your large mixing bowl, combine the rolled oats, chia seeds, and salt. Stir them together with a spoon or spatula. If you’re adding protein powder, add it now too. Mix well to distribute the salt and protein evenly.
Step 3: Add the Wet Ingredients
Add the peanut butter, honey, and vanilla extract to the dry ingredients. Start mixing. At first, it will look crumbly and messy. Keep stirring. The peanut butter and honey will bind everything together. It might take a minute of vigorous mixing, but it will come together.
Step 4: Check the Consistency
Pinch a small amount of the mixture and press it together. If it holds its shape, you’re good. If it’s too dry and crumbly, add another tablespoon of honey or peanut butter. If it’s too sticky and won’t hold shape, add a bit more oats. You want a dough-like consistency, like playdough.
Step 5: Add the Chocolate
Stir in the chocolate chips (and any other add-ins like coconut or peanut butter chips). Distribute them evenly throughout the mixture. Be gentle so you don’t crush the chips too much.
Step 6: Roll the Balls
Using your hands, scoop out about a tablespoon of mixture (a cookie scoop works great for uniformity) and roll it into a ball between your palms. Place it on the prepared baking sheet. Repeat until all mixture is used. You should get about 18-20 balls, depending on size.
Step 7: Chill
Place the tray in the refrigerator for at least 20 minutes. This firms them up and makes them easier to eat. If you’re in a hurry, you can freeze them for 10 minutes, but chilling is better for texture.
Step 8: Store and Enjoy
Once chilled, transfer the balls to an airtight container. They’re ready to eat! Store in the fridge for up to two weeks, or in the freezer for up to three months.
Expert Tips & Tricks
Here’s everything I’ve learned from making these dozens of times. These tips will save you from my mistakes.
Use Natural Peanut Butter
This is the most important tip. Commercial peanut butter with stabilizers can make the balls greasy or too soft. Natural peanut butter binds better and tastes fresher. Just remember to stir the jar well before measuring!
Don’t Skip the Chill Time
I know you want to eat them now, but if you don’t chill them, they’ll be sticky and messy. The cold helps the fats solidify, giving you that perfect bite. Trust me, the 20-minute wait is worth it.
Adjust for Protein Powder
If you add protein powder, it absorbs moisture. Start with a smaller amount (½ scoop) and add more liquid (honey or peanut butter) as needed. Too much protein powder makes them dry and chalky.
Keep Hands Oiled
If the mixture is sticky, lightly oil your hands with a little peanut butter or coconut oil. This prevents sticking and makes rolling much easier.
Uniform Size
Use a cookie scoop or measuring spoon to portion the mixture. It ensures even cooking (if you ever decide to bake them, though you don’t need to) and consistent serving sizes.
Common Mistakes
Mistake: Balls are too crumbly. Fix: Add more honey or peanut butter, one teaspoon at a time.
Mistake: Balls are too sticky. Fix: Add more oats, one tablespoon at a time.
Mistake: Balls fall apart when eating. Fix: They weren’t chilled long enough, or the ratio of wet to dry was off.
Variations & Substitutions
Once you’ve mastered the basic version, here’s how you can mix it up. I’ve tried all of these.
Almond Butter Version
Swap peanut butter for almond butter. It’s slightly sweeter and has a different flavor profile. Great if you’re allergic to peanuts.
Sunflower Butter Version
Use sunflower seed butter for a nut-free option. It’s a bit earthier, so I add a little extra vanilla to balance it.
Trail Mix Version
Add dried cranberries, chopped almonds, and maybe some coconut chips. It’s like a trail mix in ball form. Perfect for hiking.
Coconut Chocolate Version
Add ½ cup shredded coconut and use coconut oil instead of some of the peanut butter. It’s tropical and delicious.
Matcha Version
Add 1 teaspoon of matcha powder to the dry ingredients. It gives a nice green color and a subtle tea flavor. Surprisingly good with chocolate.
Dairy-Free
Use maple syrup instead of honey and ensure your chocolate chips are dairy-free. The rest of the recipe is naturally dairy-free.
Gluten-Free
Use certified gluten-free oats. Most oats are processed in facilities with wheat, so check the label if you’re celiac.
Serving & Storage
How to Serve
I usually eat these straight out of the fridge as a snack. They’re great with a glass of milk or a cup of coffee. I also pack them in my lunchbox or gym bag. If you’re serving them to guests, arrange them on a platter with some fresh fruit. They look elegant and taste amazing.
Storage Instructions
Refrigerator: Store in an airtight container for up to two weeks. They get firmer in the fridge, which I actually prefer.
Freezer: Store in a freezer-safe bag or container for up to three months. Thaw in the fridge for 15 minutes before eating. They taste almost like ice cream balls!
Room Temperature: Not recommended. The peanut butter can go rancid, and the chocolate might melt. Stick to fridge or freezer.
Pro Tip
If you’re meal prepping, make a double batch. They freeze so well that you can always have a stash ready for busy weeks.
Nutrition Information
I’m not a nutritionist, but here’s the breakdown if you’re tracking. This is per ball (based on 20 balls).
Calories: 120
Protein: 4g
Carbs: 12g
Fiber: 2g
Sugar: 6g
Fat: 7g
Saturated Fat: 1.5g
Sodium: 50mg
What’s Good:
Decent protein for a snack. Good fiber from oats. Healthy fats from peanut butter. No refined sugar if you use honey.
What to Know:
Higher in calories due to peanut butter and chocolate. Contains nuts. Can be made gluten-free and dairy-free.
My Take:
Look, these are a treat. They have chocolate and peanut butter. But they’re also made with whole foods and protein. They’re way better than a candy bar, and they keep you full. I don’t stress about the calories because I know what’s in them. When I eat them, I enjoy them.
Final Thoughts
So that’s my no-bake chocolate peanut butter protein balls with rolled oats! I’ve probably talked your ear off at this point, but when you find a recipe that works this well, you want to share it.
These balls have saved me from so many hungry moments. They’re my answer to “what’s for a snack?” when I don’t want junk food but still want something delicious. My kids love them, my husband loves them, and I love them because they’re healthy and easy.
Make them your own! Try different nut butters, add different chocolates, or throw in some seeds. The best recipes are the ones you adapt to your tastes.
If you make these, drop a comment and let me know what you think! I love hearing how recipes turn out in your kitchen. And if something doesn’t work, tell me that too—I’m here to help troubleshoot.
Happy snacking! And I hope your kitchen smells half as good as mine does right now.
Frequently Asked Questions
Can I use crunchy peanut butter?
Absolutely! Crunchy peanut butter adds a nice texture contrast. Just make sure it’s natural peanut butter so it binds well. I sometimes mix creamy and crunchy for the best of both worlds.
Why are my balls too crumbly?
This usually means you don’t have enough wet ingredients. Add more honey or peanut butter, one teaspoon at a time, until the mixture holds together when you pinch it. Also, make sure your oats aren’t too dry or old.
Why are my balls too sticky?
You have too much wet ingredient. Add more oats, one tablespoon at a time, until the mixture is manageable. You can also chill the mixture for 15 minutes before rolling to firm it up.
Can I freeze these?
Yes! They freeze beautifully. Store them in a freezer-safe bag or container for up to three months. Thaw in the fridge for 15 minutes before eating. They taste almost like frozen treats.
Can I make these vegan?
Yes! Use maple syrup or agave nectar instead of honey, and make sure your chocolate chips are dairy-free. The rest of the recipe is naturally vegan.
How long do they last?
In the fridge, they last up to two weeks. In the freezer, up to three months. They don’t last long in my house, though!
Can I add protein powder?
Yes, but it absorbs moisture. Start with ½ scoop and add more liquid (honey or peanut butter) as needed. Too much protein powder can make them dry and chalky.
Pin This Recipe!
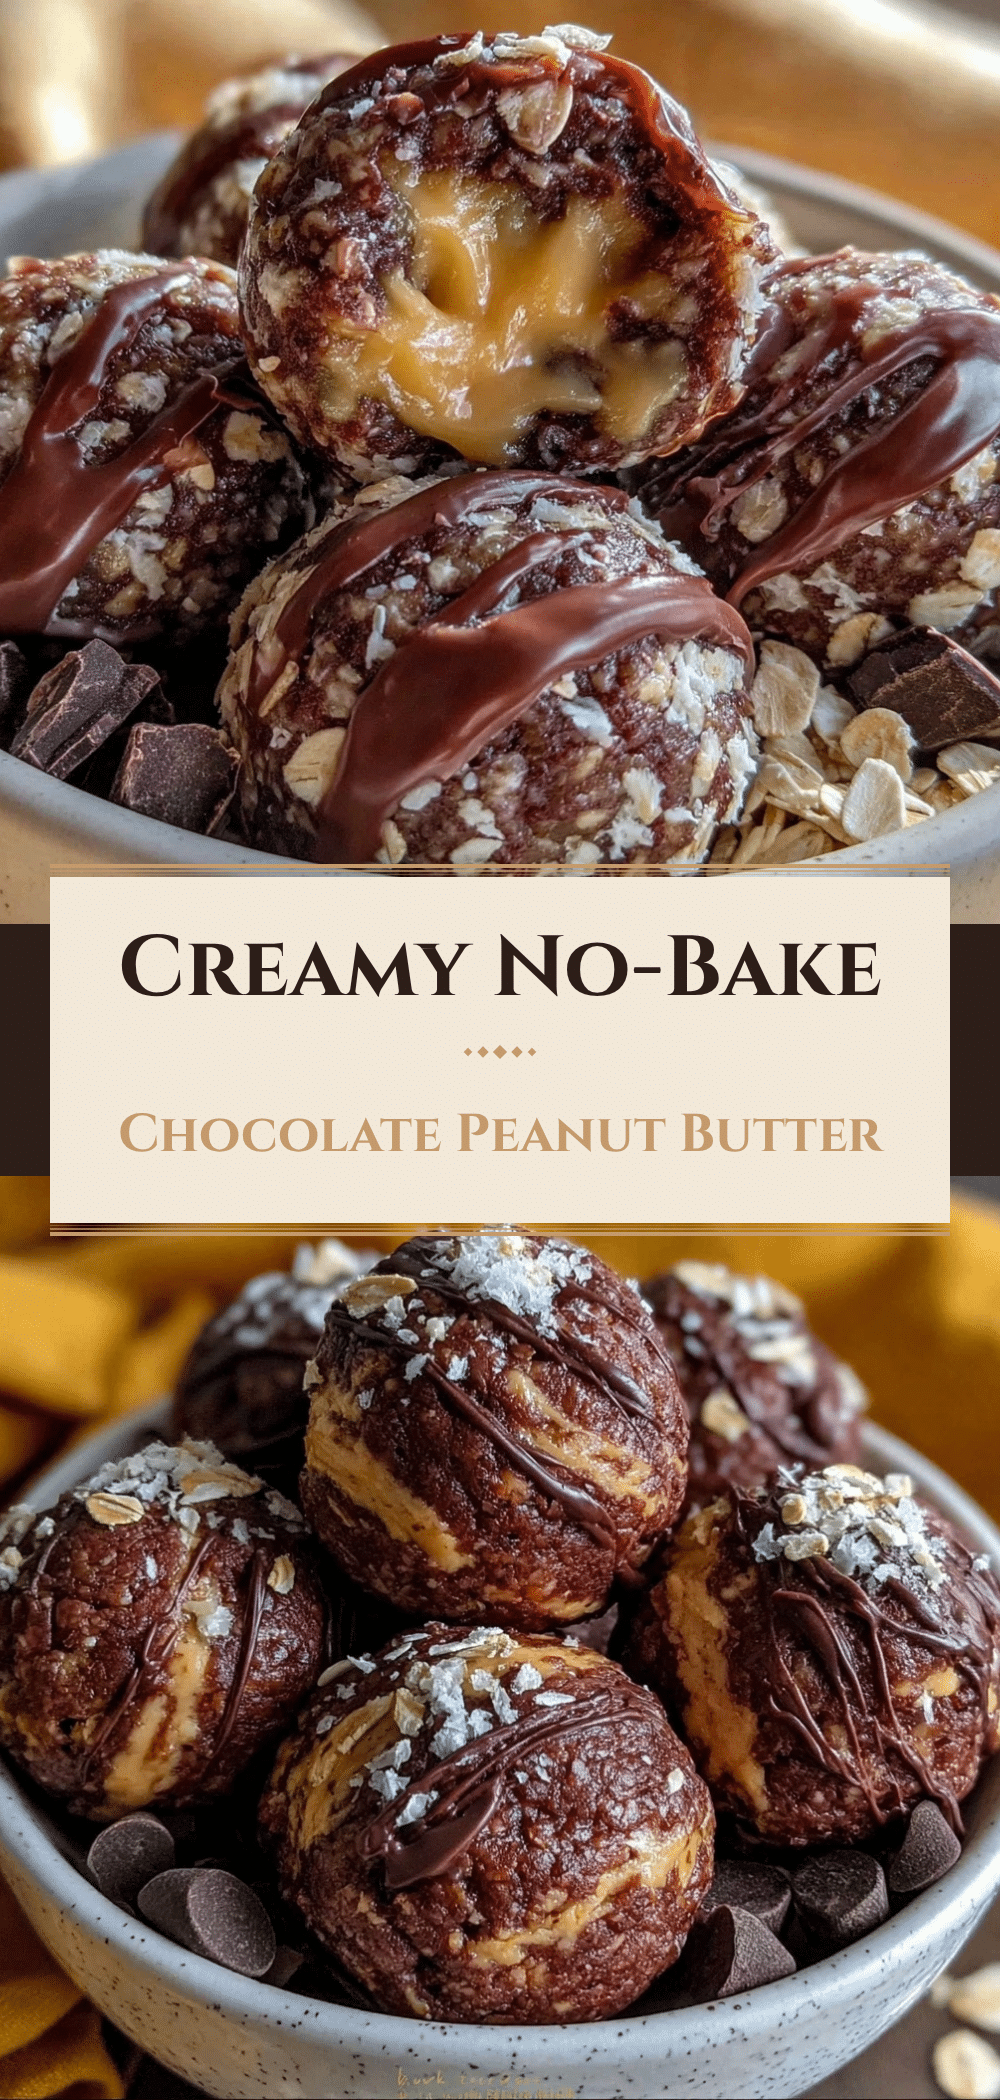
No-Bake Chocolate Peanut Butter Protein Balls
- Total Time: 20 minutes
- Yield: 20 servings 1x
Description
A quick, healthy, and delicious no-bake snack made with rolled oats, natural peanut butter, and chocolate chips. These protein balls are perfect for mid-afternoon slumps, post-workout refueling, or meal prep.
Ingredients
- 2 cups (160g) Old-Fashioned Rolled Oats
- 1 cup (250g) Natural Peanut Butter
- ½ cup (150ml) Honey
- 2 tablespoons (20g) Chia Seeds
- ½ cup (85g) Dark Chocolate Chips
- 1 teaspoon Vanilla Extract
- ½ teaspoon Salt
- Optional: 1 scoop Protein Powder
- Optional: ¼ cup Mini Peanut Butter Chips
- Optional: 2 tablespoons Coconut Flakes
Instructions
- Line a baking sheet or tray with parchment paper.
- In a large mixing bowl, combine the rolled oats, chia seeds, and salt. Stir to distribute evenly.
- Add the peanut butter, honey, and vanilla extract to the dry ingredients.
- Mix vigorously until the mixture comes together and looks cohesive. It may look crumbly at first.
- Check consistency by pinching a small amount; it should hold its shape like playdough. Add more honey/peanut butter if too dry, or more oats if too sticky.
- Stir in the chocolate chips and any optional add-ins.
- Scoop about a tablespoon of mixture and roll into balls between your palms. Place on the prepared baking sheet.
- Refrigerate for at least 20 minutes to firm up.
- Transfer to an airtight container for storage.
Notes
Use natural peanut butter where the oil separates and stir well before measuring. Do not use instant or steel-cut oats. If adding protein powder, add extra liquid as it absorbs moisture. Chill thoroughly to prevent stickiness. Store in fridge for up to 2 weeks or freezer for up to 3 months.
- Prep Time: 10 minutes
- Cook Time: 0 minutes
- Category: Snack
- Cuisine: American
Nutrition
- Serving Size: 1 ball
- Calories: 120
- Sugar: 6
- Sodium: 50
- Fat: 7
- Saturated Fat: 1.5
- Carbohydrates: 12
- Fiber: 2
- Protein: 4
Keywords: no-bake, protein balls, peanut butter, chocolate, healthy snack, meal prep, gluten-free, dairy-free, oats, quick snack


