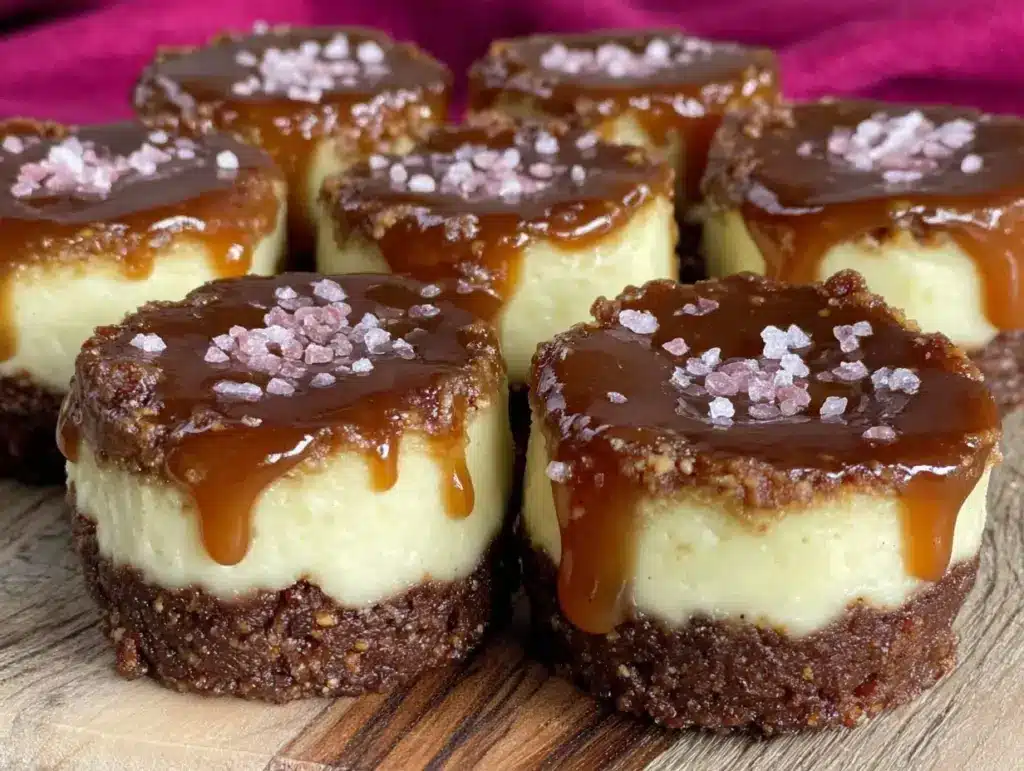
Last Saturday, I was staring at the clock, feeling that familiar pang of guilt. It was 4:30 PM, my toddler was in the “helpful” phase (which usually means making a mess), and I needed something to occupy him that wasn’t just screen time. But I also didn’t want to order takeout. I wanted to make something special, something that felt like a real treat, but didn’t require me to spend three hours at the oven or buy a dozen ingredients I’d never use again.
Then I remembered the keto salted caramel cheesecake bites. Or rather, I remembered the *last* time I tried to make them. The first attempt was a disaster. The caramel burned, the crust crumbled into dust, and my son, who was supposed to be “helping,” ended up eating half the cream cheese out of the bowl while I cried into my mixing spoon. We threw it all out. But I wasn’t ready to give up. These bites are supposed to be the holy grail of kid-friendly desserts: no baking required, sweet enough to satisfy a sugar craving, but low-carb enough that I don’t feel like a terrible parent.
So, I tried again. And again. And I finally cracked the code. Now, these keto salted caramel cheesecake bites are our weekend ritual. My son gets to be the official “caramel drizzler” and “sprinkle counter.” It’s not about the finished product (though they are delicious). It’s about that hour where we’re side-by-side in the kitchen, flour and chocolate on our noses, laughing because he insists on putting exactly 17 sprinkles on each one. If you’re looking for a way to bond with your little ones while avoiding a sugar crash, this is it. Trust me, once they start making these, you’ll never look at store-bought treats the same way again.
Why You’ll Love Making These Together
There are about ten reasons I keep coming back to these bites, but here are the big ones that matter most to parents (and kids).
No Oven Required — Seriously, if you have a refrigerator, you can make this. No preheating, no standing in front of a hot oven waiting for it to bake, and definitely no risk of burning your house down. I’ve made this on a whim while wearing pajamas. It’s that easy.
Kid-Safe Prep Work — The hardest part for them is crushing the crust (if they use a food processor, they just press the button) and drizzling the caramel. These are safe, manageable tasks. No sharp knives, no hot stovetops. Just mixing and decorating. It builds confidence.
Low-Carb Joy — We’re trying to cut back on sugar in our house, but I don’t want to deny them the joy of dessert. These bites use keto-friendly sweeteners and cream cheese, so they’re creamy and rich without the guilt. My husband, who is also watching his carbs, steals them from the fridge. He’s not even sorry.
Make-Ahead Magic — You can make these on Sunday, and they’ll last all week in the fridge. This means less stress during the week. When the 3 PM hunger strikes hits, I just grab two bites. No panic cooking.
Customizable Fun — My kids love to add their own toppings. Sometimes it’s chocolate chips, sometimes it’s crushed nuts, sometimes it’s just extra caramel. It’s their creation, not just my recipe. That ownership makes them eat it (usually).
This is my go-to when I need to keep my kids busy and happy. It’s messy, sure, but it’s the good kind of messy. The kind that leaves you with full hearts and empty containers.
Ingredients You’ll Need
Here’s the best part: you probably have most of this already, or it’s stuff you can grab in five minutes at the store. I’m particular about three things here, and I’ll tell you exactly why.
For the Crust
Almond flour (1 cup / 110g) — This is non-negotiable for the keto version. Regular flour ruins the low-carb goal. I use fine almond flour, not meal. It gives a better texture. If you’re allergic to nuts, you can try coconut flour, but the texture changes significantly.
Unsalted butter (2 tablespoons / 30g) — Melted. I use unsalted so I can control the salt in the crust. If you only have salted, reduce the salt in the crust by half.
Granulated erythritol or monk fruit sweetener (2 tablespoons / 25g) — I prefer erythritol because it mimics sugar’s crunch. Monk fruit works too, but it’s sweeter, so go slow. Don’t use honey or maple syrup—it’s not keto.
Salt (¼ teaspoon) — Just a pinch to bring out the flavor. Don’t skip it.
For the Cheesecake Filling
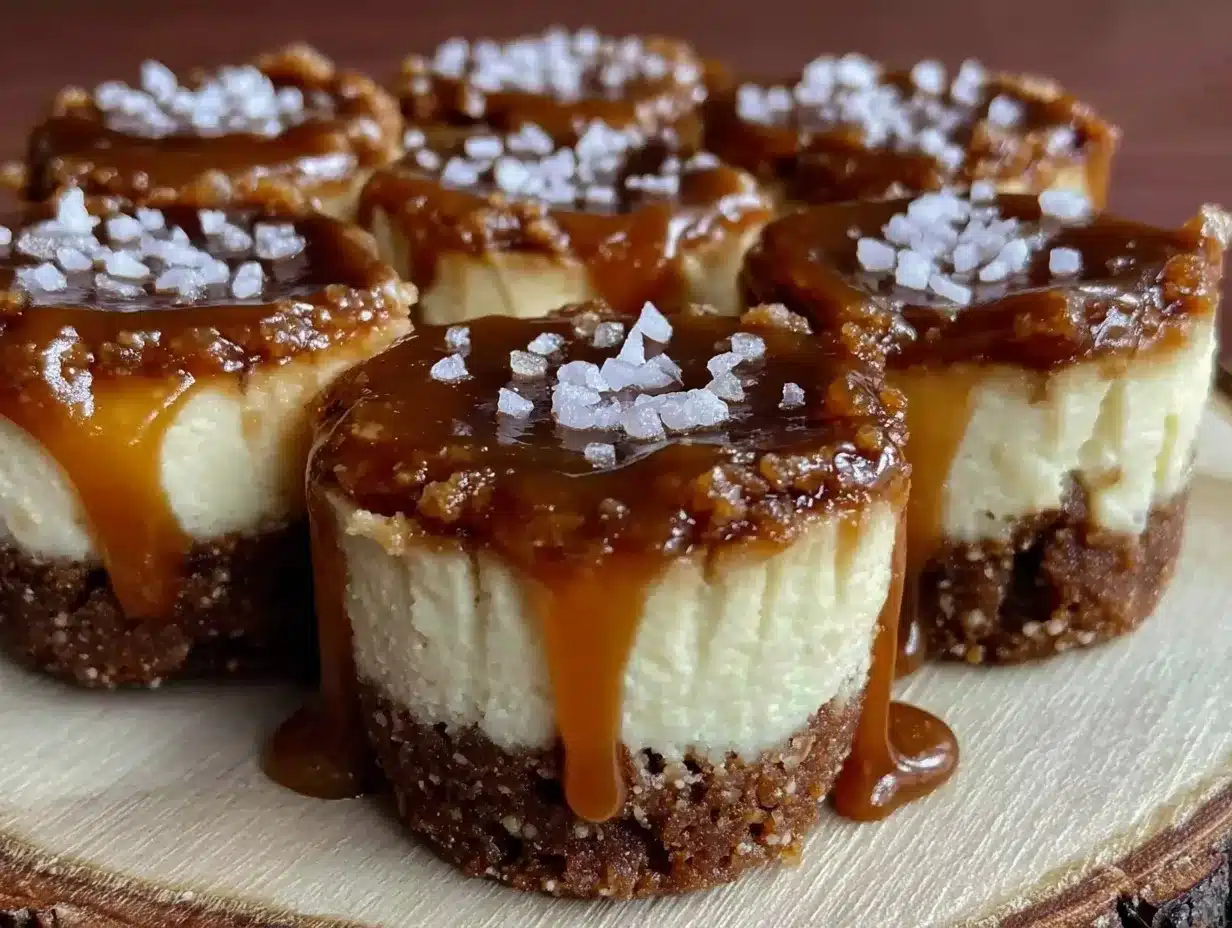
Full-fat cream cheese (8 ounces / 225g) — This is the star. It must be full-fat and softened to room temperature. Cold cream cheese leads to lumps. I take it out of the fridge 30 minutes before I start. If you’re in a rush, microwave it in 5-second bursts, but don’t melt it.
Heavy cream (2 tablespoons / 30ml) — Adds richness and helps whip the filling light. You can use half-and-half if you’re out, but heavy cream is better.
Vanilla extract (1 teaspoon) — Pure vanilla, not imitation. It makes a huge difference in flavor depth.
Confectioners’ sweetener (¼ cup / 30g) — Use a powdered keto sweetener. Granulated won’t dissolve properly in the cold filling. I make my own by blending granulated erythritol in a high-speed blender until it’s powder-like.
Pinch of salt — Again, essential for balancing the sweetness.
For the Salted Caramel Drizzle
Sugar-free caramel sauce (½ cup / 120ml) — I buy this pre-made to save time. Look for brands with no added sugar. If you want to make your own, it’s easy (just keto-friendly sweetener, butter, and cream), but it takes extra time.
Flaky sea salt (for sprinkling) — This is the “salted” part. Maldon sea salt is my favorite, but any flaky salt works. It adds that crunch and contrast.
Optional: Dark chocolate chips (keto-friendly) — For extra decadence. My kids love a little chocolate crunch.
Equipment Needed
You don’t need fancy equipment for this. Here’s what I actually use.
Stand mixer or hand mixer — I use a hand mixer because it’s easier to clean. A stand mixer works great too, but you’ll need to scrape the bowl down. If you’re doing this with kids, a hand mixer is safer for them to hold (with supervision).
Muffin tin — A standard 12-cup muffin tin. I line it with paper liners. This makes cleanup a breeze. If you don’t have liners, grease the tin well with butter.
Small bowl — For mixing the crust. Any bowl works.
Measuring cups and spoons — Standard stuff. Dollar store versions work fine.
Silicone spatula — For scraping the bowl. Essential for getting every bit of filling.
Ziplock bag — For crushing the crust if you’re not using almond flour (though I recommend almond flour). Or for storing leftovers.
Piping bag or small ziplock bag — For drizzling the caramel. If you don’t have a piping bag, just cut a tiny corner off a ziplock bag. It works perfectly.
Refrigerator — Obviously. You’ll need space for the bites to set.
How to Make It: Step-by-Step
Alright, let’s make this! I’m walking you through exactly how I do it, including the little tricks I’ve picked up. This is the perfect project for kids because there are clear, simple steps.
Step 1: Prep the Crust (5 minutes)
In a small bowl, mix the almond flour, melted butter, sweetener, and salt. Stir until it looks like wet sand. If you’re using a food processor, pulse it together. This part is easy for kids. Have your child stir it for you. They’ll love feeling the texture change.
Step 2: Form the Crusts (5 minutes)
Line your muffin tin with paper liners. Divide the crust mixture equally among the 12 cups. Use the back of a measuring spoon to press the crust firmly into the bottom and up the sides of each liner. This is a great motor skill task for kids. They can press and pat. Make sure the base is flat and even.
Step 3: Make the Filling (5 minutes)
In a medium bowl, beat the softened cream cheese until smooth. Add the heavy cream, vanilla extract, powdered sweetener, and salt. Beat on medium-high speed for 2-3 minutes until light and fluffy. This is the fun part for kids. Let them hold the hand mixer (with your help) for a few seconds. They’ll love seeing it turn from lumpy to smooth.
Step 4: Fill the Crusts (5 minutes)
Spoon the filling into each crust-lined cup. Use a spatula to smooth the top. Fill them almost to the top, but leave a little room for the caramel drizzle. This is where creativity comes in. Let your kids sprinkle a few chocolate chips or nuts on top if they want.
Step 5: Chill (1 hour)
Place the muffin tin in the refrigerator for at least 1 hour, or until the filling is firm. This is the hardest part for kids—waiting. But it’s necessary. Use this time to clean up the kitchen or start the caramel sauce.
Step 6: Drizzle and Salt (5 minutes)
Once the bites are firm, take them out. Warm the caramel sauce slightly (microwave for 10-15 seconds) so it’s pourable. Put the caramel in a small ziplock bag and cut a tiny corner. Drizzle the caramel over each bite in a zigzag pattern. Then, immediately sprinkle a tiny pinch of flaky sea salt on top. The salt needs to stick to the wet caramel.
Step 7: Serve or Store
Enjoy them right away, or store them in the fridge. They keep well for up to a week.
Total Time: About 25 minutes active, plus 1 hour chilling.
Expert Tips & Tricks
Here’s everything I’ve learned from making these dozens of times. These tips will save you from my mistakes.
Softened Cream Cheese is Key
If your cream cheese is cold, you’ll get lumps. And nobody wants lumpy cheesecake. I always take it out of the fridge 30 minutes before. If you’re in a rush, microwave it in 5-second bursts, checking after each one. It should be soft to the touch but not melted.
Don’t Skimp on the Salt
The salt is what makes these “salted caramel” bites. Without it, they’re just sweet. The flaky sea salt adds a nice crunch and contrast. Don’t use table salt—it’s too fine and salty. Use Maldon or any flaky sea salt.
Use a Piping Bag for Caramel
Trying to pour caramel from a bottle is messy. A piping bag (or a ziplock bag with a corner cut off) gives you control. Your kids can practice their “art” with the drizzle. It’s much more fun and less sticky.
Chill Thoroughly
If you don’t chill them long enough, the filling will be soft and the bites will fall apart when you try to eat them. One hour is the minimum. Two hours is better. If you’re in a hurry, put them in the freezer for 30 minutes, but watch them closely so they don’t freeze solid.
Make Your Own Powdered Sweetener
If you don’t have powdered keto sweetener, blend granulated erythritol in a high-speed blender until it’s a fine powder. It takes about 30 seconds. This prevents the filling from being gritty.
Variations & Substitutions
Once you’ve nailed the basic version, here’s how you can mix it up. I’ve tried all of these.
Chocolate Chip Version
Add ½ cup of keto-friendly chocolate chips to the filling. My kids love this version. It’s like a chocolate chip cookie in bite form.
Strawberry Swirl
Blend ½ cup of fresh strawberries with 1 tablespoon of sweetener until smooth. Swirl it into the filling before chilling. It’s fresh and fruity.
Cookie Dough Bites
Add ½ cup of keto-friendly cookie dough chunks to the filling. This is inspired by the high protein cookie dough bites we make sometimes. It’s rich and indulgent.
Nut-Free Option
If you have nut allergies, use coconut flour for the crust. It’s slightly different in texture, but still works. You might need a little more butter to bind it.
Dairy-Free Version
Use dairy-free cream cheese and coconut cream. It’s not quite the same texture, but it’s still delicious. My lactose-intolerant friend loves this version.
Serving & Storage
How to serve these bites is simple. I usually take them straight out of the fridge. They’re best cold and firm.
Serving Suggestions:
– Serve with a cup of hot tea or coffee for an adult treat.
– Pair with fresh berries for a pop of color.
– Give them to your kids as a weekend treat after a fun activity.
Storage Instructions:
Refrigerator: Store in an airtight container for up to 5 days. They actually taste better after a day or two, as the flavors meld together.
Freezer: You can freeze these bites for up to 2 months. Thaw them in the fridge overnight. The texture might be slightly softer, but they’re still good.
Pro Tip: If you’re making these for a party, bring them in the muffin tin. It’s easy to serve and looks cute. Just let them come to room temperature for 10 minutes before serving.
Nutrition Information
I’m not a nutritionist, but here’s the breakdown if you’re tracking. Per bite (based on 12 servings):
- Calories: 150
- Protein: 4g
- Carbs: 3g (1g fiber, 2g net carbs)
- Fat: 14g
- Sugar: 1g
These bites are low-carb and high-fat, perfect for keto. They’re also high in protein from the cream cheese. If you’re not keto, you can use regular sugar and flour, but the nutrition will change significantly.
Final Thoughts
So that’s my keto salted caramel cheesecake bites! I’ve probably talked your ear off at this point, but when you make a recipe this often, you have a lot to say about it.
This has saved our weekend mornings more times than I can count. It’s my answer to “what are we doing today?” when we’re bored but don’t want to go out. My kids are happy because they get to help, and I’m happy because I’m making something healthy and delicious. It’s a win-win.
Make it yours! Try different toppings, swap in your favorite extracts, or adjust the sweetness to your taste. The best recipes are the ones you adapt to your family’s tastes.
If you make this, drop a comment and let me know what you think! I love hearing how recipes turn out in your kitchen. And if something doesn’t work, tell me that too—I’m here to help troubleshoot.
Happy cooking! And I hope your kitchen smells half as good as mine does right now.
Frequently Asked Questions
Can I use granulated sweetener instead of powdered?
You can, but the filling might be slightly gritty. I recommend blending granulated sweetener in a high-speed blender until it’s a fine powder. It takes about 30 seconds and makes a huge difference in texture.
Why did my filling turn out runny?
Usually, this means the cream cheese wasn’t softened enough, or you didn’t whip it long enough. Make sure you whip it for at least 2-3 minutes until it’s light and fluffy. Also, make sure you chill them for at least 1 hour.
Can I make these ahead for a party?
Absolutely! Make them up to 2 days ahead and store in the fridge. They actually taste better after a day. Just add the caramel drizzle right before serving so it doesn’t get soggy.
Can I freeze these bites?
Yes! Freeze them in an airtight container for up to 2 months. Thaw them in the fridge overnight. The texture might be slightly softer, but they’re still delicious.
What if I don’t have a hand mixer?
You can use a whisk and a lot of elbow grease, or a stand mixer. If you’re whisking by hand, it’ll take about 5-7 minutes to get the filling light and fluffy. It’s a workout, but it works!
Can I use coconut cream instead of heavy cream?
Yes, if you’re dairy-free. Use full-fat coconut cream. It’s thicker, so you might need less. The flavor will be slightly coconutty, which is nice.
How do I store the caramel sauce?
Store leftover caramel sauce in an airtight container in the fridge for up to 2 weeks. Warm it slightly before using. It will thicken in the fridge, which is normal.
Pin This Recipe!
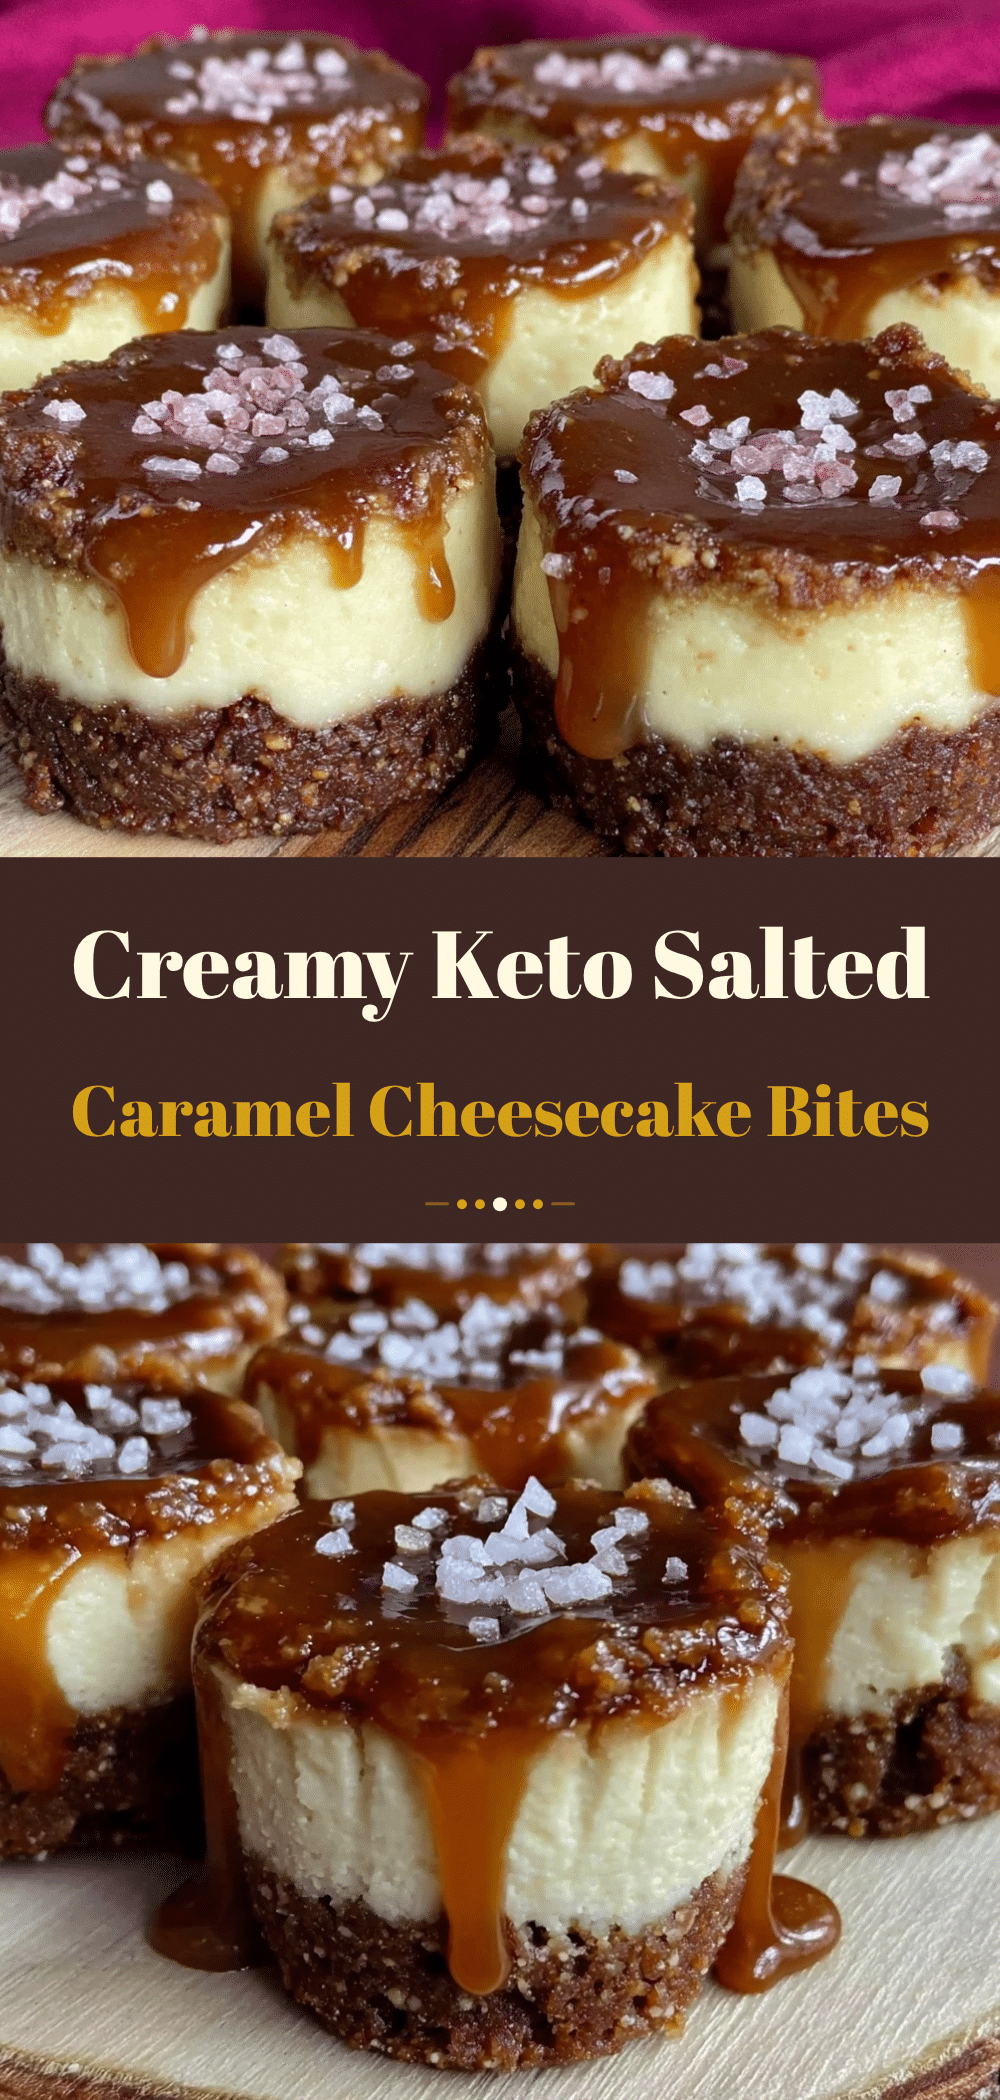

Keto Salted Caramel Cheesecake Bites
- Total Time: 1 hour 25 minutes
- Yield: 12 servings 1x
Description
No-bake, kid-friendly keto cheesecake bites with a crunchy almond flour crust, creamy filling, and salted caramel drizzle. Perfect for bonding with children and making ahead.
Ingredients
- 1 cup (110g) fine almond flour
- 2 tablespoons (30g) unsalted butter, melted
- 2 tablespoons (25g) granulated erythritol or monk fruit sweetener
- 1/4 teaspoon salt
- 8 ounces (225g) full-fat cream cheese, softened to room temperature
- 2 tablespoons (30ml) heavy cream
- 1 teaspoon pure vanilla extract
- 1/4 cup (30g) confectioners’ keto sweetener
- Pinch of salt
- 1/2 cup (120ml) sugar-free caramel sauce
- Flaky sea salt (e.g., Maldon) for sprinkling
- Optional: Keto-friendly dark chocolate chips
Instructions
- In a small bowl, mix almond flour, melted butter, granulated sweetener, and salt until it resembles wet sand.
- Line a standard 12-cup muffin tin with paper liners.
- Divide the crust mixture equally among the 12 cups, pressing firmly into the bottom and up the sides with the back of a measuring spoon.
- In a medium bowl, beat the softened cream cheese until smooth.
- Add heavy cream, vanilla extract, powdered sweetener, and a pinch of salt. Beat on medium-high speed for 2-3 minutes until light and fluffy.
- Spoon the filling into each crust-lined cup, smoothing the top and leaving room for the drizzle.
- Refrigerate for at least 1 hour, or until the filling is firm.
- Warm the caramel sauce slightly (10-15 seconds in microwave) to make it pourable.
- Place caramel in a piping bag or ziplock bag with a corner cut off and drizzle over each bite.
- Immediately sprinkle with flaky sea salt.
- Serve immediately or store in the refrigerator.
Notes
Ensure cream cheese is softened to room temperature to avoid lumps. Use powdered sweetener for the filling to prevent grittiness. Chill thoroughly for at least 1 hour. Store in an airtight container in the fridge for up to 5 days or freeze for up to 2 months.
- Prep Time: 25 minutes
- Cook Time: 0 minutes
- Category: Dessert
- Cuisine: American
Nutrition
- Serving Size: 1 bite
- Calories: 150
- Sugar: 1
- Sodium: 120
- Fat: 14
- Saturated Fat: 8
- Carbohydrates: 3
- Fiber: 1
- Protein: 4
Keywords: keto, low carb, no bake, cheesecake bites, salted caramel, kid friendly, gluten free, dairy free option


