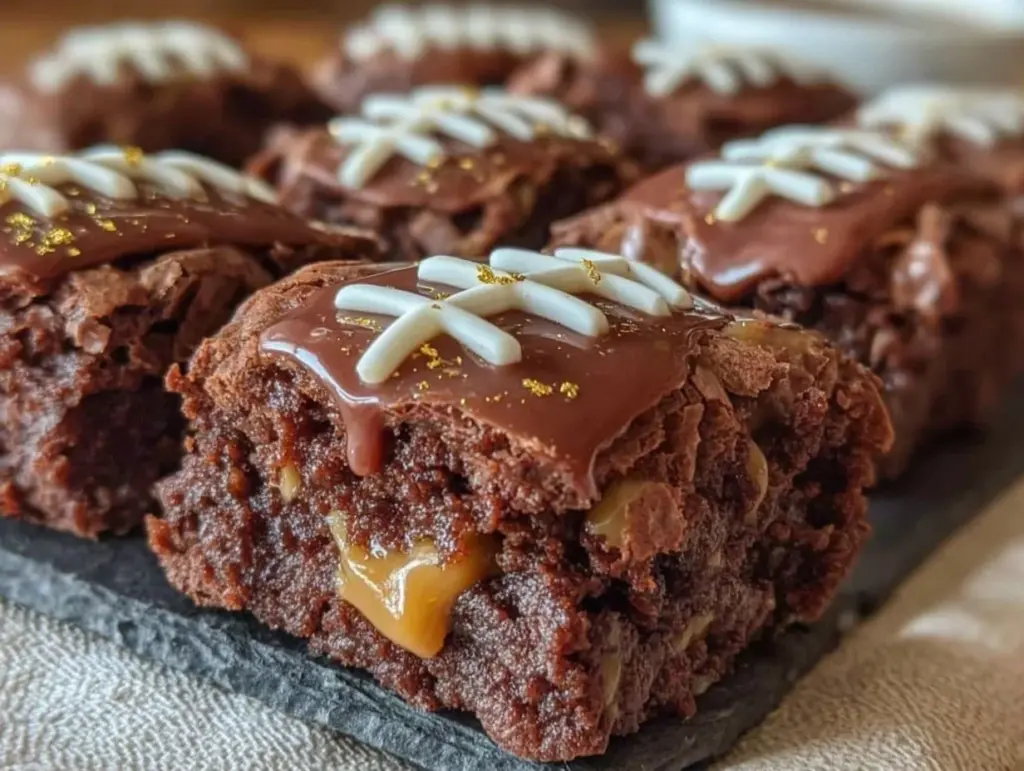
Last Sunday, while the Super Bowl was kicking off, I found myself in a bit of a panic. I had promised my husband’s college buddies that I’d bring dessert, and I was staring into a pantry that looked suspiciously like a desert. No flour? Check. No eggs? Double check. But I had a jar of peanut butter, a bag of chocolate chips, and enough leftover brownie mix from three days ago to make a mess.
I could have called takeout. I could have said, “Sorry, guys, I forgot dessert.” But something in me—the part of me that refuses to let a game day go un-sweetened—said, “Fix it.” So I threw together what I now call Football Chocolate Peanut Butter Brownie Bites. They weren’t baked. They weren’t messy. And honestly? They disappeared faster than the halftime show highlights.
Here’s the thing about game day snacks: most of them are either too salty (looking at you, pretzels) or too delicate (hello, mousse cups). You need something that can survive being grabbed from a bowl by a hand holding a beer, something that doesn’t require a plate, and something that tastes like you actually tried. These brownie bites do exactly that. They’re dense, fudgy, and studded with peanut butter swirls that hit that sweet-salty spot every time.
I’ve made these at least seven times since last Sunday. Seven. Not because I’m obsessed (okay, maybe a little), but because they are the ultimate stress-free party dessert. No oven needed, no cooling racks, and definitely no one asking, “Is this gluten-free?” (Spoiler: It’s not, but they’re so good, nobody cares).
But before you start mixing, let me tell you about the one trick that separates these from a boring, flat, peanut-butter-chocolate mash-up. It’s not the ratio of chocolate to peanut butter. It’s not the type of chips you use. It’s the texture of your peanut butter, and how you handle the cold. Stick with me, and I’ll show you how to make these perfect every single time.
Why You’ll Love This Recipe
There are a dozen reasons I keep coming back to Football Chocolate Peanut Butter Brownie Bites for every Super Bowl, tailgate, and random Tuesday night craving. But here are the big ones that actually matter when you’re hosting a crowd:
- Zero Baking Required — Seriously. No preheating the oven, no waiting for cookies to cool, no burning the kitchen down. If you can stir a bowl, you can make this. I’ve made these while watching the game with one hand and stirring with the other. It’s that simple.
- Make-Ahead Friendly — These need to chill, which works in your favor. You can make them two days before the game. In fact, I think they taste even better the next day, once the flavors have had time to meld into that deep, fudgy goodness. It takes the stress off game day morning.
- Portable & Mess-Free(ish) — They’re bite-sized. That means no giant slices, no crumbs all over your shirt, and no one fighting over the last square. Plus, they hold their shape in the fridge, so you can pack them in a Tupperware and toss them in a cooler for a tailgate without worrying about them melting into a puddle.
- The Sweet-Salty Combo — Chocolate and peanut butter are a classic for a reason, but adding a tiny pinch of flaky sea salt on top? That’s the game-changer. It cuts through the richness and makes you want another bite immediately. It’s the kind of detail that makes people ask, “What is in these?”
- Uses Pantry Staples — You probably have most of this already. Chocolate chips, peanut butter, butter, sugar, and maybe a few eggs or a box of brownie mix if you’re lazy like me. No weird ingredients you have to drive to three different stores to find.
This is my go-to when I need to impress without investing four hours in the kitchen. It’s reliable, it’s delicious, and it’s the kind of treat that disappears before you can even sit down.
Ingredients You’ll Need
Here’s the best part: this recipe is forgiving. You don’t need fancy, hard-to-find ingredients. But I am particular about two things here: the peanut butter and the chocolate. Get those right, and you’re golden.
For the Base
Butter (½ cup / 113g, unsalted) — You need real butter here. Margarine or spread just won’t give you that rich, fudgy texture. If you’re using salted butter, reduce the added salt in the recipe by half. I keep unsalted in the fridge so I can control the flavor.
Peanut Butter (½ cup / 128g) — This is the trick I mentioned. Use creamy, natural peanut butter if you can. If you’re using a standard brand like Jif or Skippy, make sure it’s the smooth kind, not the “no-stir” crunchy variety. Crunchy bits can make the bites uneven. If you’re using natural peanut butter that’s separated, stir it well until it’s smooth and runny. If it’s too thick, microwave it for 10 seconds to loosen it up.
Semi-Sweet Chocolate Chips (1 cup / 170g) — Don’t go cheap here. The chocolate is the main event. I use Ghirardelli or Lindt chips because they melt smoothly and have a deep cocoa flavor. Avoid the cheap stuff that has waxy textures. If you want a darker bite, swap half for dark chocolate chips.
Sugar (½ cup / 100g) — I use granulated white sugar for that slight crispiness on the outside and chewiness inside. Brown sugar works too, but it makes them softer and more cake-like. For these bites, I want that dense, fudgy snap.
For the Flavor & Structure
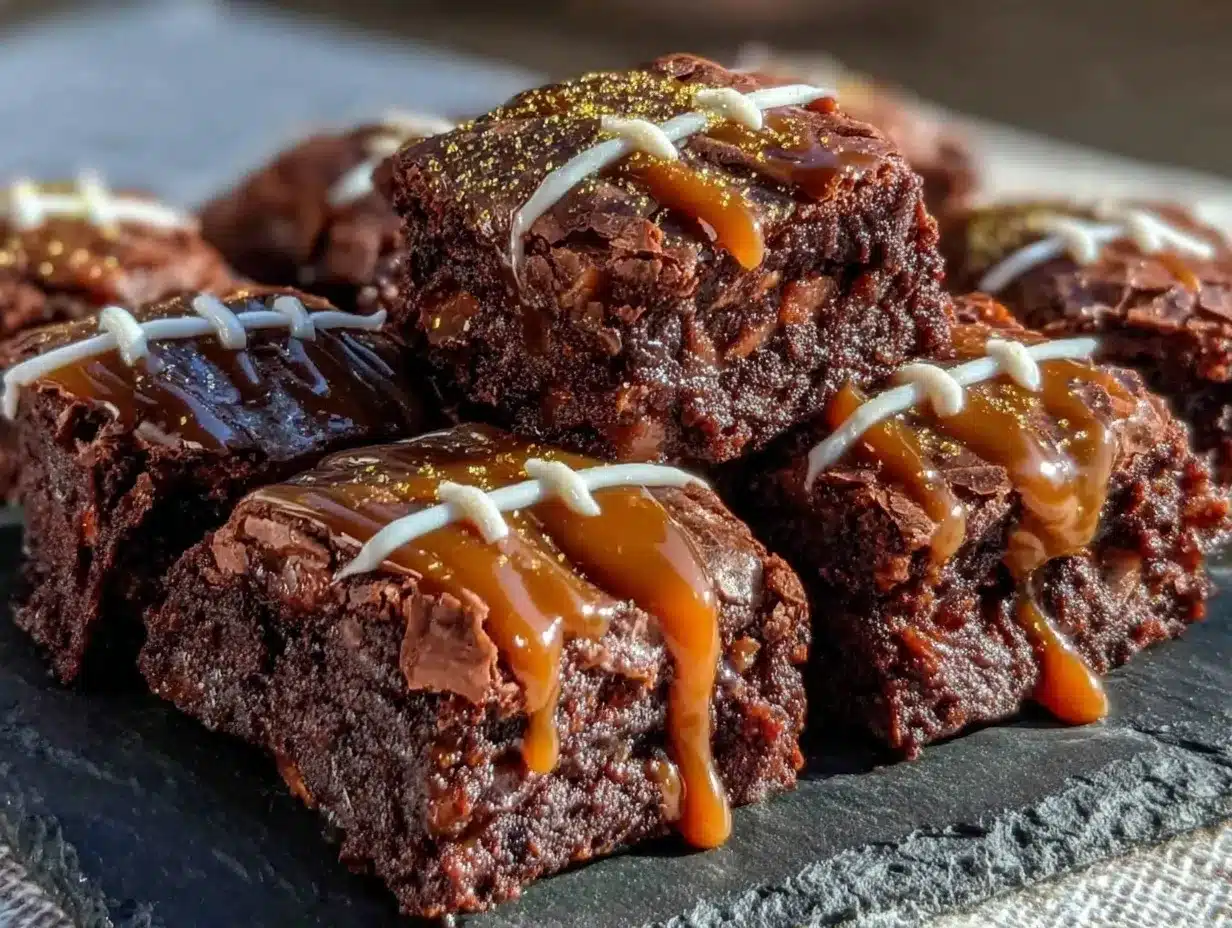
Egg Yolk (1 large) — Just the yolk! This adds richness and helps bind everything together without making the bites too dry. If you don’t want to waste the white, save it for homemade pancakes later in the week.
Vanilla Extract (1 teaspoon) — Good quality vanilla makes a huge difference. If you have pure extract, use it. If you only have imitation, it’ll still work, but the flavor won’t be as deep.
Flaky Sea Salt (for topping) — This is non-negotiable. I use Maldon or any flaky sea salt. The flakes sit on top and dissolve slowly, giving you bursts of salty flavor that contrast with the sweet chocolate. Table salt won’t give you that same texture.
Optional Add-Ins
Crushed Pretzels (¼ cup) — If you want extra crunch and salt, stir in some crushed pretzels. It’s like a Reese’s cup in brownie form.
Mini Marshmallows (2 tablespoons) — For a s’mores vibe, toss these in. They melt into gooey pockets. Great for kids.
Chocolate Sprinkles — Because sometimes you just want it to look festive. I sprinkle these on top before chilling for a fun, game-day look.
Equipment Needed
You don’t need a lot of fancy gadgets for this. Here’s what I actually use:
Medium Saucepan — I use a small saucepan to melt the butter and chocolate. A non-stick one is easiest for cleanup, but any heavy-bottomed pan works. Just make sure it’s not too big, or the chocolate will spread out and cool too fast.
Microwave-Safe Bowl — If you prefer melting chocolate in the microwave, use a glass bowl. I do 30-second intervals, stirring in between, to avoid burning. Burnt chocolate tastes bitter and ruins the whole batch.
Whisk — A simple wire whisk is perfect for mixing the sugar, egg yolk, and vanilla. You want everything smooth and combined.
8×8 Inch Baking Pan — Line it with parchment paper. I love using “overhang” parchment so I can lift the whole block of brownies out later. It makes cutting them so much easier.
Sharp Knife — For cutting the chilled brownies into squares. A chef’s knife works best. Wipe the blade between cuts if things get sticky.
Refrigerator — Obviously. You need space in the fridge for these to set. If you’re making a big batch, plan ahead.
How to Make It: Step-by-Step
Alright, let’s make these Football Chocolate Peanut Butter Brownie Bites! I’m walking you through exactly how I do it, including the little tricks I’ve picked up so you don’t have to figure it out the hard way.
Step 1: Prep Your Pan (2 minutes)
Line an 8×8 inch baking pan with parchment paper. Leave an overhang on the long sides so you can lift the brownies out later. This is crucial. If you don’t line it, you’ll be digging brownie crumbs out of the corners forever. Trust me on this.
Step 2: Melt the Butter and Chocolate (5 minutes)
In a medium saucepan over low heat, melt the butter. Once it’s fully melted, add the chocolate chips. Stir constantly. This is where patience pays off. You want the chocolate to melt smoothly, not seize up. If you’re using a microwave, heat in 30-second bursts, stirring between each. The mixture should be glossy and smooth when you’re done. If it looks grainy, you heated it too fast.
Step 3: Mix the Wet Ingredients (3 minutes)
Remove the saucepan from the heat. Let it cool for just a minute—warm chocolate is easier to mix with egg, but boiling chocolate will cook the egg. Whisk in the sugar until it’s well combined. Then add the egg yolk and vanilla extract. Whisk vigorously. The mixture might look a little separated at first, but keep whisking. It’ll come together into a thick, glossy batter.
Step 4: Add the Peanut Butter (2 minutes)
This is the moment of truth. Add the peanut butter to the chocolate mixture. Stir until it’s fully incorporated. The batter will be thick and dense. If it’s too stiff to stir, microwave it for 10 seconds and try again. You want a smooth, uniform consistency. No streaks of peanut butter left.
Step 5: Chill the Batter (30-60 minutes)
Pour the batter into your prepared pan. Spread it out evenly with a spatula. This step is important for the texture. If you skip the chill, the bites will be too soft to handle. Place the pan in the fridge for at least 30 minutes, or until the top is firm to the touch. If you’re in a hurry, you can put it in the freezer for 15 minutes, but the fridge is safer.
Step 6: Cut and Serve (5 minutes)
Once the brownies are firm, lift them out of the pan using the parchment overhang. Place them on a cutting board. Use a sharp knife to cut them into 16 squares (4×4 grid). Or, if you’re feeling lazy like me, just tear them into bite-sized chunks. The rustic look is totally fine for game day.
Optional: Sprinkle a tiny pinch of flaky sea salt on top of each bite. It’s the finishing touch that makes them taste like they came from a bakery.
Total Time: About 15 minutes active, plus 30-60 minutes chilling.
Expert Tips & Tricks
Here’s everything I’ve learned from making these dozens of times. These tips will save you from my mistakes.
The Peanut Butter Trick
Use natural peanut butter if you can, but make sure it’s smooth. If you use a brand that’s very thick, it can make the bites dense and hard to chew. If your peanut butter is too runny, add an extra tablespoon of chocolate chips to balance it out. The ratio of fat to solid chocolate is what determines the texture.
Don’t Skip the Chill
I know you want to eat them now. I do too. But if you cut them warm, they’ll be a mess. The chill firms up the fats, giving you that clean cut and that satisfying snap when you bite into them. If you’re short on time, freeze them for 15 minutes, but don’t rush it.
Storage is Key
Store these in an airtight container in the fridge. They’ll last up to a week. In fact, they taste better on day two. If you’re taking them to a tailgate, keep them in a cooler with an ice pack. They hold up well in the cold.
Common Mistakes
Mistake: The batter is too soft to cut.
Fix: You didn’t chill it long enough. Put it back in the fridge for another 20 minutes. Or, next time, add a bit more chocolate to the mix.
Mistake: The bites are crumbly.
Fix: You might have used too much peanut butter or not enough chocolate. Stick to the ratios. Also, make sure you’re using room temperature egg yolk, not cold from the fridge.
Mistake: The chocolate seized.
Fix: Water is the enemy of chocolate. Make sure your bowl and utensils are completely dry. Even a drop of water can cause the chocolate to clump up. If this happens, add a tablespoon of warm cream and whisk it back together.
Variations & Substitutions
Once you’ve nailed the basic version, here’s how you can mix it up. I’ve tried all of these, and they’re all winners.
S’mores Version
Add ¼ cup mini marshmallows to the batter before chilling. They’ll melt into gooey pockets. Top with a few extra marshmallows after cutting for a fun look.
Peanut Butter Cup Style
Before chilling, press a mini Reese’s cup into the center of each square. It’s like a homemade candy bar. This is my husband’s favorite version.
Gluten-Free
Most of these ingredients are naturally gluten-free, but check your chocolate chips and peanut butter for cross-contamination. Use certified GF chocolate chips, and you’re good to go. I’ve used almond flour cookies as inspiration for GF baking, and this works similarly.
Vegan
Replace the butter with vegan butter, the chocolate chips with vegan chocolate, and the egg yolk with a flax egg (1 tablespoon ground flaxseed + 3 tablespoons water). It won’t be exactly the same, but it’s still delicious. My vegan friends have tried this and loved it.
Dairy-Free
Use dairy-free chocolate chips and vegan butter. The peanut butter is usually dairy-free, but check the label. This version is still rich and satisfying.
Lower Sugar
Reduce the sugar to ¼ cup. It’ll be less sweet, but the chocolate and peanut butter will still shine. Use dark chocolate chips for a deeper flavor.
Serving & Storage
How to Serve:
I usually serve these straight from the fridge. They’re best cold, when they’re firm and fudgy. Arrange them on a platter with a few mint leaves for a pop of color, or just pile them high for a casual snack. I like to serve them with a cold glass of milk or a cup of coffee.
Side Dishes:
These are a dessert, so they stand alone. But if you’re serving them as part of a larger spread, they pair well with creamy hatch chile queso dip for a sweet and savory contrast. Or serve them with a simple green salad to balance the richness.
Storage Instructions:
Refrigerator: Store in an airtight container for up to 1 week. They’ll keep their texture well. If they get too hard, let them sit at room temperature for 10 minutes before eating.
Freezer: Yes, you can freeze these! Wrap them individually in plastic wrap, then place them in a freezer bag. They’ll last up to 3 months. Thaw in the fridge overnight. They taste almost as good as fresh.
Pro Tip: If you’re making these for a party, make them a day ahead. The flavors develop overnight, and you won’t be stressed on game day. Just pull them out of the fridge 15 minutes before serving if you want them slightly softer.
Nutrition Information
I’m not a nutritionist, but here’s the breakdown if you’re tracking. These are indulgent, so enjoy them in moderation.
Per Bite (based on 16 servings):
| Nutrient | Amount |
|---|---|
| Calories | 145 |
| Fat | 9g |
| Carbs | 14g |
| Sugar | 10g |
| Protein | 3g |
| Fiber | 1g |
What’s Good:
They’re relatively small, so you can have a couple without feeling guilty. The peanut butter provides some protein and healthy fats.
What to Know:
They’re high in sugar and fat, obviously. They’re a treat, not a health food. If you’re watching your sugar, reduce the sugar in the recipe or use sugar-free chocolate chips.
My Take:
Look, this is chocolate and peanut butter. It’s not going to be a salad. But it’s homemade, so you know exactly what’s in it. When I make these, I enjoy them mindfully. One or two bites, and I’m satisfied. It’s about balance.
Final Thoughts
So that’s my go-to Football Chocolate Peanut Butter Brownie Bites! I’ve probably talked your ear off at this point, but when you make a recipe this often, you have a lot to say about it.
This has saved game days more times than I can count. It’s my answer to “What dessert can I make quickly?” when I’m tired, don’t want to bake, and still want something that tastes amazing. My family loves them, my friends request them, and I love making them because they’re so easy.
Make it yours! Try different add-ins, swap in your favorite chocolate, or adjust the peanut butter to your liking. The best recipes are the ones you adapt to your tastes.
If you make this, drop a comment and let me know what you think! I love hearing how recipes turn out in your kitchen. And if something doesn’t work, tell me that too—I’m here to help troubleshoot.
Happy cooking! And I hope your kitchen smells half as good as mine does right now.
Frequently Asked Questions
Can I use crunchy peanut butter?
You can, but it will change the texture. The bites will have chunks of peanut butter in them, which some people love. If you prefer a smooth bite, stick with creamy. If you’re using crunchy, make sure the pieces are small so they don’t make the brownies uneven.
Why did my brownies get too hard?
This usually happens if you use too much peanut butter or not enough chocolate. Peanut butter is softer than chocolate, so if you add too much, the bites can become dense. Stick to the ratios. Also, make sure you’re not chilling them for too long. They should be firm, not rock hard.
Can I make these ahead of time?
Yes! In fact, they taste better the next day. Make them 1-2 days ahead and store them in the fridge. They’ll hold their shape well and the flavors will meld. Just pull them out 15 minutes before serving if you want them slightly softer.
Can I freeze these?
Absolutely. Wrap them individually in plastic wrap, then place them in a freezer bag. They’ll last up to 3 months. Thaw in the fridge overnight. They taste almost as good as fresh. I often make a double batch and freeze half for later.
Can I use a different type of chocolate?
Yes! You can use milk chocolate for a sweeter bite, or dark chocolate for a deeper flavor. I recommend semi-sweet as a middle ground. Just make sure you use good quality chocolate chips that melt smoothly.
What if I don’t have an 8×8 pan?
You can use a 9×9 pan, but the brownies will be thinner. You’ll need to reduce the chilling time slightly. Or, you can use a smaller pan for thicker brownies. Just adjust the chilling time accordingly.
Can I add nuts?
Yes! Chopped walnuts or pecans add a nice crunch and nutty flavor. Stir them in with the chocolate chips. It’s like a turtle brownie. My kids love the extra crunch.
Pin This Recipe!
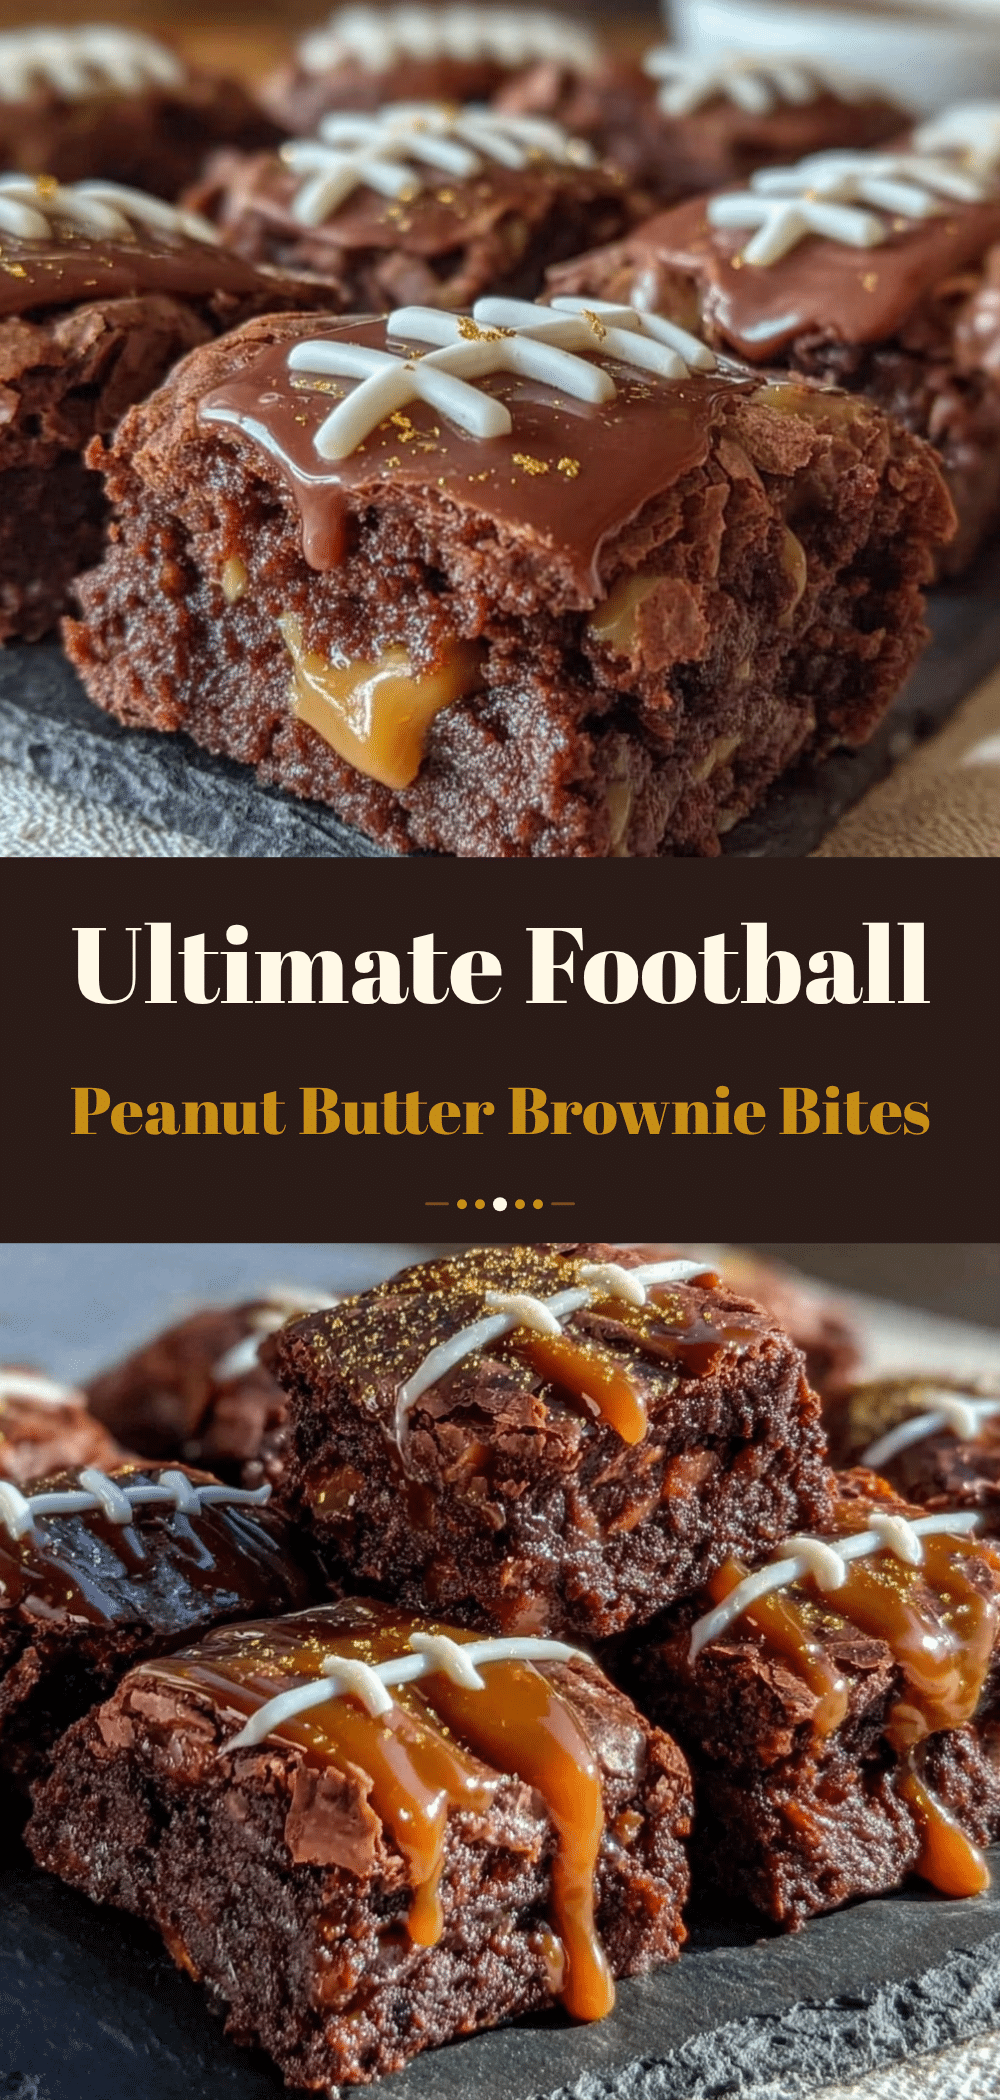
Football Chocolate Peanut Butter Brownie Bites
- Total Time: 45-75 minutes
- Yield: 16 servings 1x
Description
No-bake, fudgy brownie bites made with peanut butter and chocolate chips. These dense, sweet-salty treats are perfect for game day, require no oven, and can be made ahead of time.
Ingredients
- 1/2 cup (113g) unsalted butter
- 1/2 cup (128g) creamy peanut butter
- 1 cup (170g) semi-sweet chocolate chips
- 1/2 cup (100g) granulated white sugar
- 1 large egg yolk
- 1 teaspoon vanilla extract
- Flaky sea salt (for topping)
- Optional: 1/4 cup crushed pretzels
- Optional: 2 tablespoons mini marshmallows
- Optional: Chocolate sprinkles
Instructions
- Line an 8×8 inch baking pan with parchment paper, leaving an overhang on the long sides for easy removal.
- In a medium saucepan over low heat, melt the butter. Add the chocolate chips and stir constantly until the mixture is glossy and smooth. Alternatively, melt in a microwave-safe bowl in 30-second intervals, stirring between each.
- Remove the saucepan from heat and let it cool for about a minute. Whisk in the sugar until well combined.
- Add the egg yolk and vanilla extract. Whisk vigorously until the mixture becomes a thick, glossy batter.
- Add the peanut butter to the chocolate mixture and stir until fully incorporated and smooth. If the batter is too stiff, microwave for 10 seconds to loosen it.
- Pour the batter into the prepared pan and spread it out evenly with a spatula.
- Refrigerate for at least 30 minutes, or until the top is firm to the touch. For faster setting, place in the freezer for 15 minutes.
- Lift the brownies out of the pan using the parchment overhang. Cut into 16 squares (4×4 grid) or tear into bite-sized chunks.
- Sprinkle a tiny pinch of flaky sea salt on top of each bite before serving.
Notes
Use creamy peanut butter for best texture; natural peanut butter should be stirred until smooth and runny. Do not skip the chilling step as it is crucial for clean cuts and proper texture. Store in an airtight container in the fridge for up to 1 week or freeze for up to 3 months. Ensure all utensils are completely dry when melting chocolate to prevent seizing.
- Prep Time: 15 minutes
- Cook Time: 0 minutes
- Category: Dessert
- Cuisine: American
Nutrition
- Serving Size: 1 bite (approx. 1/16
- Calories: 145
- Sugar: 10
- Sodium: 45
- Fat: 9
- Saturated Fat: 5
- Carbohydrates: 14
- Fiber: 1
- Protein: 3
Keywords: no bake brownies, peanut butter brownies, game day dessert, super bowl snacks, chocolate peanut butter bites, make ahead dessert, easy party treats


