Last November, I was standing in my kitchen at 4 PM on Thanksgiving, staring at a chicken that looked less like a feast and more like a sad, pale bird. The skin was rubbery. The meat was dry. And the gravy? Well, let’s just say it tasted like regret and burnt flour. My family smiled politely, but I could see the disappointment. I had spent three hours prepping, and the centerpiece of the meal was a disaster.
I went to bed that night swearing I’d never roast a chicken again. I’d buy a rotisserie chicken from Costco next year. But then I remembered that one time I saw a video of a chef rubbing salt under the skin of a chicken, and I couldn’t let it go. I had to know if that was the secret.
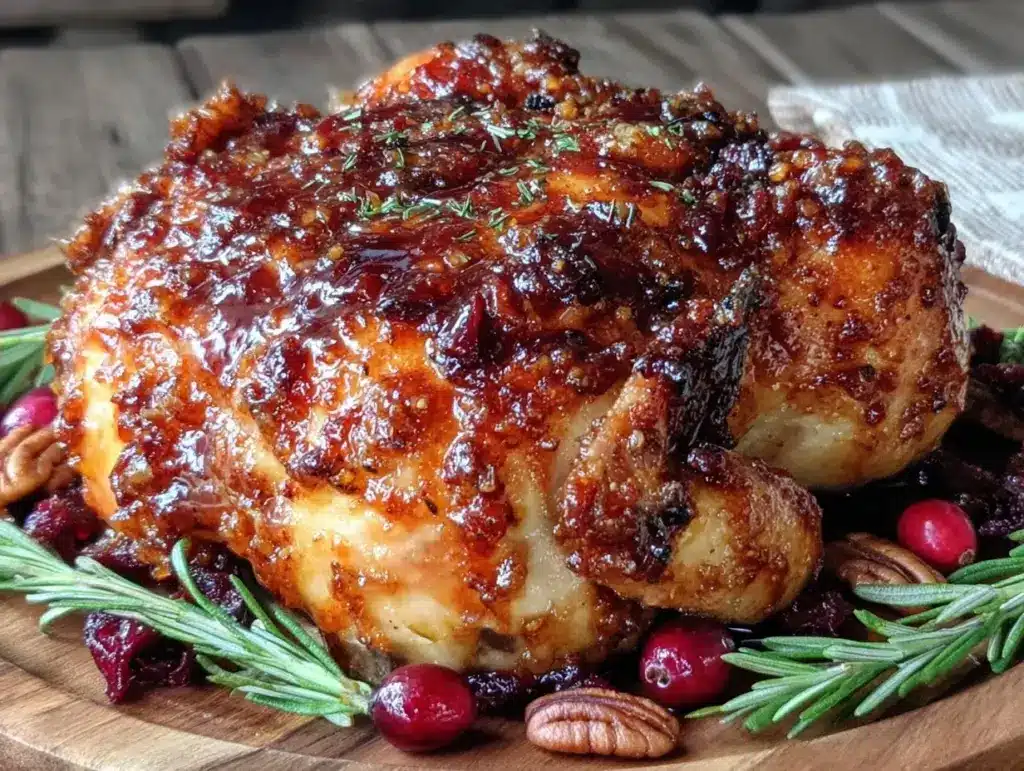
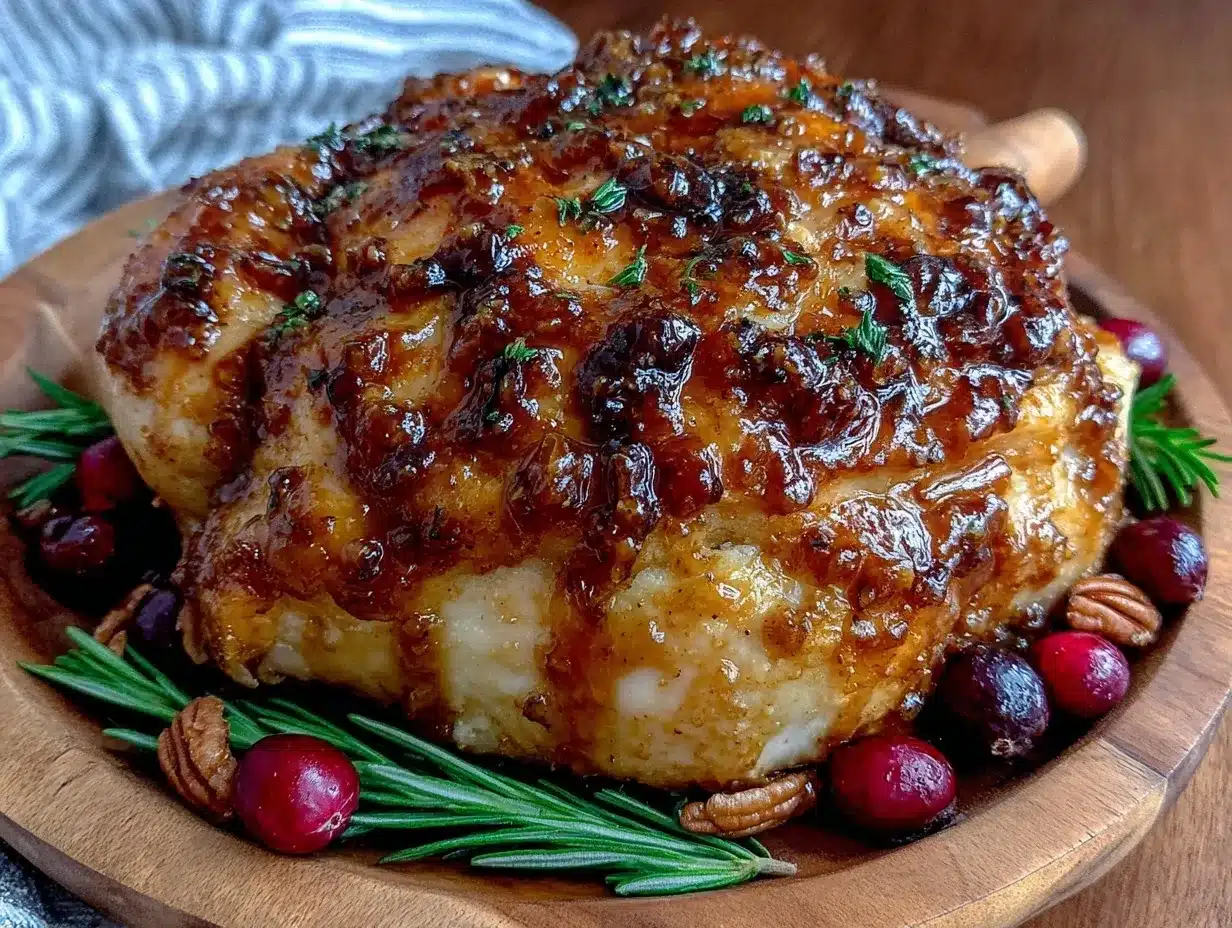
So, last week, I tried it again. I used a specific dry-brine technique, I paid attention to the oven temperature, and I added a glaze that I’d been tweaking for months. The result? The crispiest, lacquered skin I’ve ever achieved on a home bird. The meat was juicy enough that I actually cried (okay, maybe just sniffled). It’s hands-down the best roasted chicken I’ve ever made.
This fall harvest roasted chicken with maple dijon glaze isn’t just about the flavor—it’s about technique. It’s about getting that golden-brown crunch without drying out the breast meat. If you’ve been intimidated by holiday cooking, this is your reset button. It’s simpler than you think, and the result is restaurant-worthy.
Why You’ll Love This Maple Dijon Chicken
There are about ten reasons I keep coming back to this recipe, but here are the big ones. This isn’t just another roast chicken; it’s the one that finally made my in-laws ask for the recipe.
That One Trick for Crispy Skin
Seriously, if you’ve ever struggled with soggy chicken skin, this recipe solves it. The secret isn’t fancy equipment; it’s air-drying the bird before it goes in the oven. I’ll walk you through exactly how to do it, and it changes everything. No more steaming the skin.
Glaze That Actually Sticks
Most glazes just slide off the chicken or burn in the oven. The maple dijon combination here has the perfect sugar-to-acid ratio. The dijon cuts the sweetness, and the maple caramelizes without turning into a sticky mess. It creates this beautiful, glossy finish that looks like it cost $40 at a bistro.
Make-Ahead Friendly
Here’s the best part: you can prep this the night before. I rub the bird, glaze it (or wait to glaze, depending on your preference), and let it rest in the fridge. This means on the day of the gathering, you’re not sweating over the stove. You’re actually present with your guests.
Perfect for Leftovers
Roast chicken makes amazing sandwiches, but this one? The leftovers taste even better the next day as a chicken salad or in a warm bowl with the pan juices. I deliberately buy a slightly larger bird because I know I’ll want this for lunch on Friday.
Flavor That’s Not Just Salt
The maple dijon glaze adds a sweet-savory depth that regular herbs can’t match. It pairs beautifully with the creamy cucumber dill salad I serve alongside it. The crunch of the salad contrasts perfectly with the tender, glazed meat.
Ingredients You’ll Need
I’m particular about a few things here, mostly because I’ve burned enough maple syrup to know what works. You probably have most of this already, except maybe the fresh thyme.
For the Chicken
Whole chicken (4-5 lbs / 1.8-2.3 kg) — Look for one that’s not injected with a saline solution. Check the label. If it says “contains up to X% of solution,” put it back. A plain bird lets the glaze shine. Pat it dry—really dry.
Unsalted butter (4 tablespoons / 60g) — Softened. This goes under the skin to baste the meat from the inside. It keeps the breast juicy.
Fresh thyme (1 bunch) — Or 1 tablespoon dried. Fresh is better, but dried works in a pinch. Strip the leaves off the stems.
Garlic (4 cloves, minced) — Fresh only. Jarred garlic has a weird metallic taste that clashes with the maple.
Salt and black pepper — Kosher salt is best because it’s less salty by volume. Use about 1 tablespoon for the rub.
For the Maple Dijon Glaze
Maple syrup (½ cup / 120ml) — Use real maple syrup, grade A or B. Not pancake syrup. Pancake syrup is corn syrup with flavoring, and it will make your chicken cloyingly sweet and sticky in a bad way.
Dijon mustard (2 tablespoons) — The acidity in the mustard balances the sugar. I use Grey Poupon, but any good Dijon works.
Apple cider vinegar (1 tablespoon) — Adds a bright tang. If you don’t have it, white wine vinegar works.
Soy sauce (1 teaspoon) — Don’t skip this. It adds umami and depth, making the chicken taste savory, not like dessert.
Smoked paprika (½ teaspoon) — Gives a subtle smokiness that mimics a wood-fired oven.
For the Roasting Pan
Onions (2 medium, quartered) — They go under the chicken. They caramelize and flavor the juices.
Carrots (3 large, chopped) — Optional, but I like the sweetness they add to the pan drippings.
Chicken broth (1 cup / 240ml) — For deglazing the pan later.
Equipment Needed
You don’t need fancy gadgets. Here’s what I actually use.
Rimmed baking sheet or roasting pan — I use a half-sheet pan because it’s easier to handle than a deep roaster. Just make sure it has sides so the juices don’t spill.
Cooling rack — This is the secret weapon. Place the chicken on a wire rack set inside the baking sheet. This allows air to circulate all around the bird, crisping the bottom skin. If you don’t have a rack, just flip the bird halfway through.
Instant-read thermometer — I’m obsessed with mine. It takes the guesswork out. Insert it into the thickest part of the thigh without touching the bone. When it reads 165°F (74°C), you’re done.
Basting brush — Silicone brushes work best because they don’t shed bristles. I use this to apply the glaze.
Sharp knife and cutting board — For prepping the veggies and carving.
How to Make It: Step-by-Step
Alright, let’s make this! I’m walking you through exactly how I do it, including the little tricks I’ve picked up over the years.
Step 1: Prep the Chicken (The “Dry” Phase)
Take your chicken out of the packaging. Remove the neck and giblets. This is crucial: pat the chicken dry with paper towels. Inside and out. Then, leave it uncovered on a plate in the fridge for at least 4 hours, or overnight. This air-dries the skin, which is the #1 trick for crispy skin. Moisture is the enemy of crispiness.
Step 2: Make the Glaze
While the chicken is air-drying, whisk together the maple syrup, Dijon mustard, apple cider vinegar, soy sauce, and smoked paprika in a small bowl. It should look like a thick, glossy sauce. Taste it. It should be sweet, tangy, and savory. Adjust if needed.
Step 3: Season the Bird
Preheat your oven to 425°F (220°C). This high heat is essential for browning. Take the chilled chicken out of the fridge. Rub the softened butter under the skin of the breast and thighs. This bastes the meat from the inside. Then, season the outside generously with salt and pepper. Stuff the cavity with the quartered onions and a few sprigs of thyme.
Step 4: The First Roast
Place the chicken on the wire rack in the baking sheet. Roast for 20 minutes. This initial high heat starts the browning process. After 20 minutes, reduce the oven temperature to 375°F (190°C).
Step 5: Glaze and Finish
After the first 20 minutes, pull the chicken out. Brush half of the maple dijon glaze over the entire bird. Be generous. Return it to the oven and roast for another 30-40 minutes. Check the temperature with your thermometer. When the thigh reads 165°F (74°C), brush on the remaining glaze. Roast for another 5-10 minutes until the glaze is sticky and caramelized.
Step 6: Rest (Don’t Skip This!)
Remove the chicken from the oven and transfer it to a cutting board. Tent it loosely with foil and let it rest for at least 15 minutes. This allows the juices to redistribute. If you cut into it immediately, all that delicious juice will run out, and your meat will be dry.
Step 7: Make the Pan Sauce
While the chicken rests, place the roasting pan on the stovetop over medium heat. Add the chicken broth and scrape up the browned bits from the bottom. Simmer for 5 minutes until slightly reduced. Strain if you want a smooth sauce, or serve rustic with the veggies. Drizzle over the carved chicken.
Expert Tips & Tricks
Here’s everything I’ve learned from making this dozens of times. These tips will save you from my mistakes.
The Air-Dry is Non-Negotiable
I tried skipping this once to save time, and the skin was just okay. Not crispy. Just… there. Letting the chicken sit uncovered in the fridge dries out the skin so it turns into crackling instead of rubber. Do it.
Don’t Burn the Glaze
Maple syrup burns easily. That’s why I wait until the last 10-15 minutes to apply the full glaze. If you put it on too early, it’ll char and taste bitter. The residual heat will finish cooking the chicken without burning the sugar.
Use a Thermometer
Stop guessing. Chicken is cheap enough to waste if you overcook it. 165°F is the safe temp for the thigh. If you’re worried about dryness, pull it at 160°F. The carryover heat during resting will bring it up to 165°F.
Add Acid to the Pan
I add a splash of apple cider vinegar to the roasting pan along with the broth. It deglazes the pan and adds a subtle tang to the gravy that cuts through the richness of the chicken.
Variations & Substitutions
Once you’ve nailed the basic version, here’s how you can mix it up. I’ve tried all of these.
Honey Garlic Version
Swap the maple syrup for honey and add 1 teaspoon of minced ginger. It’s sweeter and more aromatic. Great for Asian-inspired sides like creamy roasted red pepper whipped feta dip.
Herb-Forward
Skip the glaze entirely and rub the chicken with olive oil, rosemary, sage, and thyme. Serve with roasted root vegetables. Classic, timeless, and always a hit.
Spicy Maple
Add ½ teaspoon of cayenne pepper or a dash of hot sauce to the glaze. The heat pairs surprisingly well with the sweet maple. My husband loves this version.
Dairy-Free
Use olive oil instead of butter under the skin. The rest of the recipe is naturally dairy-free.
Serving & Storage
How to Serve
I usually carve the chicken at the table. It’s a showstopper. Serve it with the pan juices and your favorite sides. I love this with cheesy jalapeno cornbread muffins for a hearty, comforting meal.
Storage
Store leftovers in an airtight container in the fridge for up to 4 days. The skin will soften in the fridge, so reheat it in the oven at 350°F to crisp it back up.
Reheating
Don’t microwave the whole bird. Slice it and reheat gently in the oven or skillet with a splash of broth. This keeps the meat moist.
Freezing
You can freeze the cooked chicken, but the skin won’t be crispy when thawed. I recommend freezing the meat only, without the skin, for best results.
Nutrition Information
I’m not a nutritionist, but here’s the breakdown if you’re tracking. These are estimates per serving (based on 6 servings).
| Nutrient | Amount |
|---|---|
| Calories | 450 |
| Protein | 35g |
| Carbs | 12g |
| Fat | 28g |
| Sugar | 10g |
| Sodium | 380mg |
This is a high-protein, moderate-fat meal. The carbs come mainly from the maple glaze and vegetables. It’s a balanced, satisfying dish that’s perfect for a holiday table.
Final Thoughts
So that’s my go-to fall harvest roasted chicken with maple dijon glaze. It’s the recipe that saved my Thanksgiving. It’s simple, it’s forgiving, and it tastes incredible. I hope it becomes a staple in your holiday gatherings too.
Make it yours! Try different herbs, adjust the sweetness, or add your favorite veggies. The best recipes are the ones you adapt to your family’s tastes. If you make this, drop a comment and let me know how it turned out. I love hearing how recipes work in your kitchen.
Happy cooking! And I hope your kitchen smells as good as mine does right now.
Frequently Asked Questions
Can I use a frozen chicken?
No, not for this method. You need to thaw the chicken completely in the fridge first. A frozen chicken won’t air-dry properly, and the skin won’t get crispy. Plan ahead and thaw it 24 hours before.
Why did my glaze burn?
Maple syrup has a low smoke point. If you applied the glaze too early or at too high a temperature, it likely burned. That’s why I wait until the last 10 minutes of roasting to apply the full glaze. If it’s already burnt, scrape it off and serve the chicken with the pan sauce instead.
Can I make this in a slow cooker?
You can, but you won’t get crispy skin. Slow cookers steam the meat. If you want crispy skin, you must roast it in the oven. If you’re using a slow cooker, skip the glaze and add it in the last 15 minutes under the broiler.
What sides go well with this?
I love roasted root vegetables, green beans almondine, or a simple creamy cucumber dill salad for something fresh. It also pairs well with buttery blackberry cobbler for dessert.
Can I double this recipe?
Yes, but you’ll need a larger roasting pan. Make sure the chickens aren’t touching each other so the air can circulate. You may need to increase the roasting time slightly.
Is the dijon flavor strong?
No, it’s subtle. It adds a tangy depth that balances the maple syrup. You won’t taste “mustard” per se, just a well-rounded, savory-sweet flavor.
Can I brine the chicken instead of dry-brining?
Yes, a wet brine works too. Brine the chicken in salt water for 4-12 hours, then pat it dry very well before roasting. Dry-brining is easier and less messy, but wet brining adds more moisture to the meat.
Pin This Recipe!
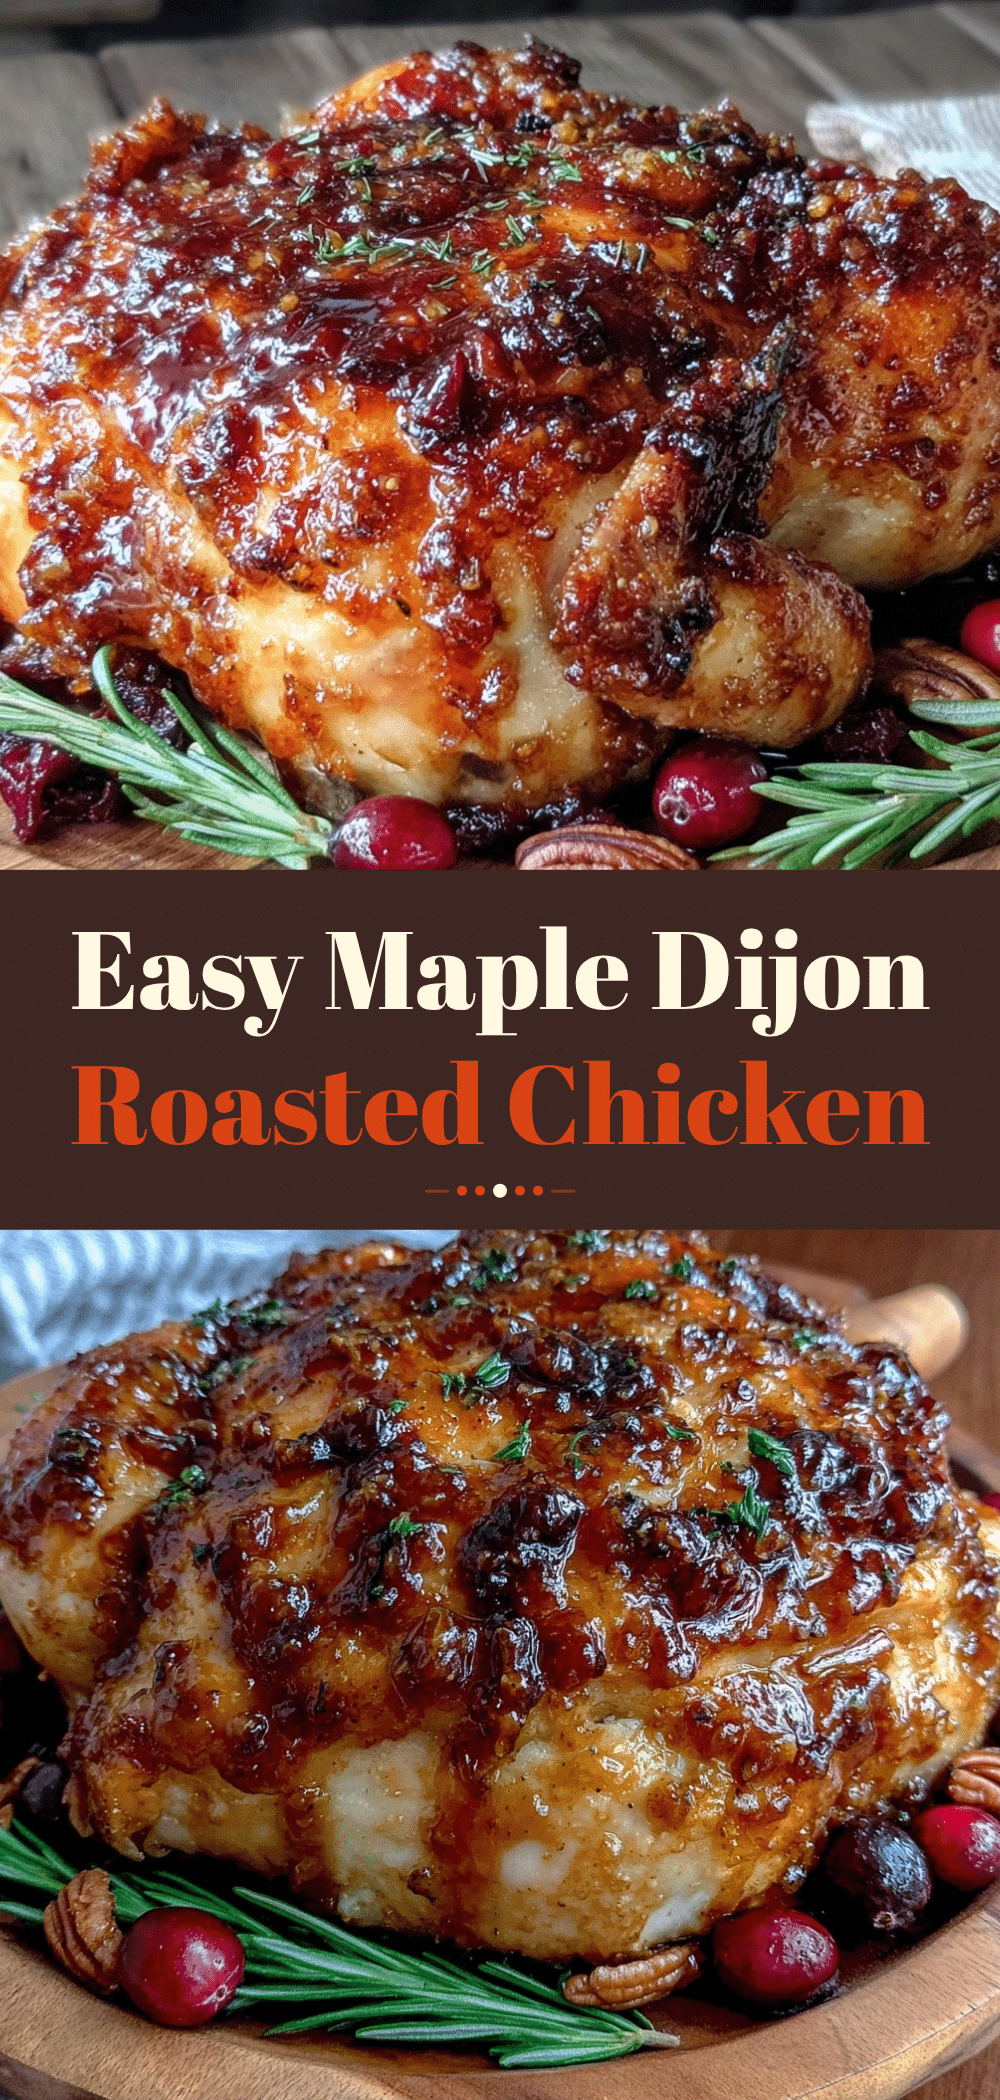
Fall Harvest Roasted Chicken: The 1 Trick for Crispy Skin
- Total Time: 75 minutes
- Yield: 6 servings 1x
Description
Achieve the crispiest, lacquered skin and juicy meat with this fall harvest roasted chicken featuring a maple dijon glaze. The secret lies in air-drying the bird before roasting.
Ingredients
- 1 whole chicken (4–5 lbs / 1.8–2.3 kg), not injected with saline solution
- 4 tablespoons unsalted butter, softened
- 1 bunch fresh thyme (or 1 tablespoon dried)
- 4 cloves garlic, minced
- 1 tablespoon kosher salt
- Black pepper to taste
- 1/2 cup real maple syrup (Grade A or B)
- 2 tablespoons Dijon mustard
- 1 tablespoon apple cider vinegar
- 1 teaspoon soy sauce
- 1/2 teaspoon smoked paprika
- 2 medium onions, quartered
- 3 large carrots, chopped (optional)
- 1 cup chicken broth
Instructions
- Remove neck and giblets from chicken. Pat the chicken completely dry inside and out with paper towels.
- Place the chicken uncovered on a plate in the refrigerator for at least 4 hours or overnight to air-dry the skin.
- Preheat oven to 425°F (220°C).
- Whisk together maple syrup, Dijon mustard, apple cider vinegar, soy sauce, and smoked paprika in a small bowl to make the glaze.
- Rub the softened butter under the skin of the breast and thighs. Season the outside generously with salt and pepper.
- Stuff the cavity with quartered onions and thyme sprigs.
- Place the chicken on a wire rack set inside a rimmed baking sheet. Roast for 20 minutes.
- Reduce oven temperature to 375°F (190°C).
- Remove chicken and brush half of the glaze over the bird. Return to oven and roast for 30-40 minutes.
- Check temperature; when thigh reads 165°F (74°C), brush on remaining glaze and roast for another 5-10 minutes until sticky.
- Remove from oven and tent loosely with foil. Let rest for at least 15 minutes.
- While resting, place roasting pan on stovetop over medium heat. Add chicken broth and scrape up browned bits. Simmer for 5 minutes to make pan sauce.
- Carve chicken and serve with pan sauce.
Notes
The key to crispy skin is air-drying the chicken uncovered in the fridge for several hours or overnight. Do not apply the full glaze too early as maple syrup burns easily; apply it in the last 10-15 minutes. Use a thermometer to ensure the thigh reaches 165°F (74°C). Let the chicken rest for 15 minutes to redistribute juices.
- Prep Time: 15 minutes
- Cook Time: 60 minutes
- Category: Main Course
- Cuisine: American
Nutrition
- Serving Size: 1 piece of chicken w
- Calories: 450
- Sugar: 10
- Sodium: 380
- Fat: 28
- Saturated Fat: 7
- Carbohydrates: 12
- Fiber: 1
- Protein: 35
Keywords: roasted chicken, maple dijon glaze, crispy chicken skin, holiday dinner, thanksgiving recipe, dry brine chicken, fall recipes


