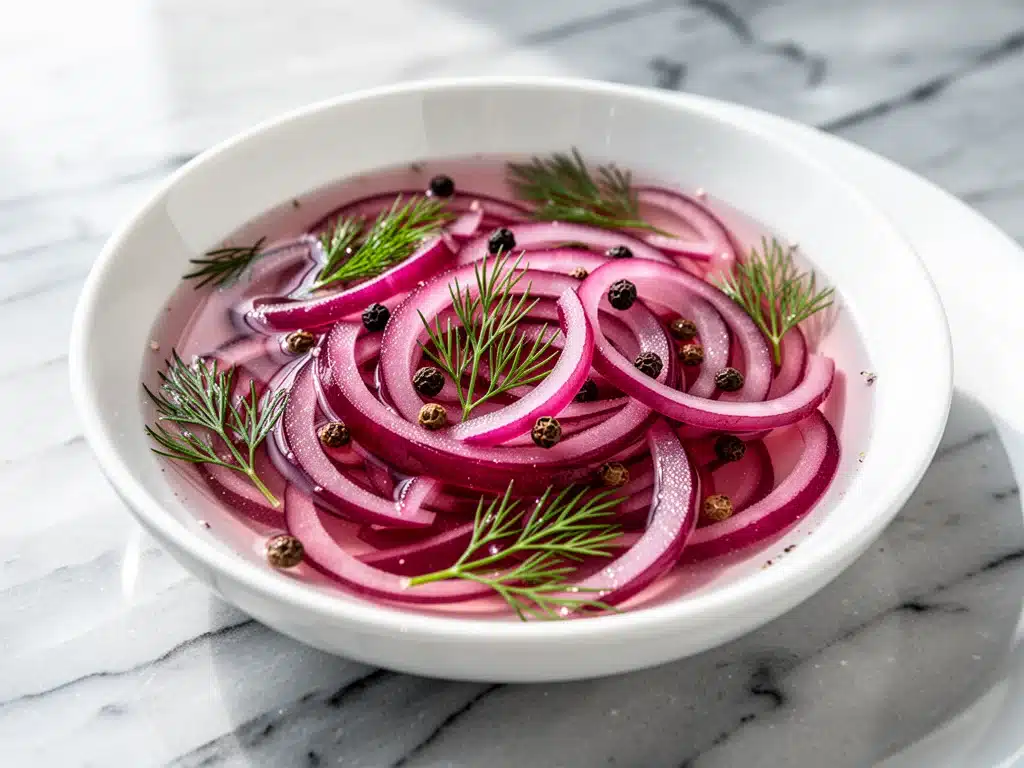
Last Tuesday, I was standing in front of my open fridge, staring at a container of leftover roasted chicken and a half-empty bag of tortillas. I knew exactly what I wanted to make: tacos. But then I remembered what was missing. The crunch. The acid. The thing that makes fast food tacos actually taste like food instead of just salty carbs.
I didn’t have time to cook anything. And I definitely didn’t have time to wait three days for traditional pickled onions to ferment properly. So I threw together a quick vinegar brine, sliced up some red onions, and dumped them in a jar. Twenty minutes later, I was eating tacos that tasted like they came from a high-end taqueria in Mexico City, not my messy kitchen at 7:30 PM on a Tuesday.
That’s when I fell in love with small-batch refrigerator pickled red onions. I’ve made this batch about fifty times since then. Sometimes with my one-pan creamy garlic Tuscan salmon for a bright, tangy contrast. Sometimes just as a snack straight out of the jar (don’t judge me). But mostly, they are the secret weapon for busy weeknights when I need to elevate a simple meal without adding extra active cooking time.
These aren’t the hard, sour onions from a mason jar on the back shelf of the grocery store. These are crisp, vibrant, and perfectly balanced. They take 20 minutes of prep, sit in the fridge for an hour (though you can eat them immediately if you’re desperate), and last for weeks. It’s the kind of recipe that feels like a cheat code. You make it once, and suddenly every sandwich, salad, and burger you make tastes infinitely better.
Why You’ll Love This Recipe
There are a lot of reasons to keep a jar of these in your fridge, but honestly? It’s the convenience mixed with the flavor boost that keeps me coming back. Here’s why this small-batch refrigerator pickled red onions recipe has earned a permanent spot in my meal rotation:
- Zero Cooking Required — Seriously. No boiling water baths, no canning equipment, no waiting days for flavors to meld. You chop, you pour, you wait. That’s it. I’ve made these while helping my kids with homework and while the kettle boiled for tea. It’s that low-stress.
- Lightning Fast Setup — From slicing the first onion to sealing the lid is about 15 minutes. If you’re impatient like me, you can eat them right away. They’re crunchy and tangy immediately. If you wait an hour, they get that perfect “pickled” bite. Either way, you win.
- Small Batch Perfection — I hate wasting food. This recipe makes exactly enough to top a few meals before the onions get too soft. No giant jars sitting in the back of the fridge for months until they turn to mush. You make what you need, when you need it.
- Instant Flavor Upgrade — These onions cut through rich, fatty foods like nothing else. Think cheddar broccoli rice egg cups for a breakfast taco vibe, or just sprinkled over a simple grilled cheese. They add that professional restaurant finish to home cooking.
- Visually Stunning — Let’s be real, we eat with our eyes first. Those bright pink-purple rings look gorgeous against white plates, green salads, and creamy dips. They make your food look like you actually tried, even if you didn’t.
- Healthier Snack Option — When I’m craving something salty and crunchy in the afternoon, I grab a few onions instead of chips. They’re low calorie, full of antioxidants from the red onions, and satisfy that pickle craving without the guilt.
This is my go-to when I need to save a boring meal. No complicated techniques, no weird ingredients you have to hunt for, just reliable, delicious food that makes everyone happy.
Ingredients You’ll Need
Here’s the best part: you probably have most of this already. Pickling is one of those magical cooking processes where simple ingredients transform into something complex and delicious. I’m particular about a few things here, though, so let’s break it down.
For the Brine
White vinegar (1 cup / 240ml) — This is the standard for refrigerator pickles. It’s sharp and clean. I usually grab the cheapest distilled white vinegar you can find. You don’t need fancy aged vinegar here; you want that punchy acidity.
Water (1 cup / 240ml) — Dilutes the vinegar so it’s not overpowering. Use regular tap water unless yours tastes like chlorine, then use filtered.
Sugar (2 tablespoons / 25g) — This balances the sharpness of the vinegar. I use white granulated sugar because it dissolves easily. Brown sugar works too but will darken the brine and add a molasses note I don’t always want.
Salt (1 teaspoon / 6g) — I use kosher salt. If you use table salt, cut it in half because it’s denser and saltier. This helps draw moisture out of the onions and seasons them from the inside.
Black peppercorns (½ teaspoon) — Adds a subtle earthy heat. You can crush them lightly with the back of a knife, or leave them whole. I usually just toss them in whole.
Whole coriander seeds (½ teaspoon) — Optional, but highly recommended. They add a citrusy, nutty flavor that takes these from “basic pickles” to “fancy pickles.” You can find them in the spice aisle.
For the Onions
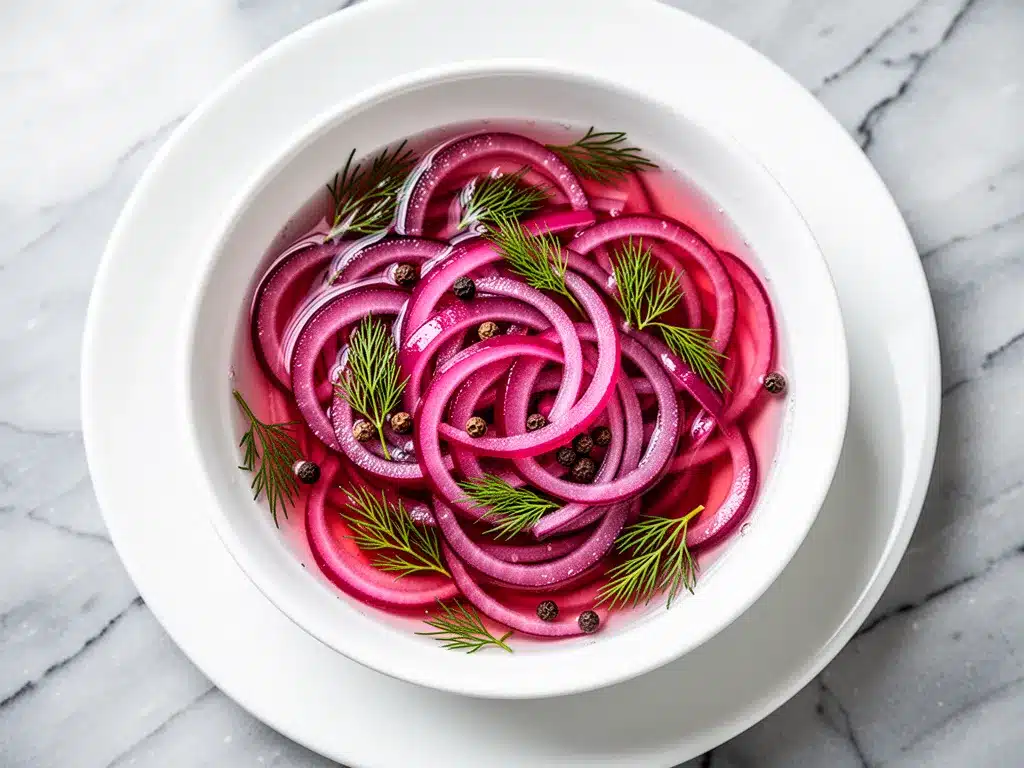
Red onions (2 medium, about 300g) — This is the star. Look for onions that are firm, heavy for their size, and have bright purple skins. Avoid any that are sprouting or soft. I usually buy two medium ones, but if yours are huge, you might only need one.
Garlic cloves (2-3, smashed) — Not minced. Smashed. Peeling smashed cloves is easier, and they infuse the brine gently without overpowering the onion flavor.
Optional: Red pepper flakes (½ teaspoon) — If you like a little kick, throw these in. They look pretty too.
Optional: Fresh herbs — A sprig of dill or thyme works nicely. I skip this for the classic look, but it’s great if you’re using these in a specific salad later.
Substitutions and Tips
Vinegar swap: Apple cider vinegar works if you want a slightly fruitier, softer tang. Rice vinegar is milder and sweeter, which is nice if your kids are picky about sourness. But white vinegar is the classic for a reason.
Onion swap: You can use yellow onions, but they won’t turn that beautiful pink. They’ll stay white/yellow and taste a bit sharper. Red onions are best for color and milder flavor. Shallots are delicious but expensive—use them only if you’re feeling fancy.
No coriander seeds? Skip them. It’s still delicious. Just don’t skip the salt and sugar balance.
Equipment Needed
You don’t need fancy equipment for this. Here’s what I actually use:
Sharp chef’s knife — For slicing the onions evenly. Dull knives make onion slicing a nightmare and make you cry more. I learned this the hard way.
Cutting board — Any size works. I use a large one so I can slice the onions in half, then into rings easily.
Microwave-safe measuring cup or small saucepan — To heat the brine. I prefer the microwave because it’s faster. Pour in the vinegar, water, sugar, and salt, and zap it for 2-3 minutes until hot. If you use a saucepan, just heat it on the stove for 3 minutes.
Jar with lid — A 16-ounce (2-cup) mason jar or any airtight glass container. I use a Weck jar or a simple Ball jar. Make sure it’s clean. You don’t need to sterilize it since these are refrigerated, but wash it well.
Peeler or knife — For peeling the onion skins. I usually just peel them by hand, but a peeler helps if the outer layers are tough.
Optional: Garlic press — I don’t use one. I smash the cloves with the side of my knife. It’s faster and easier to remove the skin afterward.
How to Make It: Step-by-Step
Alright, let’s make this! I’m walking you through exactly how I do it, including the little tricks I’ve picked up to ensure those onions stay crisp and flavorful.
Step 1: Prep the Onions (5 minutes)
Peel the red onions and trim off the root ends (this helps them separate into rings). Slice each onion in half from root to tip, then lay the halves flat on your cutting board. Slice them into thin half-moons, about ¼-inch thick. Try to keep the slices even so they pickle uniformly. Place the slices in your jar or a heat-safe bowl. If you’re using garlic, smash the cloves with the side of your knife and drop them in too. Add any spices like coriander seeds or red pepper flakes now.
Step 2: Make the Brine (3 minutes)
In a microwave-safe measuring cup or small saucepan, combine the vinegar, water, sugar, and salt. If using the microwave, heat on high for 2-3 minutes until the mixture is steaming hot and the sugar/salt is dissolved. If using the stove, heat over medium until simmering. Stir well to ensure everything is dissolved. You don’t need it to boil vigorously, just get it hot enough to dissolve the solids.
Step 3: Pour and Wait (1 minute)
Pour the hot brine over the onions in the jar. Make sure the onions are completely submerged. If they’re floating, you can use a smaller clean jar to weigh them down, or just stir them occasionally in the first hour. Seal the jar with the lid.
Step 4: Cool and Chill (1 hour minimum)
Let the jar cool to room temperature on the counter. This takes about 20-30 minutes. Then, transfer it to the fridge. The onions will start turning pink almost immediately, but they need at least an hour to absorb the flavor and soften slightly. For best results, wait 24 hours. I know, I know, waiting is hard. But the flavor deepens significantly overnight.
Step 5: Enjoy
Remove a few onions with clean tongs or a fork. Serve immediately. Store the rest in the fridge. They’ll keep for up to 3-4 weeks, though they usually disappear much faster than that.
Expert Tips & Tricks
Here’s everything I’ve learned from making this dozens of times. These tips will save you from my mistakes.
Keep Them Crisp
The #1 mistake people make is letting the onions sit in the brine too long. After 3-4 weeks, they start to get soft and mushy. If you want maximum crunch, eat them within the first two weeks. If you’re meal prepping, make a fresh batch every week.
Don’t Skip the Salt
It’s tempting to reduce the salt, but salt is crucial for texture. It draws moisture out of the onion cells, keeping them crisp. If you skip it, you get soggy, watery onions. Use kosher salt for best control.
Hot Brine, Cold Onions
Pouring the hot brine over room-temperature onions helps the color transfer faster and starts the pickling process immediately. If you pour cold brine over cold onions, it takes much longer for them to turn pink and absorb flavor.
Use Clean Utensils
Every time you take onions out of the jar, use clean tongs or a fork. Introducing bacteria from dirty utensils can shorten the shelf life and cause spoilage. I keep a dedicated pair of pickling tongs just for this.
Customize the Heat
I love the mild tang, but if you want spicy pickled onions, add more red pepper flakes or slice in a fresh jalapeño along with the onions. The seeds from the jalapeño will infuse the brine with heat over time.
Common Mistakes (and how to avoid them)
Mistake: Onions are too sour
Fix: Add a bit more sugar next time. Everyone’s tolerance for acidity is different. Start with 3 tablespoons of sugar if you prefer sweeter pickles.
Mistake: Onions are soft/mushy
Fix: You waited too long, or the onions were old before you started. Always use firm, fresh onions. And don’t store them for more than a month.
Mistake: Brine didn’t dissolve
Fix: Make sure the brine is hot enough. If the sugar didn’t dissolve, the onions will be unevenly flavored. Heat it a bit longer or stir more vigorously.
Variations & Substitutions
Once you’ve nailed the basic version, here’s how you can mix it up. I’ve tried all of these, and they’re all winners.
Sweet & Tangy
Increase sugar to 3 tablespoons and add a slice of orange or lemon to the jar. Great for fish tacos.
Spicy Jalapeño
Add 1-2 sliced jalapeños to the jar. The heat builds over time, so start with less if you’re sensitive to spice.
Dill Pickle Style
Add a large sprig of fresh dill and a clove of garlic. These go amazingly well with sandwiches and burgers.
Mango Pickled Onions
Swap half the onions for thin slices of ripe mango. The sweetness of the mango pairs beautifully with the vinegar. Great with curry dishes.
Quick Radish Pickles
Slice radishes thinly and add them to the jar with the onions. They pickle just as fast and add a nice peppery crunch.
Dietary Modifications
Low Sugar
Reduce sugar to 1 tablespoon or use a sugar substitute like erythritol. Note: sugar also helps with texture, so low-sugar versions may be slightly softer.
Vegan
This recipe is naturally vegan. Just ensure your vinegar is vegan-friendly (most white vinegar is, but some wine vinegars might use animal products in processing).
Serving & Storage
How to Serve:
I usually serve these straight from the jar as a side dish or topping. Here are my favorite ways to use them:
- Tacos and Tacos — The classic use. Top fish tacos, carne asada, or al pastor tacos with these onions.
- Burgers and Sandwiches — Replace mayo with these onions for a tangy crunch. They cut through the fat of a juicy burger perfectly.
- Salads — Throw them into a green salad or a grain bowl for a quick acid boost.
- Charcuterie Boards — They look beautiful and provide a palate cleanser between cheeses.
- Egg Dishes — Sprinkle over scrambled eggs or turkey stackers for a breakfast boost.
Storage Instructions:
Refrigerator:
Store in an airtight container for up to 3-4 weeks. The onions will continue to pickle and become more tangy over time. They are safe to eat as long as they smell good and look normal. If the brine gets cloudy or smells off, toss them.
Reheating:
No need to reheat. Serve cold or at room temperature. If you’ve stored them in the fridge, let them sit out for 10 minutes before serving to take the chill off.
Freezing:
Do not freeze. The texture will turn mushy and watery upon thawing. These are best fresh from the fridge.
Nutrition Information
I’m not a nutritionist, but here’s the breakdown if you’re tracking. Keep in mind these are estimates per ¼ cup serving.
Per Serving (based on 8 servings):
| Nutrient | Amount |
|---|---|
| Calories | 25 |
| Protein | 1g |
| Carbs | 5g |
| Fiber | 1g |
| Sugar | 4g |
| Fat | 0g |
| Sodium | 180mg |
What’s Good:
Low calorie, contains antioxidants from the red onions, no fat. A great way to add flavor without adding many calories.
What to Know:
Contains sodium from the salt. If you’re watching sodium, reduce the salt in the brine or rinse the onions before eating.
My Take:
Look, this isn’t a health food. It’s a condiment. But it’s way better than store-bought pickles because you control the sugar and salt. When I want to make it lighter, I reduce the sugar and add more vinegar. But usually? I just enjoy the tangy crunch and move on with my life.
Final Thoughts
So that’s my go-to small-batch refrigerator pickled red onions! I’ve probably talked your ear off at this point, but when you make a recipe this often, you have a lot to say about it.
This has saved weeknight dinners more times than I can count. It’s my answer to “what’s for dinner” when I’m tired, don’t want takeout, and still want something that tastes really good. My kids are happy, my husband’s happy, and I’m happy because I’m not stressed about cooking.
Make it yours! Try different vinegars, add different spices, or mix in other vegetables. The best recipes are the ones you adapt to your family’s tastes.
If you make this, drop a comment and let me know what you think! I love hearing how recipes turn out in your kitchen. And if something doesn’t work, tell me that too—I’m here to help troubleshoot.
Happy cooking! And I hope your kitchen smells half as good as mine does right now (which is currently smelling like vinegar and onions, but in a good way).
Frequently Asked Questions
Can I use apple cider vinegar instead of white vinegar?
Yes, you can. Apple cider vinegar will give the onions a slightly fruitier, softer tang. The color change might be less vibrant, but the flavor is still delicious. I use it sometimes when I want a milder pickle.
How long do these pickled red onions last?
They last in the fridge for about 3-4 weeks. After that, they start to lose their crunch and become too soft. If they smell good and look normal, they’re safe to eat, but the texture won’t be great. I usually make a new batch every few weeks.
Why did my onions turn brown instead of pink?
Red onions contain anthocyanins, which turn pink in acidic environments. If your onions didn’t turn pink, they might have been old or treated with sulfur, which can affect the color reaction. Also, using a non-acidic vinegar (like rice vinegar without enough acid) can slow the color change. Stick to white vinegar for the best pink color.
Can I can these for long-term storage?
No. This is a refrigerator pickle recipe, not a canned one. The brine isn’t strong enough or processed correctly for safe shelf-stable canning. If you want to can them, you’d need to adjust the recipe with more vinegar and process them in a water bath, but that changes the flavor and texture. Stick to the fridge for this version.
Can I add other vegetables to this brine?
Absolutely! Carrots, radishes, cucumbers, and green beans all pickle well in this brine. Just make sure they’re cut to similar sizes so they cook/pickle evenly. You might need to adjust the brine quantity if you add a lot of vegetables.
Do I need to peel the onions completely?
Yes. The outer papery layers are tough and unpleasant to eat. Peel them until you reach the clean, purple flesh. If there are any discolored or bruised spots, cut those away too.
Can I reuse the brine?
You can reuse it once or twice, but the flavor will get weaker each time. I usually discard it after the second use. If you reuse it, make sure to boil it first to kill any bacteria, and add a little extra salt and sugar to refresh the flavor.
Pin This Recipe!
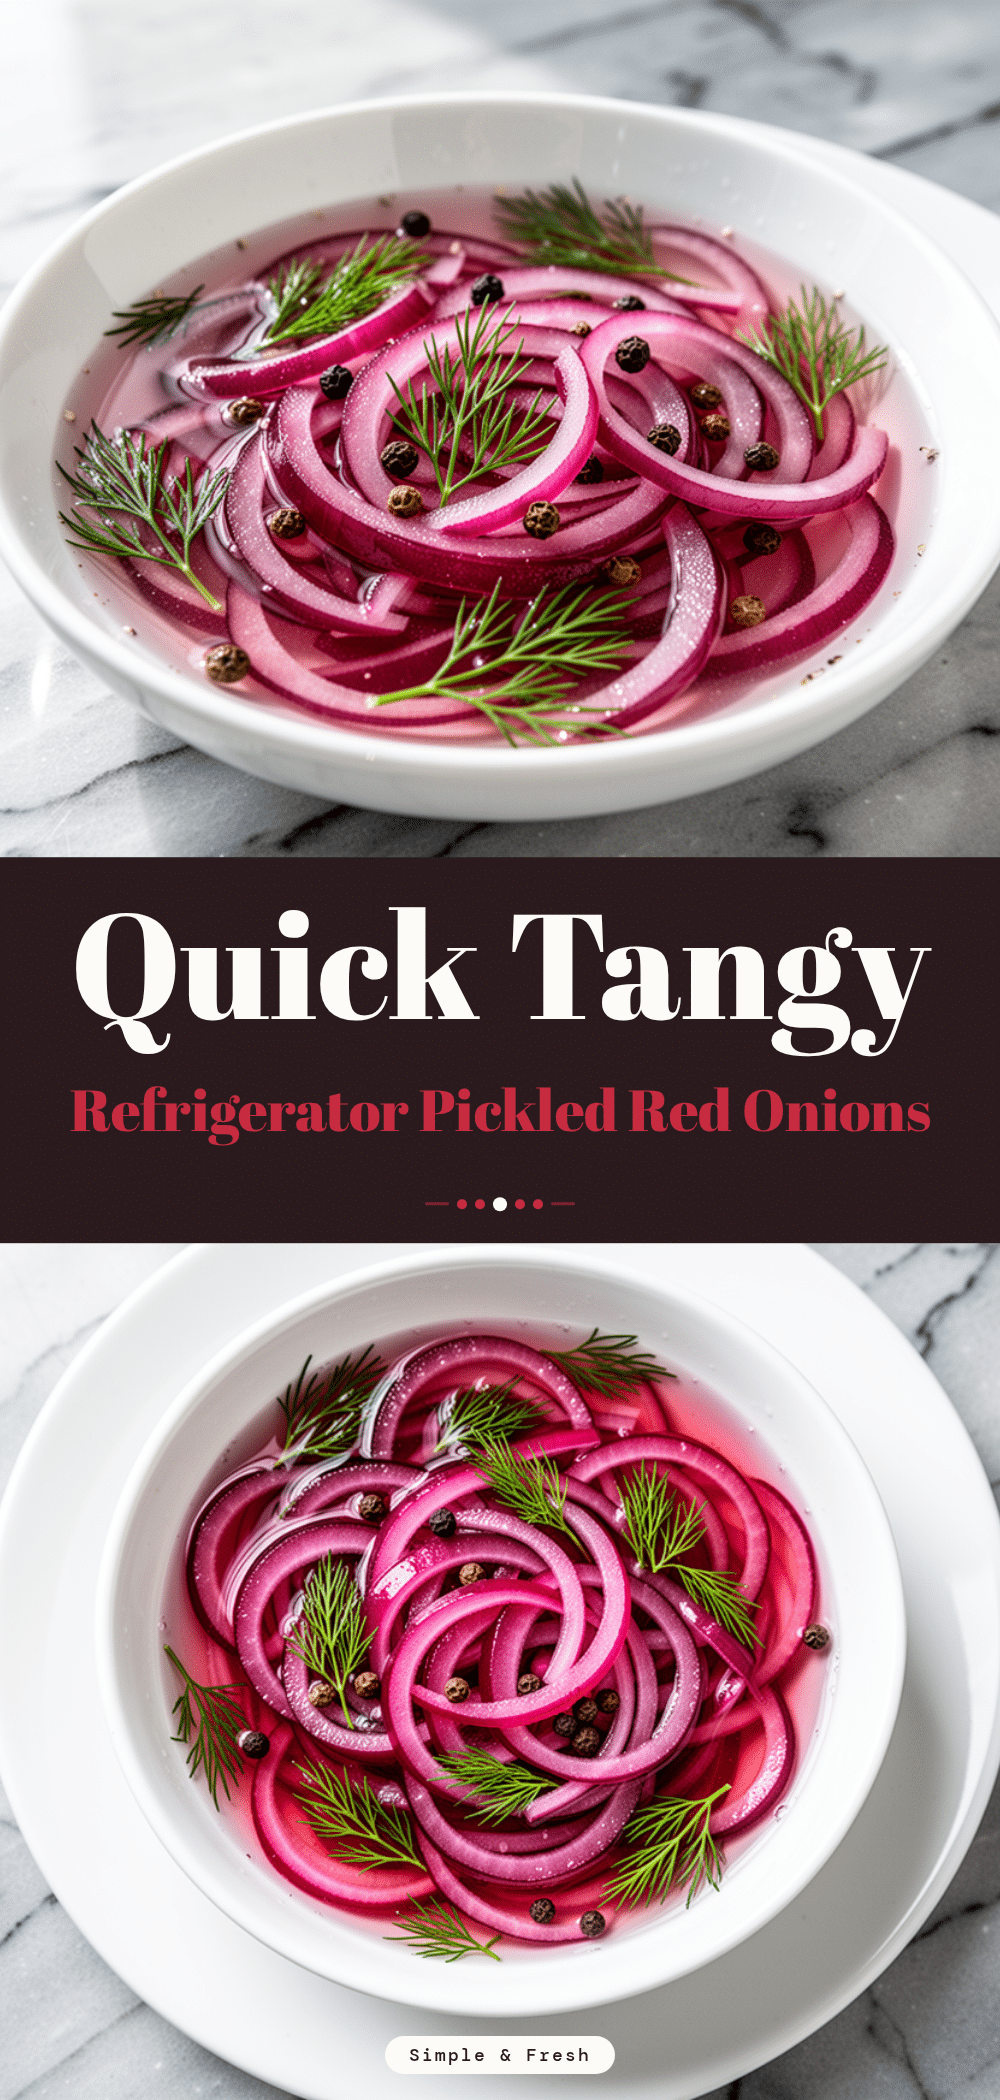
Small-Batch Refrigerator Pickled Red Onions
- Total Time: 20 minutes
- Yield: 8 servings 1x
Description
A quick, no-cook side dish featuring crisp red onions pickled in a tangy vinegar brine. Ready in 20 minutes of prep and perfect for tacos, burgers, and salads.
Ingredients
- 1 cup white vinegar
- 1 cup water
- 2 tablespoons sugar
- 1 teaspoon kosher salt
- 2 medium red onions
- 2–3 garlic cloves, smashed
- 1/2 teaspoon black peppercorns
- 1/2 teaspoon whole coriander seeds
- 1/2 teaspoon red pepper flakes (optional)
- Fresh herbs like dill or thyme (optional)
Instructions
- Peel the red onions, trim the root ends, and slice them into thin half-moons (about 1/4-inch thick). Place slices in a clean jar or heat-safe bowl.
- Smash the garlic cloves with the side of a knife and add them to the jar along with peppercorns, coriander seeds, and optional spices.
- In a microwave-safe measuring cup or small saucepan, combine vinegar, water, sugar, and salt.
- Heat the mixture until steaming hot and the sugar/salt are fully dissolved (2-3 minutes in microwave or 3 minutes on stove).
- Pour the hot brine over the onions, ensuring they are completely submerged.
- Seal the jar and let it cool to room temperature.
- Transfer to the refrigerator and chill for at least 1 hour (24 hours recommended for best flavor).
- Serve cold or at room temperature. Store in the fridge for up to 3-4 weeks.
Notes
Use firm, fresh red onions for the best color and crunch. Ensure the brine is hot enough to dissolve the sugar and salt completely. Do not freeze, as the texture will become mushy. Use clean utensils when removing onions to prevent spoilage.
- Prep Time: 15 minutes
- Cook Time: 5 minutes
- Category: Side Dish
- Cuisine: Mexican
Nutrition
- Serving Size: 1/4 cup
- Calories: 25
- Sugar: 4
- Sodium: 180
- Carbohydrates: 5
- Fiber: 1
- Protein: 1
Keywords: pickled red onions, refrigerator pickles, quick pickles, taco topping, vegan side dish, gluten-free condiment, small batch pickles


