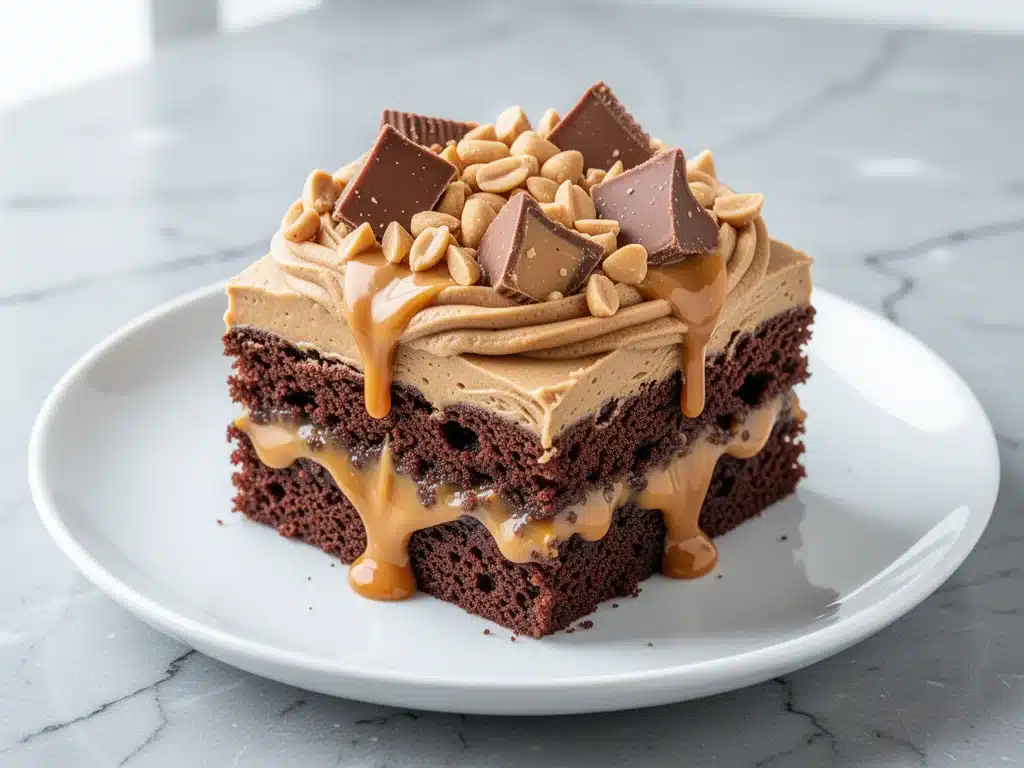
I’ll be honest with you. Before I perfected this Reese’s Peanut Butter Poke Cake, I was the person who bought the box mix, followed the instructions exactly, and then felt a tiny pang of disappointment when it came out looking… well, like a box mix. It was fine. It was sweet. But it wasn’t special. It didn’t make my husband do that little happy dance he does when something is genuinely good.
Then came the Super Bowl of my life. I’m not exaggerating. The big game was on, my family was gathered in the living room with chips and dip, and I needed a dessert that screamed “peanut butter” without being a dry, crumbly bar that stuck to the roof of your mouth. I decided to take my classic chocolate poke cake base—which I’ve been tweaking for years—and turn it into a Reese’s dream. I added a chocolate pudding filling, poured a peanut butter glaze over the top, and finished it with crushed candy bars. I cut a slice, handed it to my husband, and waited.
He took one bite. Closed his eyes. And said, “Okay, we are making this every single game day from now on.”
That was three years ago. This Reese’s Peanut Butter Poke Cake has since become the star of every party, potluck, and Sunday dinner. It’s moist, it’s rich, it’s visually stunning (that glossy peanut butter drizzle? Chef’s kiss), and it’s surprisingly easy to make. You don’t need to be a pastry chef. You just need a box of cake mix, a can of condensed milk, and a willingness to be a little indulgent. If you’re looking for other easy crowd-pleasers, this cake pairs perfectly with my classic Boston cream poke cake if you want to offer two different flavors, or you can serve it alongside my no-bake peanut butter pretzel bars for a serious snack attack.
Why You’ll Love This Recipe
There are a dozen reasons I keep coming back to this Reese’s Peanut Butter Poke Cake, but let’s be real—here are the ones that actually matter when you’re standing in the kitchen at 4 PM on a Sunday:
It’s Actually Moist — Not the fake, syrupy moisture from some boxed cakes. This cake is soaked in a peanut butter condensed milk mixture that penetrates every crumb. It stays soft for days. I’ve made this on Saturday, and the leftovers on Wednesday still tasted fresh. That’s rare for a cake this rich.
Zero Fuss, Maximum Impact — You use a box mix. Yes, I said it. And I’m not apologizing for it. The magic isn’t in making the cake from scratch; it’s in the poke technique and the glaze. You bake the cake, poke holes in it, pour the sauce, and watch it sink in. It’s visual, it’s satisfying, and it’s foolproof. I’ve made this while my kids were screaming in the background, and it still came out perfect.
It’s a Flavor Bomb — You get chocolate, you get peanut butter, you get the salty-sweet crunch of crushed Reese’s cups. It hits every single note. It’s like eating a candy bar, but in cake form. My kids think it’s “candy for breakfast” (don’t tell their teacher).
Make-Ahead Friendly — Game day? Dinner party? This cake is better the next day. The flavors meld together overnight. I usually make it the night before, let it chill in the fridge, and it’s ready to grab and go when guests arrive. No last-minute stress.
Budget-Friendly — You don’t need expensive ingredients. A box mix, a can of condensed milk, and a bag of Reese’s cups is way cheaper than buying a custom cake from a bakery. And it tastes better, too.
This is my go-to dessert when I want to impress people without spending hours in the kitchen. It’s reliable, it’s delicious, and it always disappears.
Ingredients You’ll Need
Here’s the good news: you probably have most of these ingredients already. This isn’t a recipe that requires a trip to a specialty store. It’s pantry-friendly, with just a few key items that make the magic happen.
For the Cake Base:
Yellow or Vanilla Cake Mix (1 box, 15.25 oz / 432g) — I usually use yellow cake mix because it has a richer, buttery flavor that pairs well with chocolate and peanut butter. But vanilla works too. Do not use white cake mix; it’s too neutral. I stick with Duncan Hines or Betty Crocker—whatever is on sale. I’ve tested both, and they both work perfectly.
Water (1 cup / 240ml) — Standard cake mix ingredient. You can substitute with milk for a richer cake, but water keeps it light.
Eggs (3 large) — Room temperature eggs help the cake mix emulsify better. I know it’s a box mix, but taking the eggs out of the fridge 15 minutes before helps.
Vegetable Oil (⅓ cup / 80ml) — Oil keeps the cake moist longer than butter. Don’t swap this for butter unless you want a denser cake. Oil is the secret to that soft crumb.
For the Soaking Mixture:
Sweetened Condensed Milk (14 oz can / 397g) — This is non-negotiable. Do not use evaporated milk. Condensed milk is thick, sweet, and sticky. It’s what soaks into the holes and creates that fudgy texture. I keep a can in my pantry just for poke cakes.
Peanut Butter (½ cup / 128g) — Use creamy, runny peanut butter. Jif or Skippy works fine. If your peanut butter is super thick or natural (where the oil separates), microwave it for 15 seconds to thin it out. You need it liquid enough to pour.
For the Glaze:
Heavy Cream (½ cup / 120ml) — Full fat is necessary here. Half-and-half will make the glaze too thin. You want it to drip thick and glossy.
Reese’s Peanut Butter Cups (1.5 cups, chopped / about 150g) — I use the mini cups because they’re easier to chop evenly. The regular cups work too, but you’ll need a bigger knife. Save a few whole mini cups for the garnish later.
For the Topping:
Crushed Reese’s Peanut Butter Cups (1 cup / 100g) — For the garnish, you want a mix of fine crumbs and larger chunks. It adds texture and visual appeal.
Optional: Chocolate Chips (½ cup / 90g) — Some people like to sprinkle mini chocolate chips on top for extra chocolate flavor. I usually skip it because the cake is chocolate enough, but if you’re a chocoholic, go for it.
Pro Tip: If you’re feeling fancy, you can drizzle a little melted chocolate over the peanut butter glaze before adding the crushed cups. It looks like a professional bakery cake. I did this for a birthday party, and everyone thought I bought it from a high-end shop.
Equipment Needed
You don’t need fancy equipment for this. Here’s what I actually use:
9×13 Inch Baking Pan — This recipe is designed for a standard 9×13 pan. Do not use a round cake pan; the baking time and soaking ratio will be off. I use a glass Pyrex pan because I can see the bottom, but metal works fine too.
Hand Mixer or Stand Mixer — To beat the cake mix. I use a hand mixer because it’s faster for one bowl. A stand mixer works too, but you’ll need to scrape down the sides.
Fork or Wooden Spoon Handle — To poke holes in the cake. A fork creates smaller holes; a wooden spoon handle creates larger holes that hold more liquid. I use a fork for precision.
Whisk — To mix the condensed milk and peanut butter. A small whisk is perfect. A spoon works, but you might get lumps.
Spatula — For spreading the glaze and scraping the bowl. Silicone spatulas are best because they bend and get every bit of glaze.
Measuring Cups and Spoons — Standard stuff. Dollar store versions work fine for this.
Ziploc Bags — To crush the Reese’s cups. It’s easier to crush them in a bag with a rolling pin than to chop them with a knife.
How to Make It: Step-by-Step
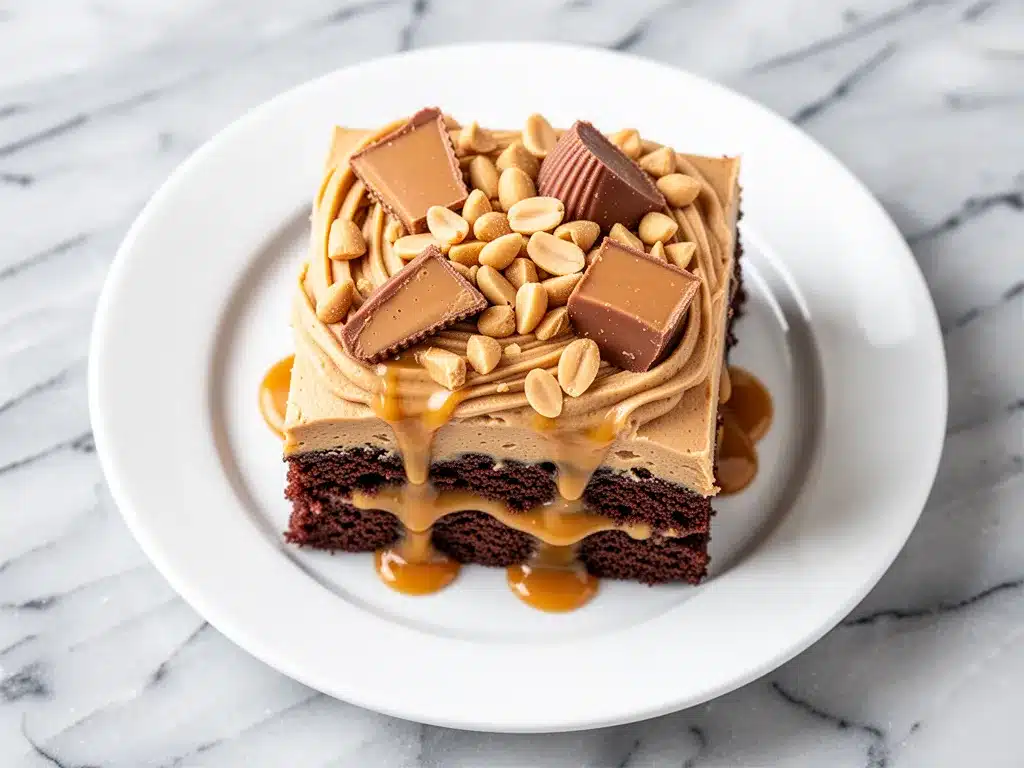
Alright, let’s make this! I’m walking you through exactly how I do it, including the little tricks I’ve picked up over the years.
Step 1: Bake the Cake (45 minutes total)
Preheat your oven to 350°F (175°C). Grease your 9×13 baking pan with non-stick spray or butter. In a large bowl, combine the cake mix, water, eggs, and oil. Beat on medium speed for 2 minutes until smooth. Pour the batter into the prepared pan and spread it evenly. Bake for 25-30 minutes, or until a toothpick inserted in the center comes out clean. Let the cake cool in the pan for 10 minutes. It should be warm, not hot, when you poke it.
Step 2: Poke the Holes (5 minutes)
Take a fork and poke holes all over the top of the warm cake. Space them about 1 inch apart. Don’t go all the way to the bottom, just poke about ½ inch deep. You want the holes to be visible but not destroy the structure of the cake. This is the most important step—if you don’t poke enough holes, the glaze won’t soak in, and you’ll just have a wet top layer.
Step 3: Make the Soaking Mixture (5 minutes)
In a microwave-safe bowl, combine the sweetened condensed milk and the peanut butter. Microwave on high for 30-45 seconds, stirring halfway through, until the peanut butter is melted and the mixture is smooth and pourable. If it’s too thick, add a teaspoon of milk or cream. Pour this mixture evenly over the warm cake. It will sink into the holes. Let it sit for 15 minutes to absorb.
Step 4: Make the Glaze (10 minutes)
In a small saucepan, combine the heavy cream and the chopped Reese’s peanut butter cups. Heat over medium-low heat, stirring constantly, until the chocolate and peanut butter are melted and smooth. This takes about 5 minutes. Do not boil it. Remove from heat and let it cool for 5 minutes. It will thicken slightly as it cools. Pour the glaze over the cake, spreading it evenly to the edges.
Step 5: Add the Topping (5 minutes)
Sprinkle the crushed Reese’s peanut butter cups evenly over the glaze. Press them down gently so they stick. Refrigerate the cake for at least 2 hours, or overnight, to set the glaze and let the flavors meld.
Step 6: Slice and Serve
When you’re ready to serve, cut the cake into squares. Use a sharp knife and wipe it clean between cuts for neat slices. Serve cold. The cake is best the next day, so make it ahead if you can.
Total Time: About 1 hour 30 minutes (plus chilling time)
Expert Tips & Tricks
Here’s everything I’ve learned from making this dozens of times. These tips will save you from my mistakes.
The Cake Must Be Warm, Not Hot
If the cake is too hot, the condensed milk mixture will just run off the top instead of soaking in. If it’s cold, the holes will close up. Aim for warm to the touch. If you’re in a rush, let it sit for 10 minutes after baking. I’ve made the mistake of poking it straight out of the oven, and the glaze pooled on top instead of sinking in. It still tasted good, but the texture was uneven.
Thin Your Peanut Butter
Most peanut butters are thick and sticky. If you try to pour it straight from the jar into the condensed milk, you’ll get lumps. Microwave the peanut butter for 15 seconds to thin it out. It should flow like honey. If it’s still thick, add a teaspoon of heavy cream or milk.
Don’t Skip the Chill Time
I know you want to eat it now. But the glaze needs time to set. If you cut it immediately, it’ll be a mess. The cold helps the peanut butter glaze firm up, making it easier to slice. I usually make it the night before, so it’s ready to grab in the morning.
Crush, Don’t Chop
For the topping, put the mini Reese’s cups in a Ziploc bag and crush them with a rolling pin. You want a mix of fine crumbs and small chunks. Chopping them with a knife is tedious and uneven. The crushed topping looks more professional and distributes better.
Use a Sharp Knife
This cake is soft and gooey. If your knife is dull, it’ll tear the cake and drag the glaze. Use a sharp chef’s knife and wipe it clean between cuts. For extra neat slices, dip the knife in hot water and dry it before each cut.
Common Mistakes (and how to avoid them):
Mistake: Glaze is too runny
Fix: You didn’t let it cool enough after melting. Let it sit for 5 minutes before pouring. If it’s still too thin, add a tablespoon of crushed Reese’s cups to thicken it.
Mistake: Cake is dry
Fix: You overbaked it. Check the cake 5 minutes before the recommended time. Cake ovens vary. If the toothpick comes out clean, it’s done. Don’t wait until it’s dry.
Mistake: Glaze separated
Fix: The heat was too high. Melt the cream and chocolate over medium-low heat. If it separates, whisk in a teaspoon of warm cream to bring it back together.
Variations & Substitutions
Once you’ve nailed the basic version, here’s how you can mix it up. I’ve tried all of these.
Chocolate Peanut Butter Cup Version
Use chocolate cake mix instead of yellow. It makes the chocolate flavor more intense. I like this version for parties because it looks darker and richer.
Reese’s Pieces Version
Instead of crushing peanut butter cups, use Reese’s Pieces candy for the topping. It adds a fun, colorful crunch. My kids love this version because it looks like a dessert from a carnival.
Gluten-Free Option
Use a gluten-free yellow cake mix. Everything else is naturally gluten-free. I’ve used King Arthur Gluten-Free Yellow Cake Mix, and it works great. Just follow the package instructions for baking time.
Dairy-Free Option
This is trickier because of the condensed milk and cream. You can use dairy-free condensed milk (like So Delicious) and coconut cream. It’s not exactly the same, but it’s still delicious. I’ve made this for my lactose-intolerant friend, and she loved it.
Lighter Version
Use light sweetened condensed milk and half-and-half instead of heavy cream. It’s thinner and less rich, but still tasty. I make this when I’m trying to be “healthy,” but honestly, the full-fat version is worth every calorie.
Flavor Twists:
Butterscotch
Swap the peanut butter glaze for butterscotch chips and cream. It’s like a caramel dream.
Mint Chocolate
Add ½ teaspoon peppermint extract to the glaze. It’s like a mint chocolate chip cake.
Cookie Butter
Use Biscoff spread instead of peanut butter. It’s spicier and more complex. I love this version for fall.
Serving & Storage
How to Serve:
“I usually serve this straight from the fridge at room temperature. The cold helps the glaze hold its shape, but letting it sit out for 10 minutes makes it softer and easier to cut. Here are other ways I’ve enjoyed it:”
Side Dishes:
– Fresh berries (strawberries or raspberries) to cut the richness
– Whipped cream (if you want to go overboard)
– Coffee or milk (to balance the sweetness)
Storage Instructions:
Refrigerator:
Store in an airtight container or covered with plastic wrap for up to 5 days. The cake gets firmer in the fridge, which is good for slicing. It actually tastes better after day 2.
Freezing:
You can freeze this cake! Wrap the whole pan (or individual slices) in plastic wrap and then foil. Freeze for up to 2 months. Thaw in the fridge overnight. The texture might be slightly softer, but it still tastes great.
Pro Tip: If you’re bringing this to a party, transport it in the pan. It’s easier than trying to move slices. Just bring a knife and let people serve themselves.
Nutrition Information
I’m not a nutritionist, but here’s the breakdown if you’re tracking.
Per Serving (based on 12 servings):
| Nutrient | Amount |
|---|---|
| Calories | 480 |
| Protein | 8g |
| Carbs | 55g |
| Fiber | 2g |
| Sugar | 42g |
| Fat | 26g |
| Saturated Fat | 12g |
| Cholesterol | 45mg |
| Sodium | 320mg |
What’s Good:
– Decent protein from the peanut butter and eggs
– Calcium from the condensed milk and cream
– It’s a complete dessert, not just a snack
What to Know:
– Higher in calories from the cream, chocolate, and peanut butter
– Contains dairy and gluten
– High in sugar (it’s a candy cake, after all)
My Take:
“Look, this is a dessert. It’s not a health food. It’s rich, sweet, and indulgent. But it’s made with real ingredients, and you know exactly what’s in it. When I want to make it lighter, I use the half-and-half version and skip the extra topping. But usually? I just eat a square and enjoy it. Life’s too short to worry about every calorie.”
Final Thoughts
So that’s my Reese’s Peanut Butter Poke Cake! I’ve probably talked your ear off at this point, but when you make a recipe this often, you have a lot to say about it. This has saved game days more times than I can count. It’s my answer to “what’s for dessert?” when I’m tired, don’t want takeout, and still want something that tastes really good. My kids are happy, my husband’s happy, and I’m happy because I’m not stressed about cooking.
Make it yours! Try different toppings, swap in your favorite candy bars, adjust the sweetness (though more is always better in my opinion). The best recipes are the ones you adapt to your family’s tastes. If you make this, drop a comment and let me know what you think! I love hearing how recipes turn out in your kitchen. And if something doesn’t work, tell me that too—I’m here to help troubleshoot.
Happy cooking! And I hope your kitchen smells half as good as mine does right now.
Frequently Asked Questions
Can I use homemade cake mix?
You can, but the texture might be different. Box mix is designed to be light and fluffy, which works well with the poke technique. If you use homemade mix, you might need to adjust the liquid in the soaking mixture. I’ve tried it, and it’s good, but the box mix is more consistent. If you’re making homemade, use a yellow cake recipe that’s known for being moist.
Why did my glaze separate?
Usually means the heat was too high. When you melt chocolate and cream together, high heat can cause the fat to separate from the solids. Always use medium-low heat and stir constantly. If it separates, whisk in a teaspoon of warm cream to bring it back together. It’s fixable, but prevention is better.
Can I make this ahead for a party?
Yes! This is actually better made ahead. Make it the night before, let it chill in the fridge, and it’s ready to serve. The flavors meld together overnight, and the glaze sets perfectly. I usually make it on Saturday for a Sunday party. It saves me so much stress on game day.
Can I freeze this cake?
Yes, you can freeze it. Wrap the whole pan in plastic wrap and then foil. Freeze for up to 2 months. Thaw in the fridge overnight. The texture might be slightly softer, but it still tastes great. I’ve done this for holiday parties, and it’s been a hit.
Can I use natural peanut butter?
You can, but it’s trickier. Natural peanut butter has oil that separates, which can make the mixture grainy. If you use it, microwave it well and stir until smooth. Or, add a teaspoon of oil to the condensed milk mixture to help it emulsify. I recommend using creamy, processed peanut butter for the smoothest result.
How do I store leftovers?
Store in an airtight container in the fridge for up to 5 days. The cake gets firmer in the fridge, which is good for slicing. Let it sit out for 10 minutes before serving to soften it up. It’s best eaten cold, but room temperature is fine too.
Can I use a different type of cake mix?
You can use chocolate cake mix for a more intense chocolate flavor, or white cake mix for a milder taste. I prefer yellow cake mix because it has a buttery flavor that pairs well with peanut butter. Do not use spice cake or funfetti, as the flavors might clash with the peanut butter.
Pin This Recipe!
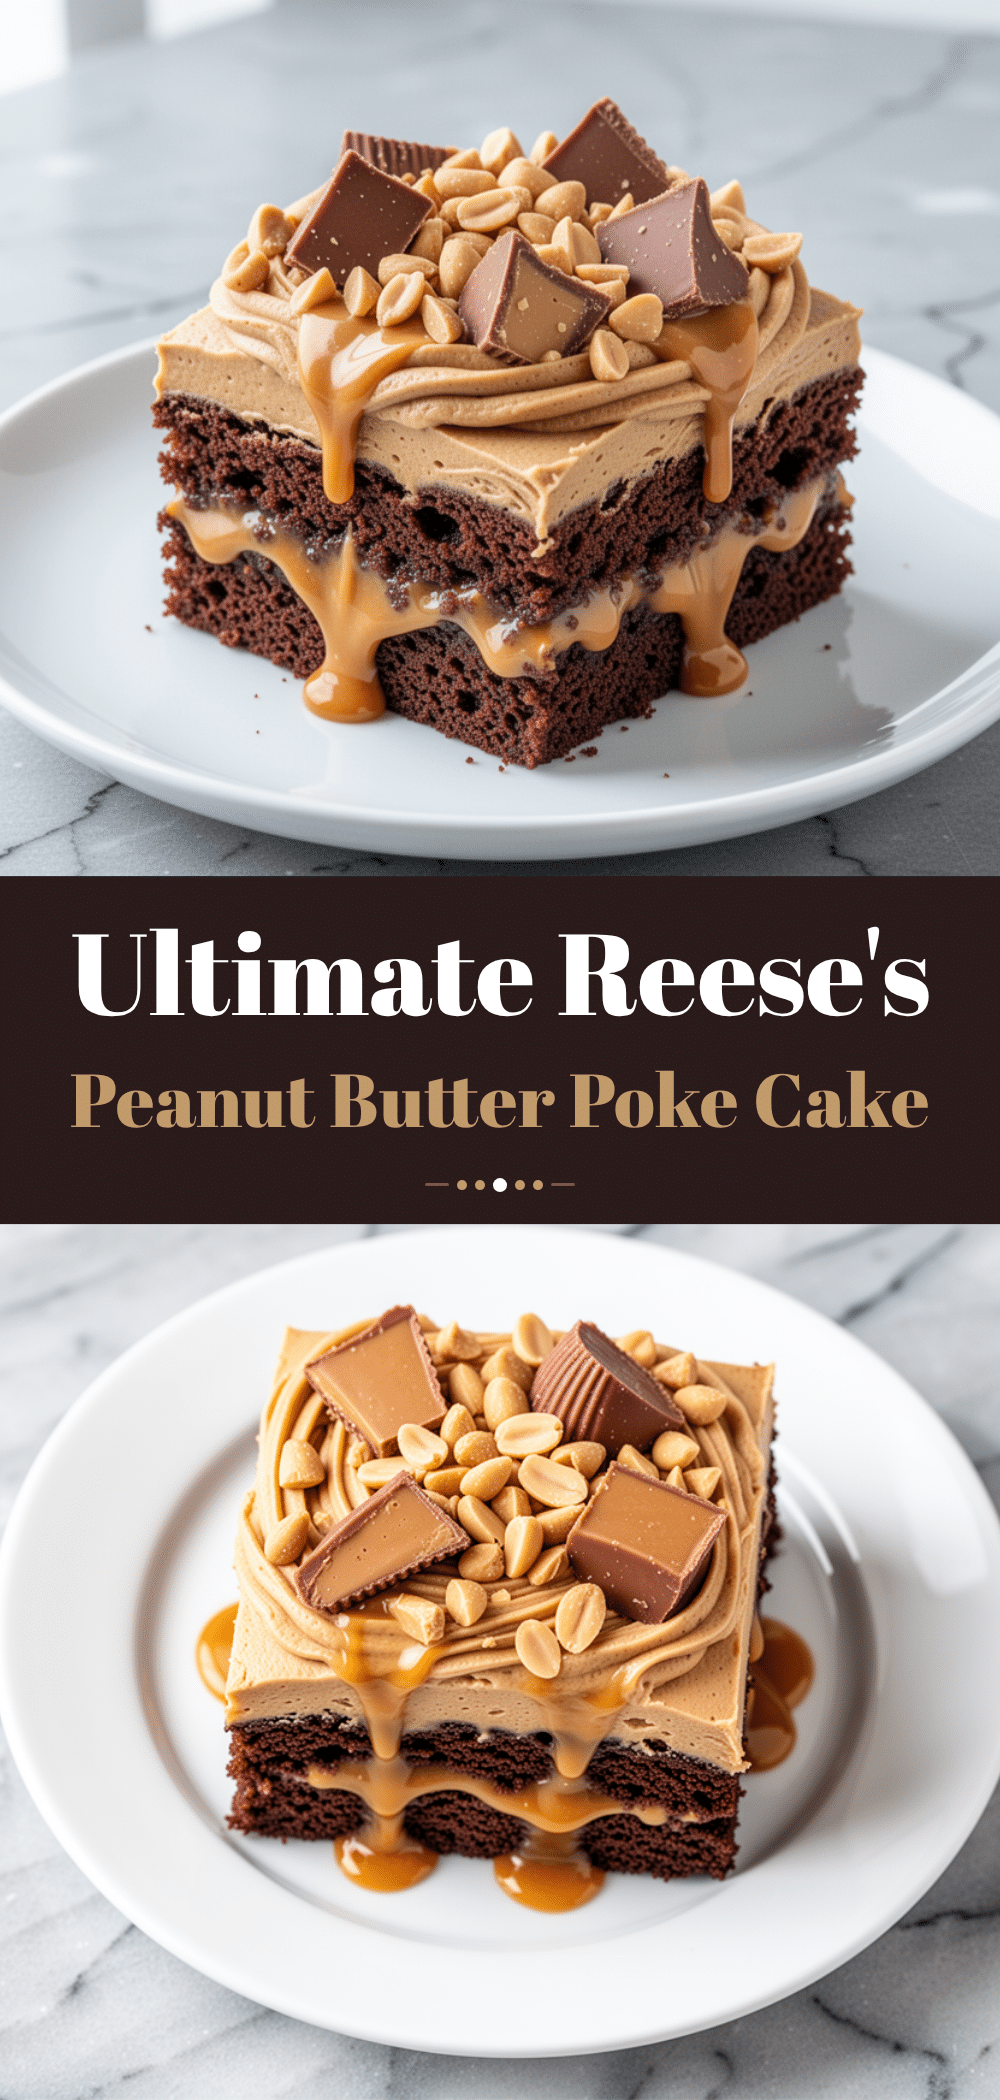
Reeses Peanut Butter Poke Cake: Perfect Game Day Dessert
- Total Time: 1 hour 30 minutes
- Yield: 12 servings 1x
Description
A moist, rich, and indulgent poke cake made with a box mix, soaked in a peanut butter condensed milk mixture, topped with a glossy Reese’s peanut butter glaze and crushed candy bars. It is a foolproof, make-ahead dessert perfect for game days and parties.
Ingredients
- 1 box (15.25 oz / 432g) Yellow or Vanilla Cake Mix
- 1 cup (240ml) Water
- 3 large Eggs, room temperature
- ⅓ cup (80ml) Vegetable Oil
- 1 can (14 oz / 397g) Sweetened Condensed Milk
- ½ cup (128g) Creamy Peanut Butter
- ½ cup (120ml) Heavy Cream
- 1.5 cups (150g) Reese’s Peanut Butter Cups, chopped
- 1 cup (100g) Crushed Reese’s Peanut Butter Cups
- Optional: ½ cup (90g) Mini Chocolate Chips
Instructions
- Preheat oven to 350°F (175°C). Grease a 9×13 inch baking pan.
- In a large bowl, combine cake mix, water, eggs, and oil. Beat on medium speed for 2 minutes until smooth.
- Pour batter into the prepared pan and spread evenly. Bake for 25-30 minutes or until a toothpick inserted in the center comes out clean.
- Let the cake cool in the pan for 10 minutes until warm (not hot).
- Using a fork, poke holes all over the top of the warm cake, spacing them about 1 inch apart and poking about ½ inch deep.
- In a microwave-safe bowl, combine sweetened condensed milk and peanut butter. Microwave on high for 30-45 seconds, stirring halfway, until smooth and pourable.
- Pour the condensed milk and peanut butter mixture evenly over the warm cake. Let it sit for 15 minutes to absorb.
- In a small saucepan, combine heavy cream and chopped Reese’s peanut butter cups. Heat over medium-low heat, stirring constantly, until melted and smooth (about 5 minutes). Do not boil.
- Remove glaze from heat and let cool for 5 minutes to thicken slightly.
- Pour the glaze over the cake, spreading it evenly to the edges.
- Sprinkle crushed Reese’s peanut butter cups evenly over the glaze, pressing gently to stick.
- Refrigerate for at least 2 hours or overnight to set the glaze and meld flavors.
- Slice into squares using a sharp knife and serve cold.
Notes
The cake must be warm, not hot, when poking holes to ensure the mixture soaks in properly. Use creamy, runny peanut butter; if it is too thick, microwave it briefly to thin it out. The cake is best made ahead and refrigerated overnight to allow flavors to meld and the glaze to set. Store in an airtight container in the refrigerator for up to 5 days or freeze for up to 2 months.
- Prep Time: 15 minutes
- Cook Time: 30 minutes
- Category: Dessert
- Cuisine: American
Nutrition
- Serving Size: 1 slice
- Calories: 480
- Sugar: 42
- Sodium: 320
- Fat: 26
- Saturated Fat: 12
- Carbohydrates: 55
- Fiber: 2
- Protein: 8
Keywords: Reese's, Peanut Butter, Poke Cake, Game Day Dessert, Easy Dessert, Make-Ahead, Chocolate, Party Food


